This is one of two ways to connect AWS. For real-time CloudTrail management events, GuardDuty findings, or CloudWatch alarms delivered over SNS, see AWS via EventBridge and SNS.
Before you start
Pick the right account.- Organization-level integration — if your CloudTrail logging is centralized from all accounts into one bucket, use the log-archive account (or management account) that owns the CloudTrail bucket. One bucket, one SNS topic, and one Clarion subscription cover the whole organization.
- Single account — select the account that owns the trail and bucket.
Step 1 — Connect AWS and configure the IAM role
- In Clarion, open the AWS integration page and click Connect at the bottom of the page.
- Set up the IAM role first. For reading CloudTrail logs from S3, select these permission sets:
- Athena S3 log queries
- S3 SSE-KMS log decryption, only if your bucket uses SSE-KMS
- The generated policy JSON appears on the right. You have two options to apply it — the AWS Console or the AWS CLI — and the instructions for both are shown there.
- Once you have run the AWS CLI commands (or finished the setup in the AWS Console), set the default region and the IAM Role ARN you created.
- Click Configure IAM.
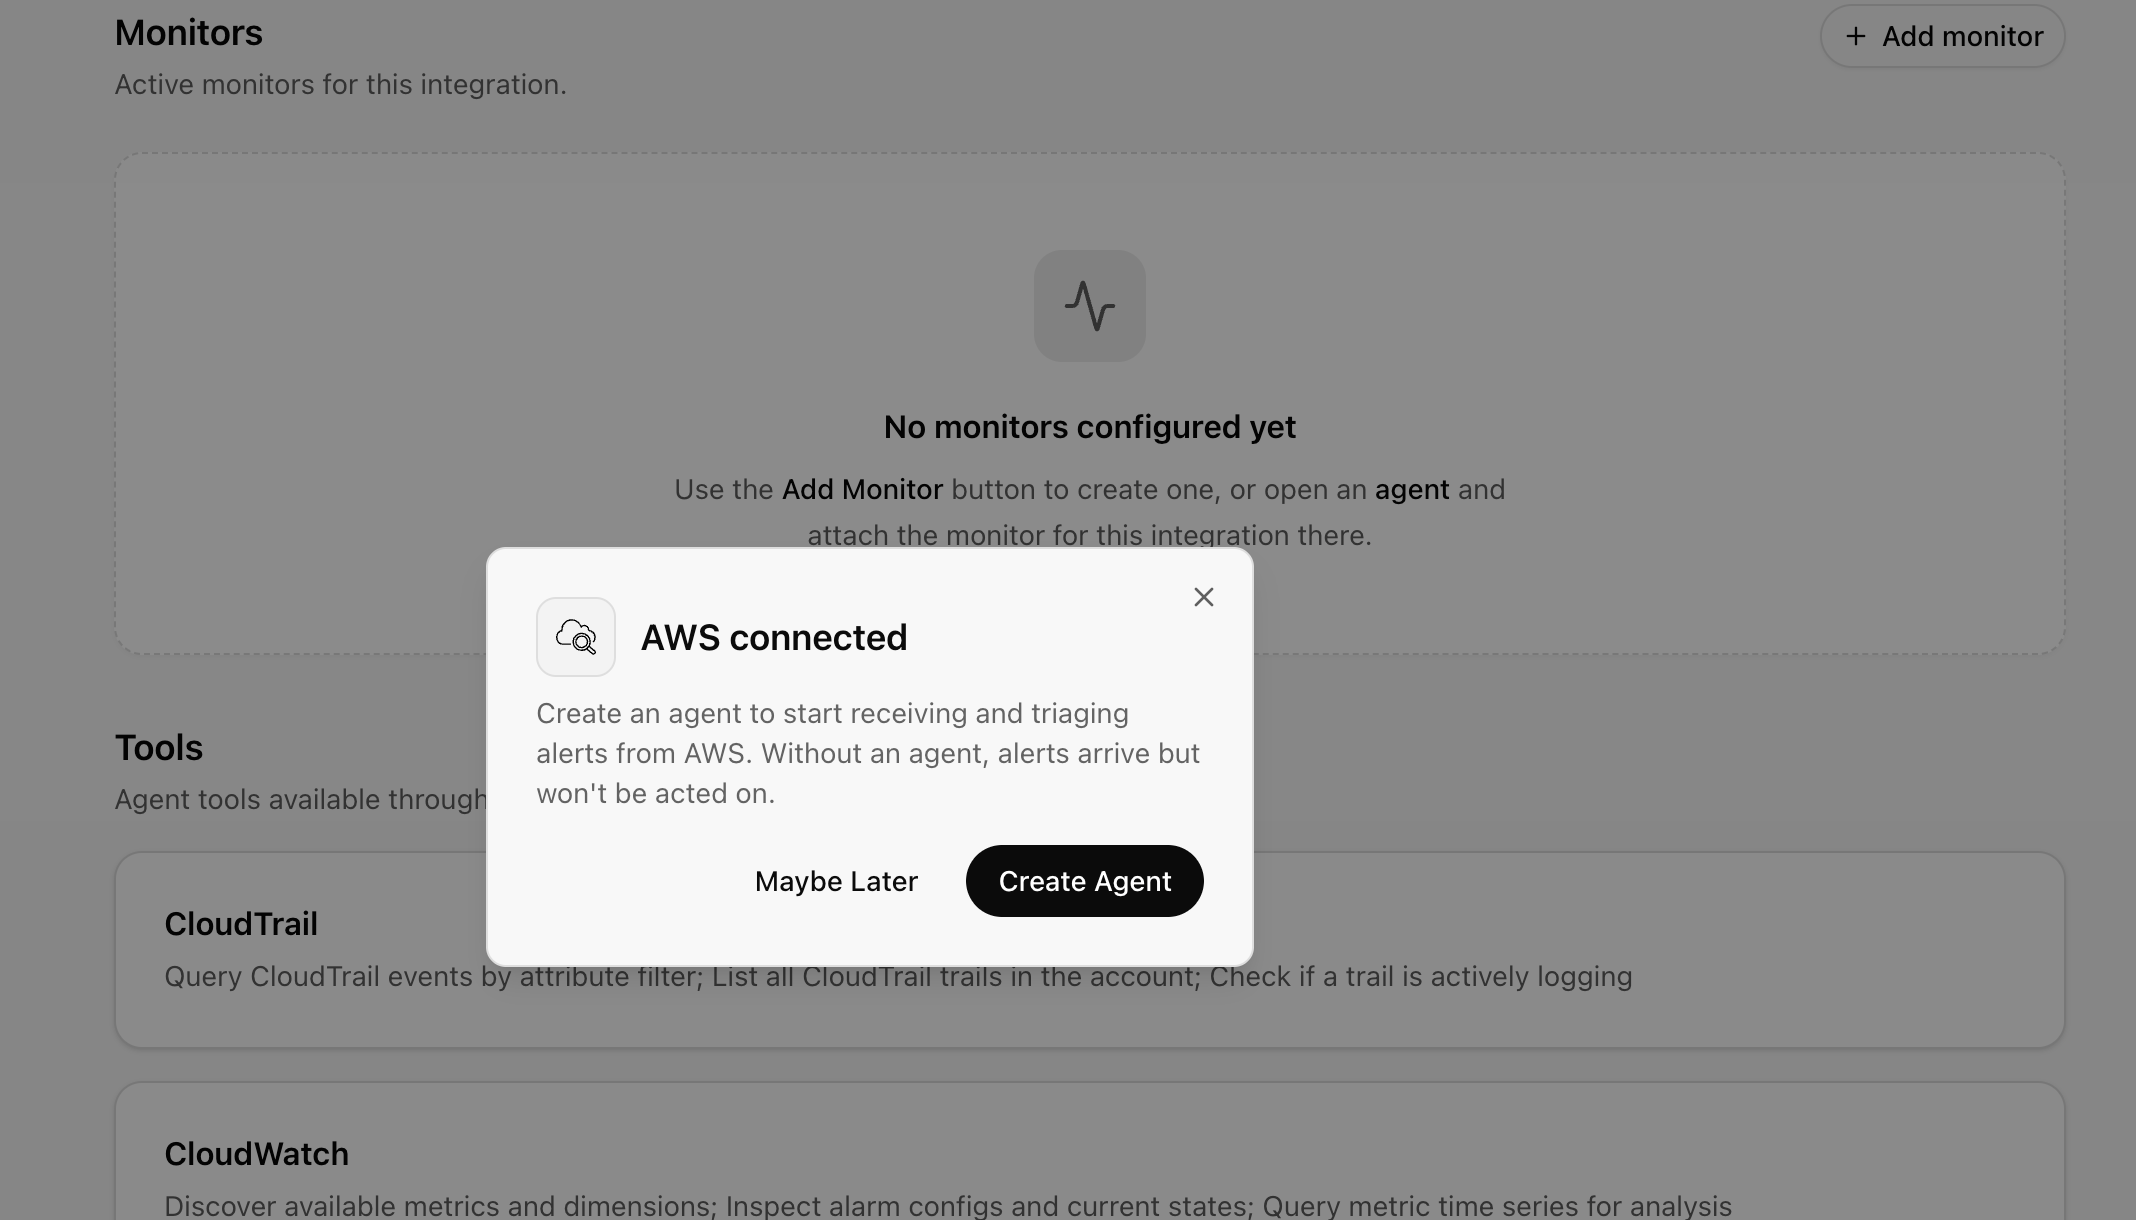
- You can ignore the popup that offers to create an agent for now — we’ll create the agent in Step 6. First we need to set up SNS so Clarion is notified when new files are added to the S3 bucket.
Step 2 — Create an SNS topic
- Open the Amazon SNS console and click Create topic.
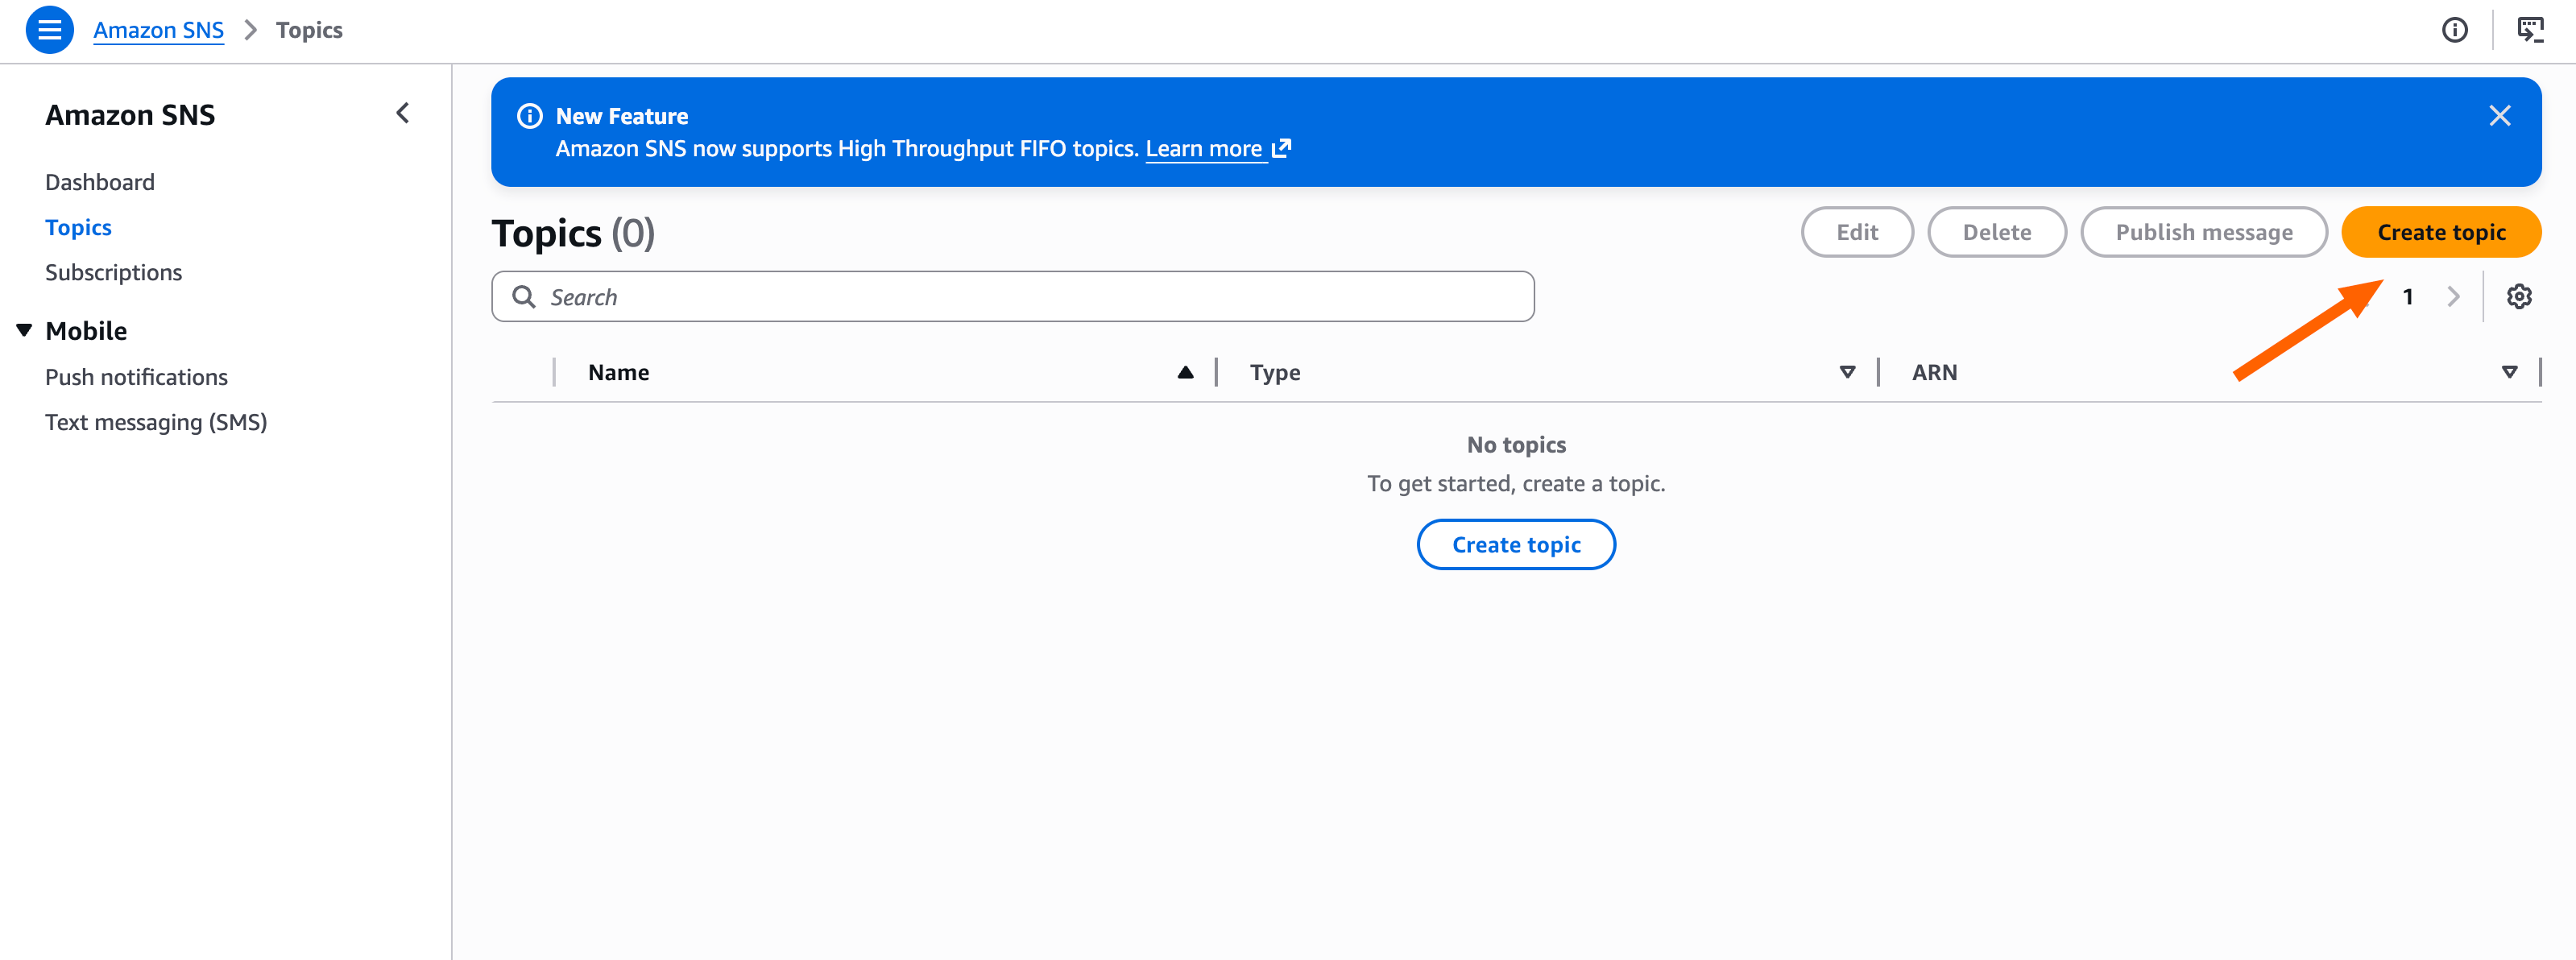
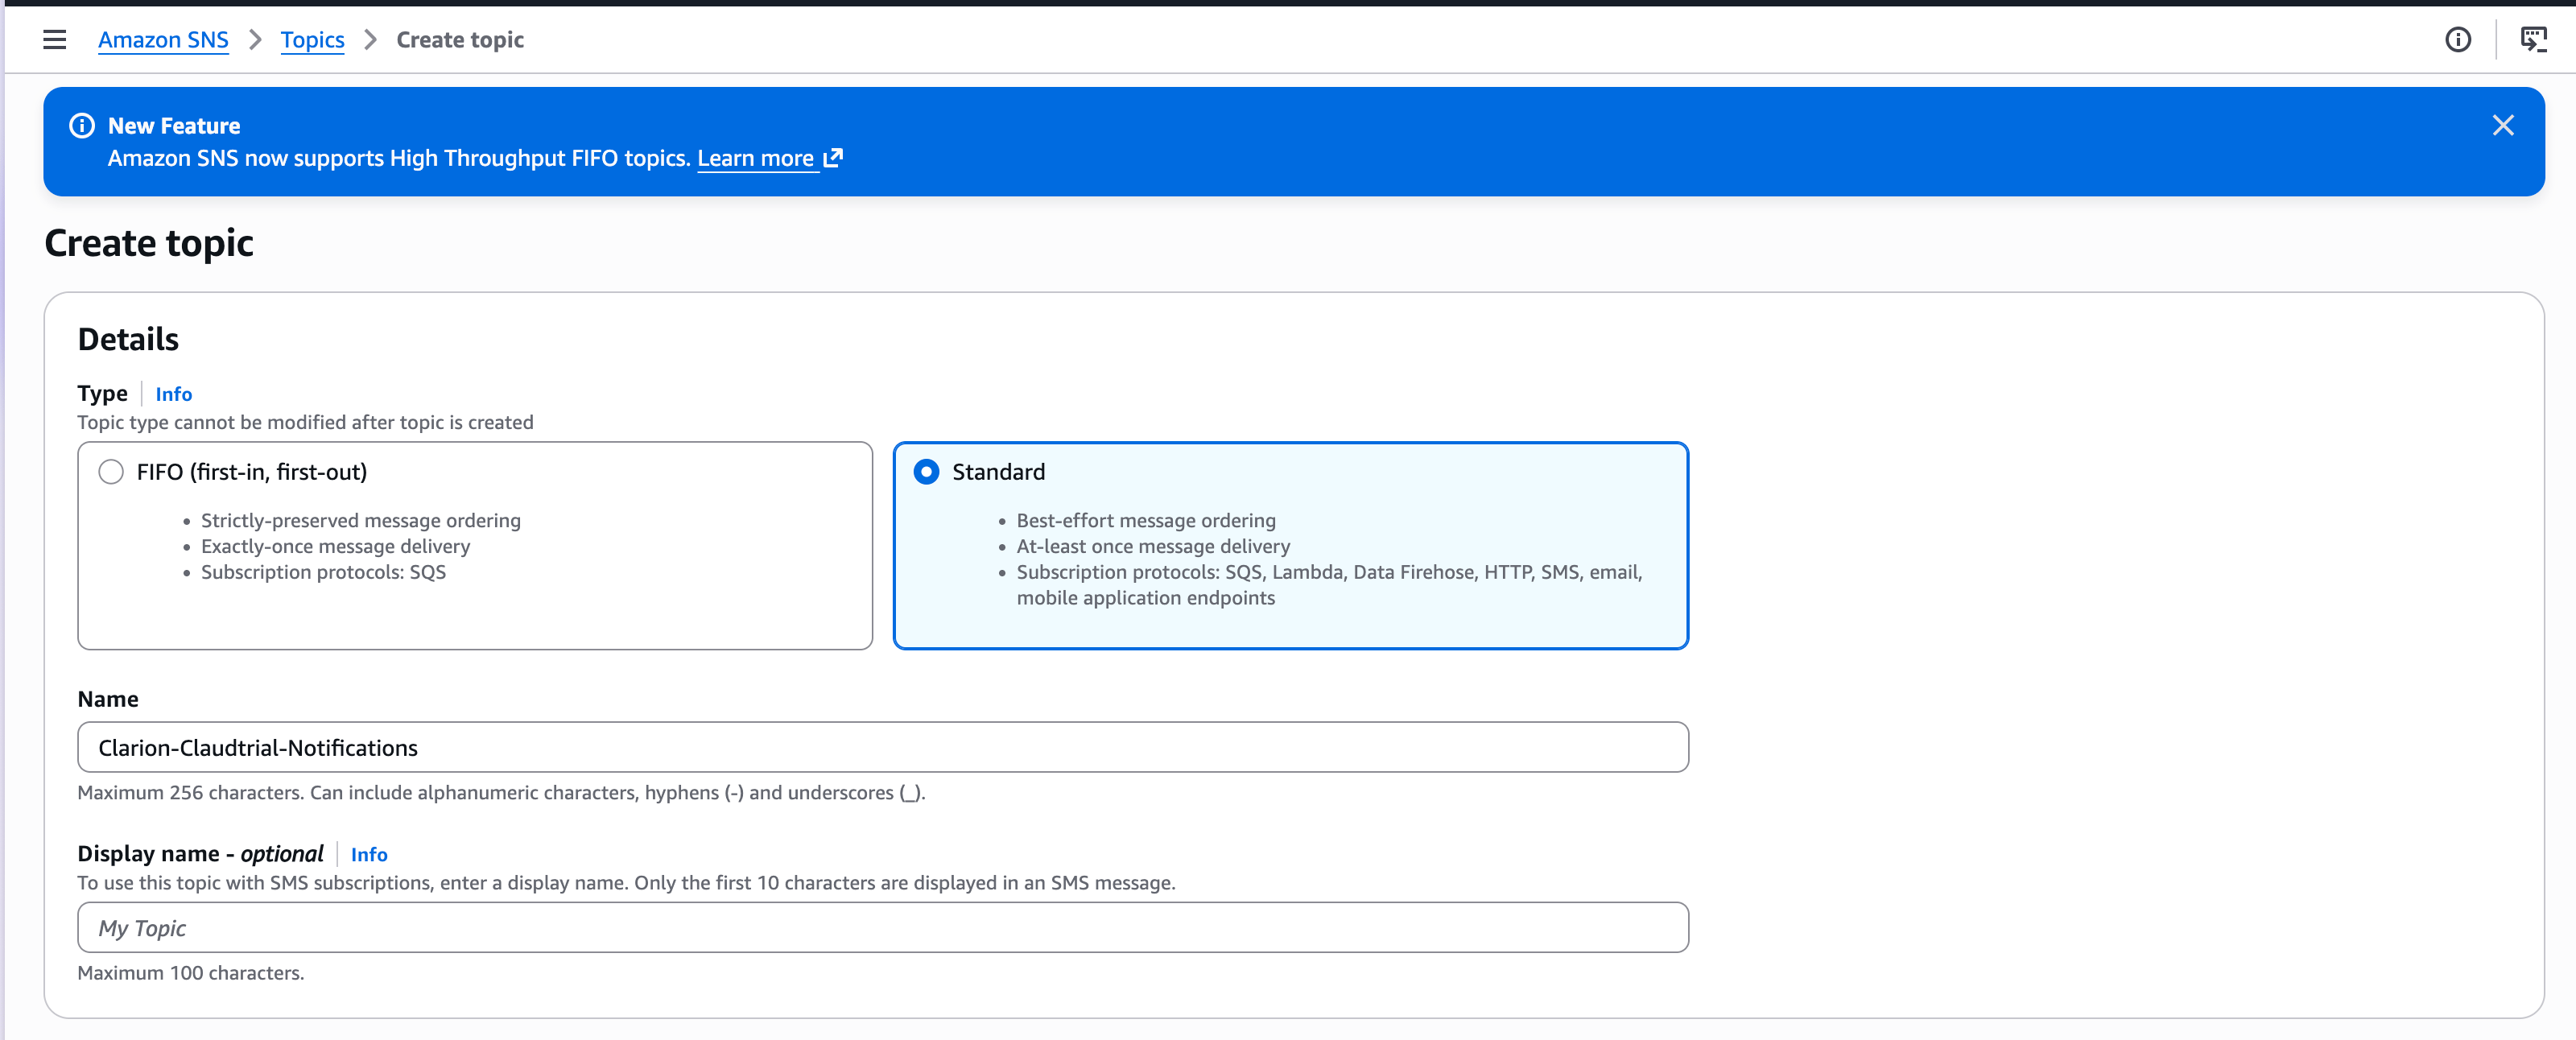
- Select the Standard type, give the topic a name (e.g.
clarion-cloudtrail-notifications), and create it.
- On the created topic, click Create subscription.
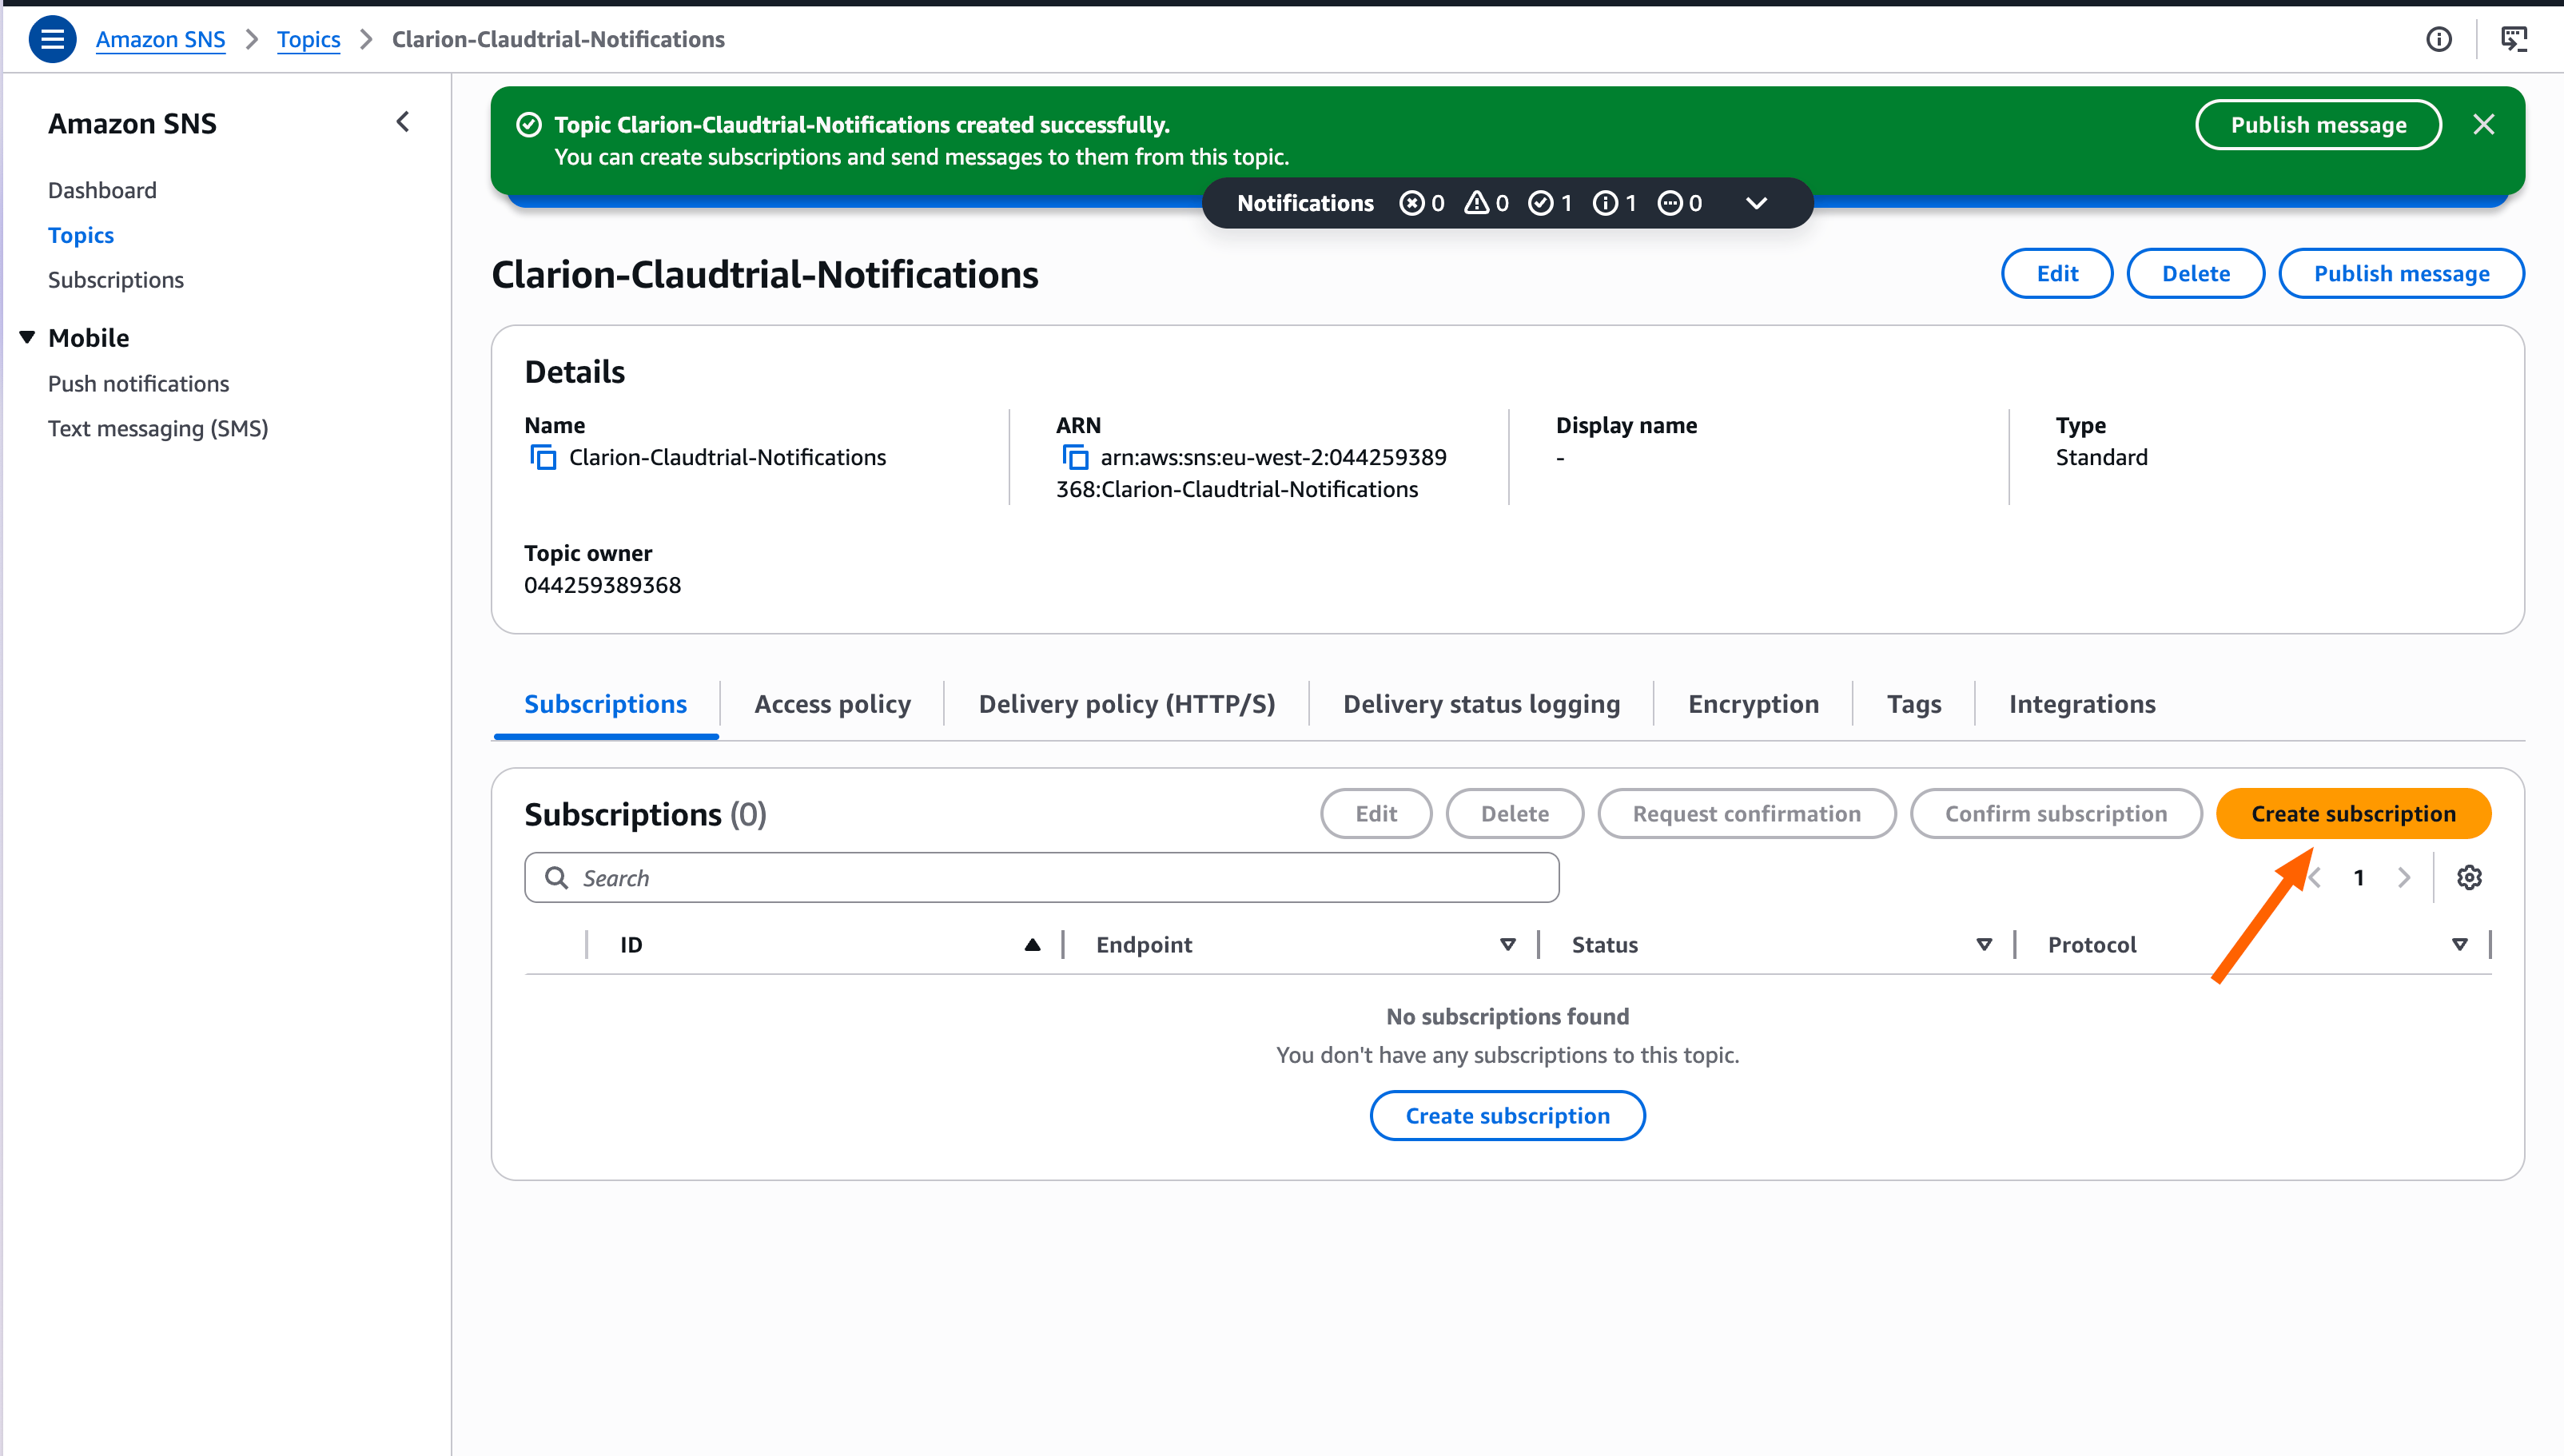
- Copy the Topic ARN shown in the details — you’ll paste it into Clarion next.
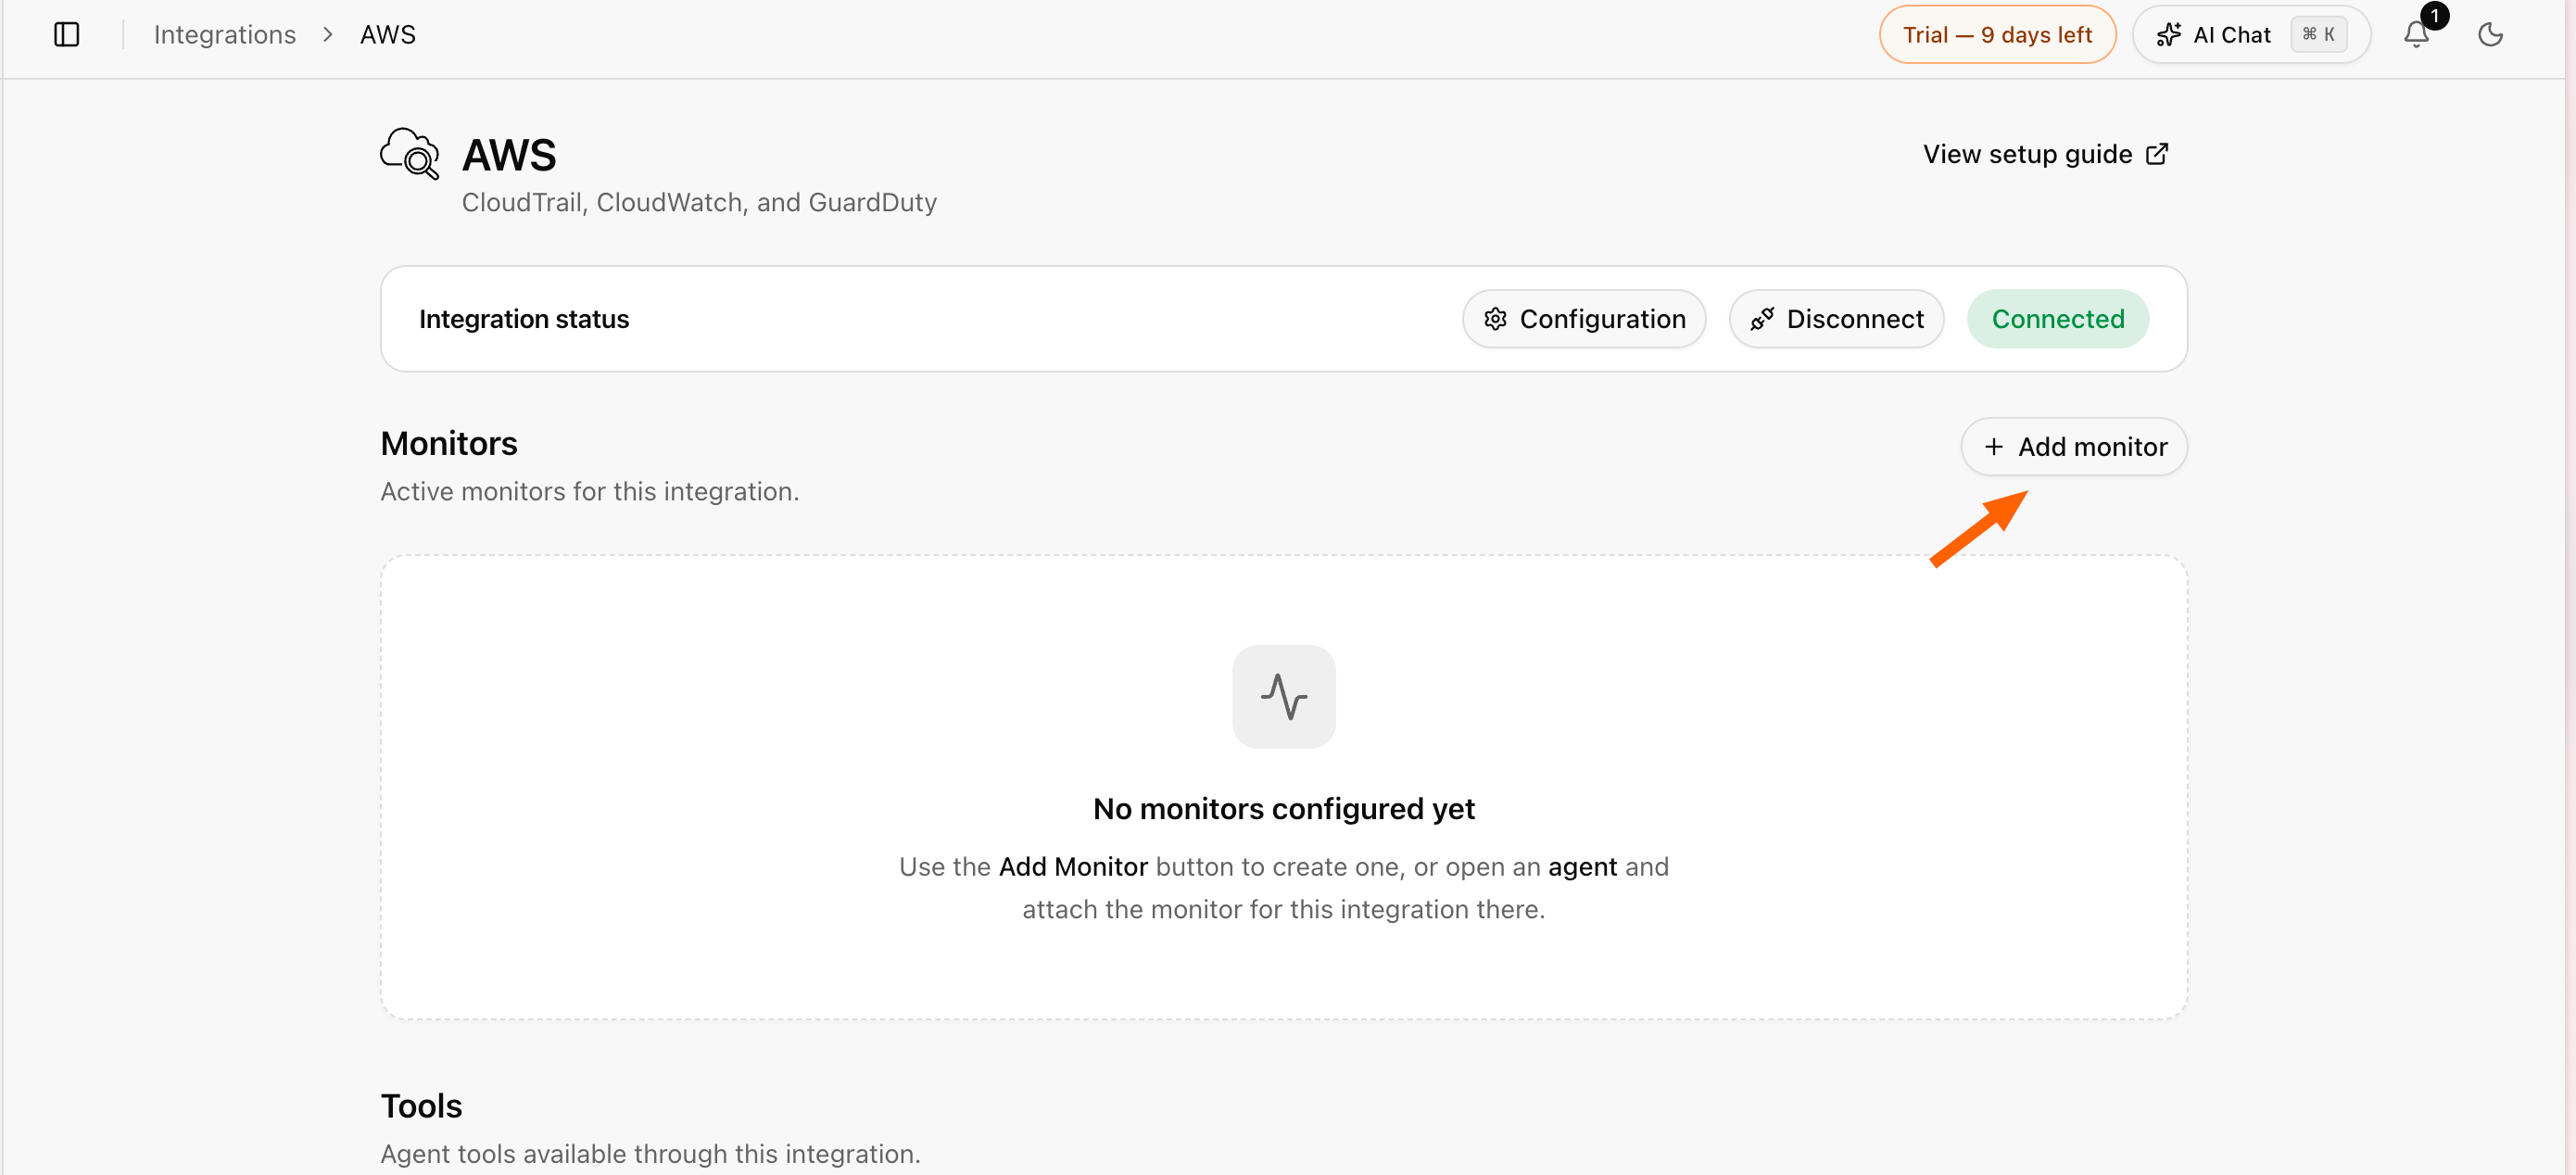
Step 3 — Create the CloudTrail monitor in Clarion
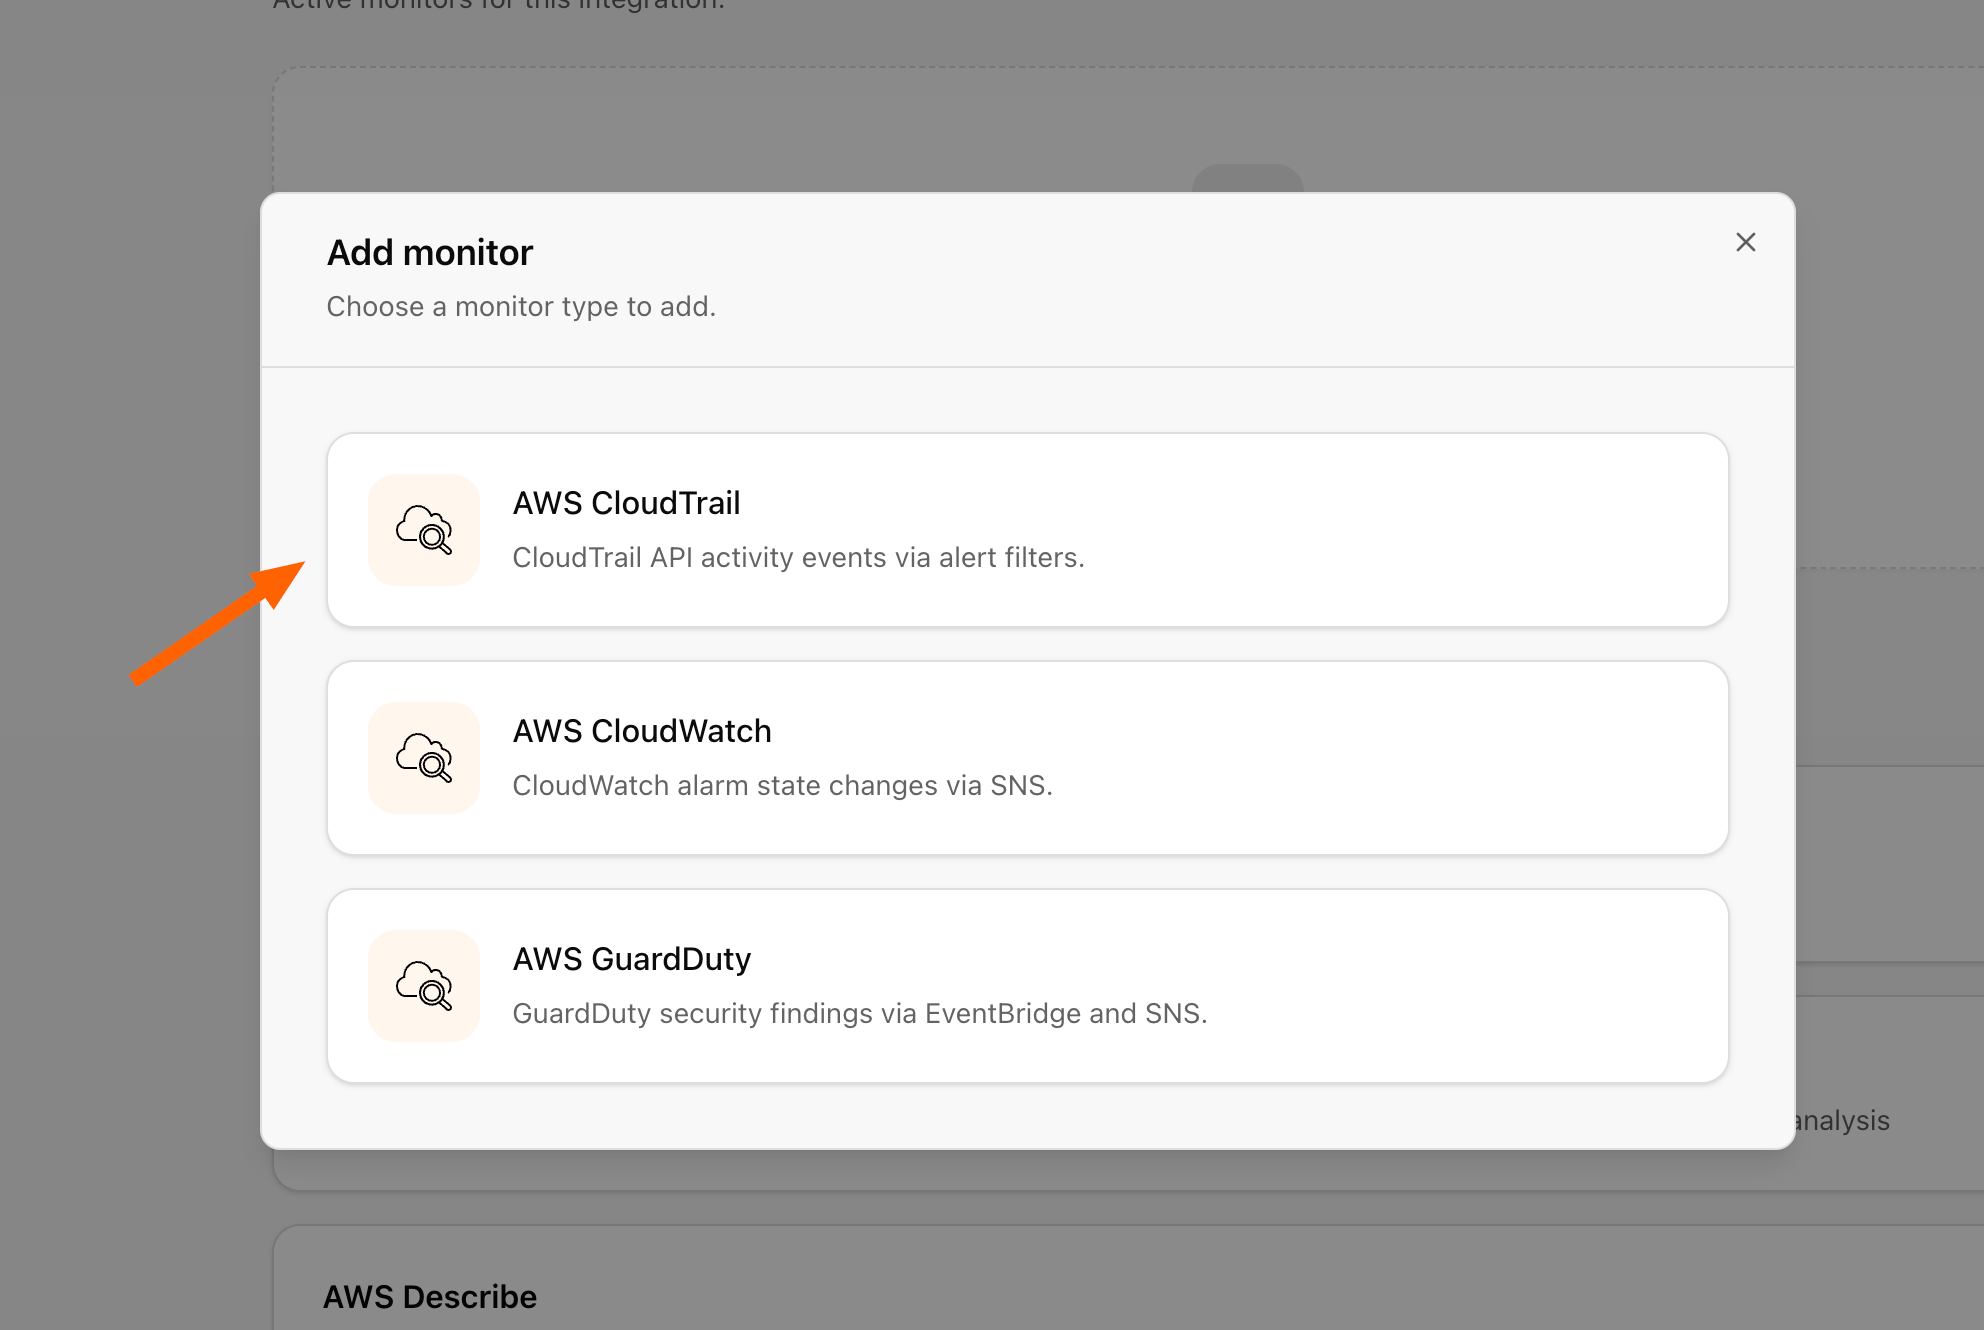
- Navigate back to Clarion and, on the AWS integration page, click Add monitor.
- Select AWS CloudTrail.
- Paste the SNS topic ARN into Clarion. Click Add recommended filters to apply Clarion’s detection rules, then hit Continue.
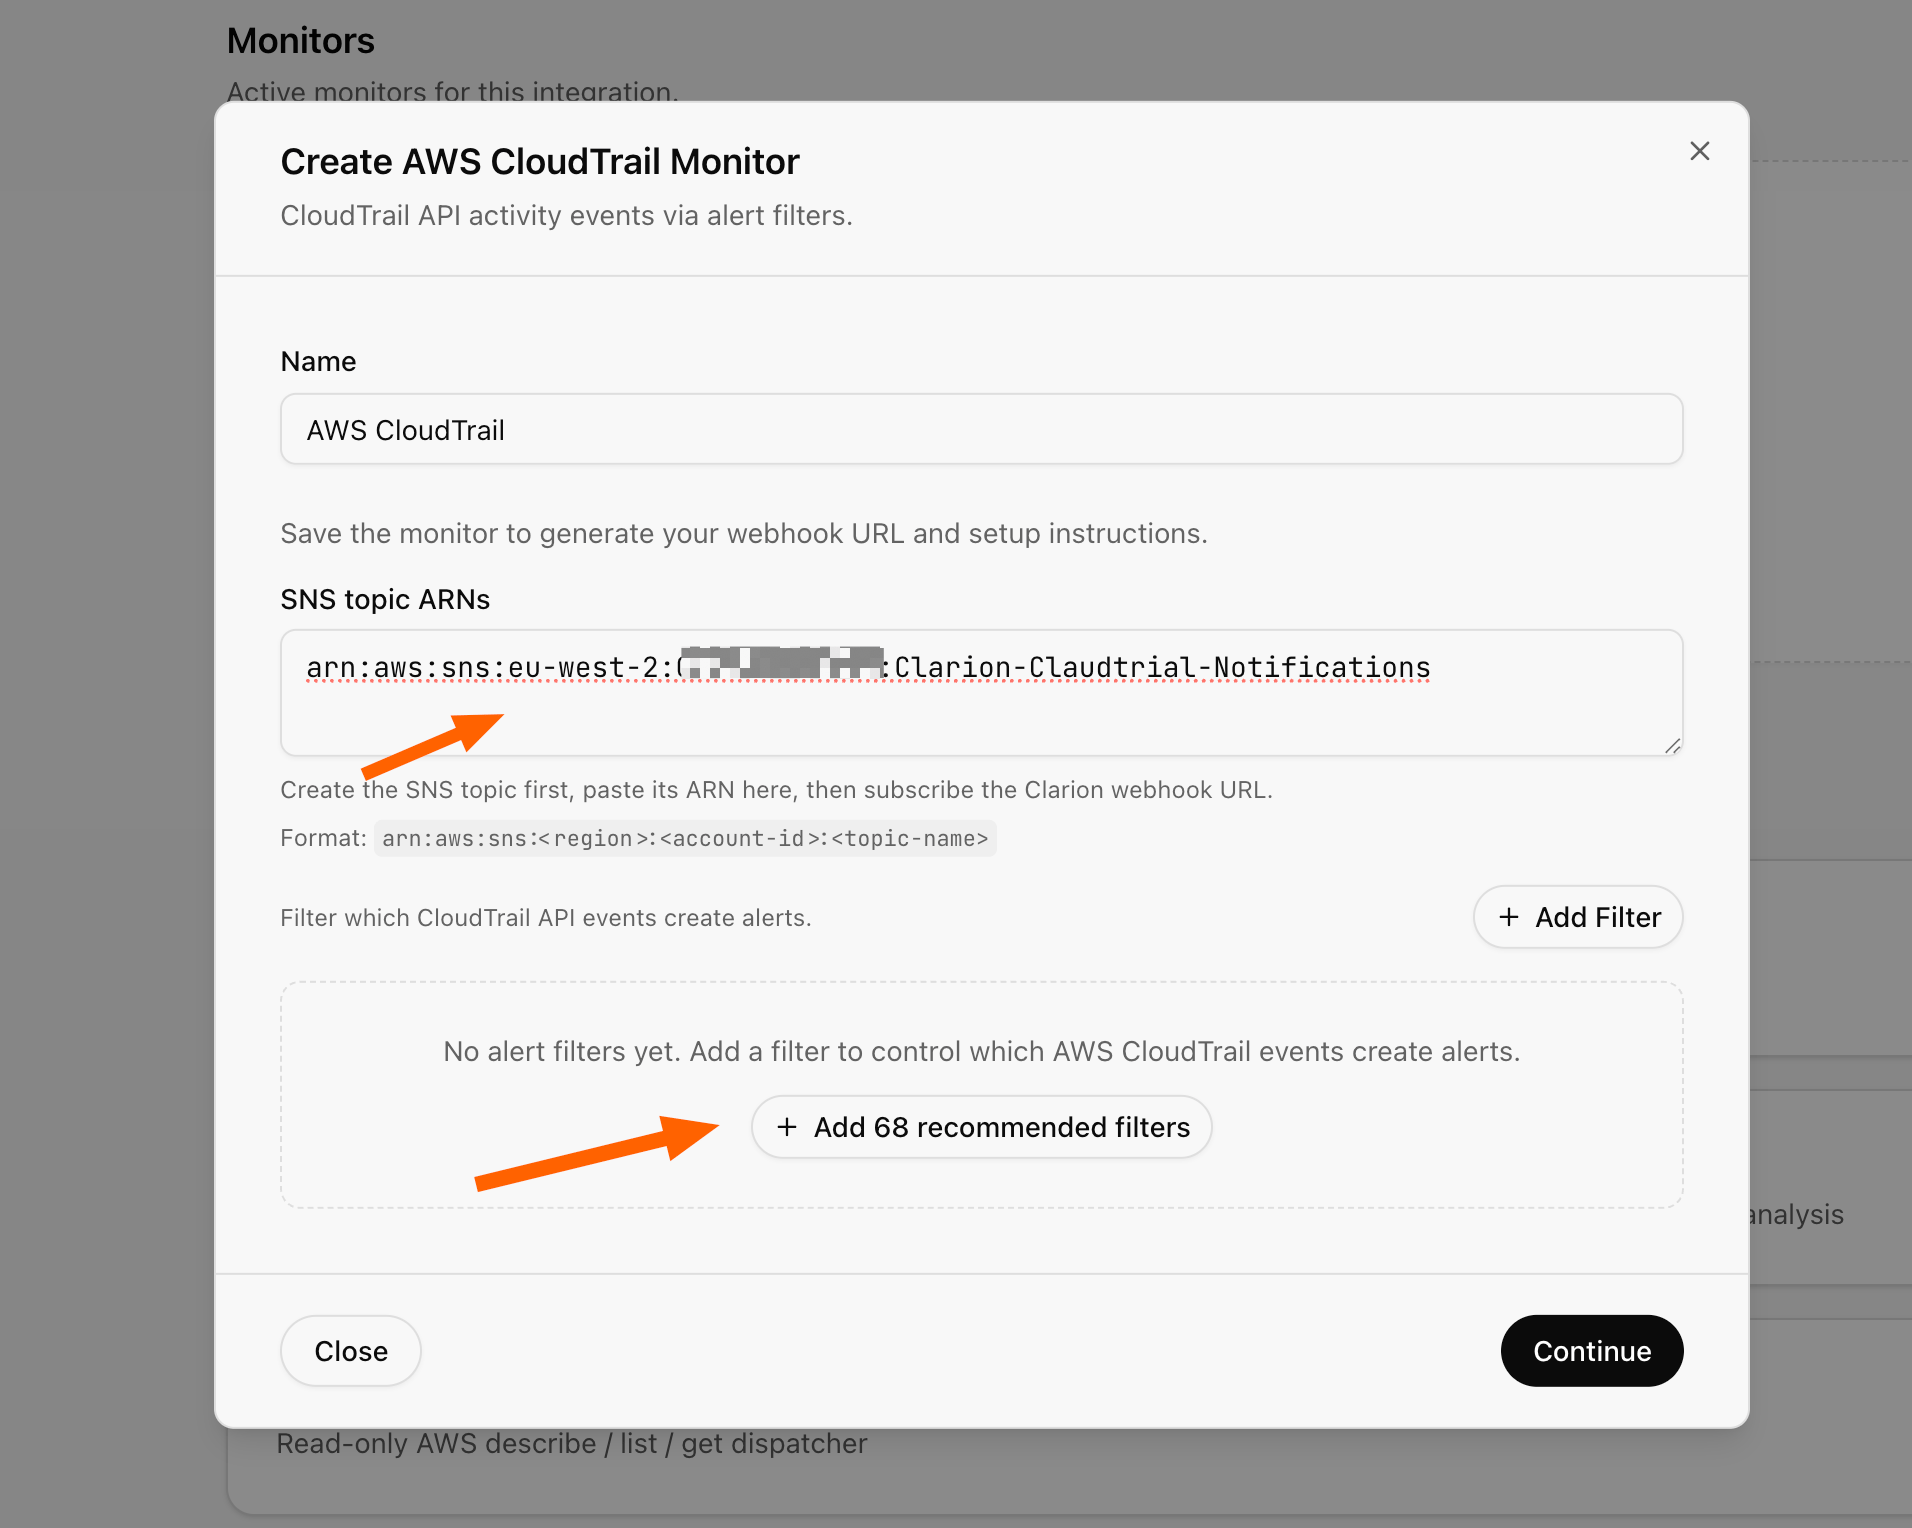
- Copy the webhook URL. You can ignore the rest of the instructions in the modal — simply close it by clicking Done.
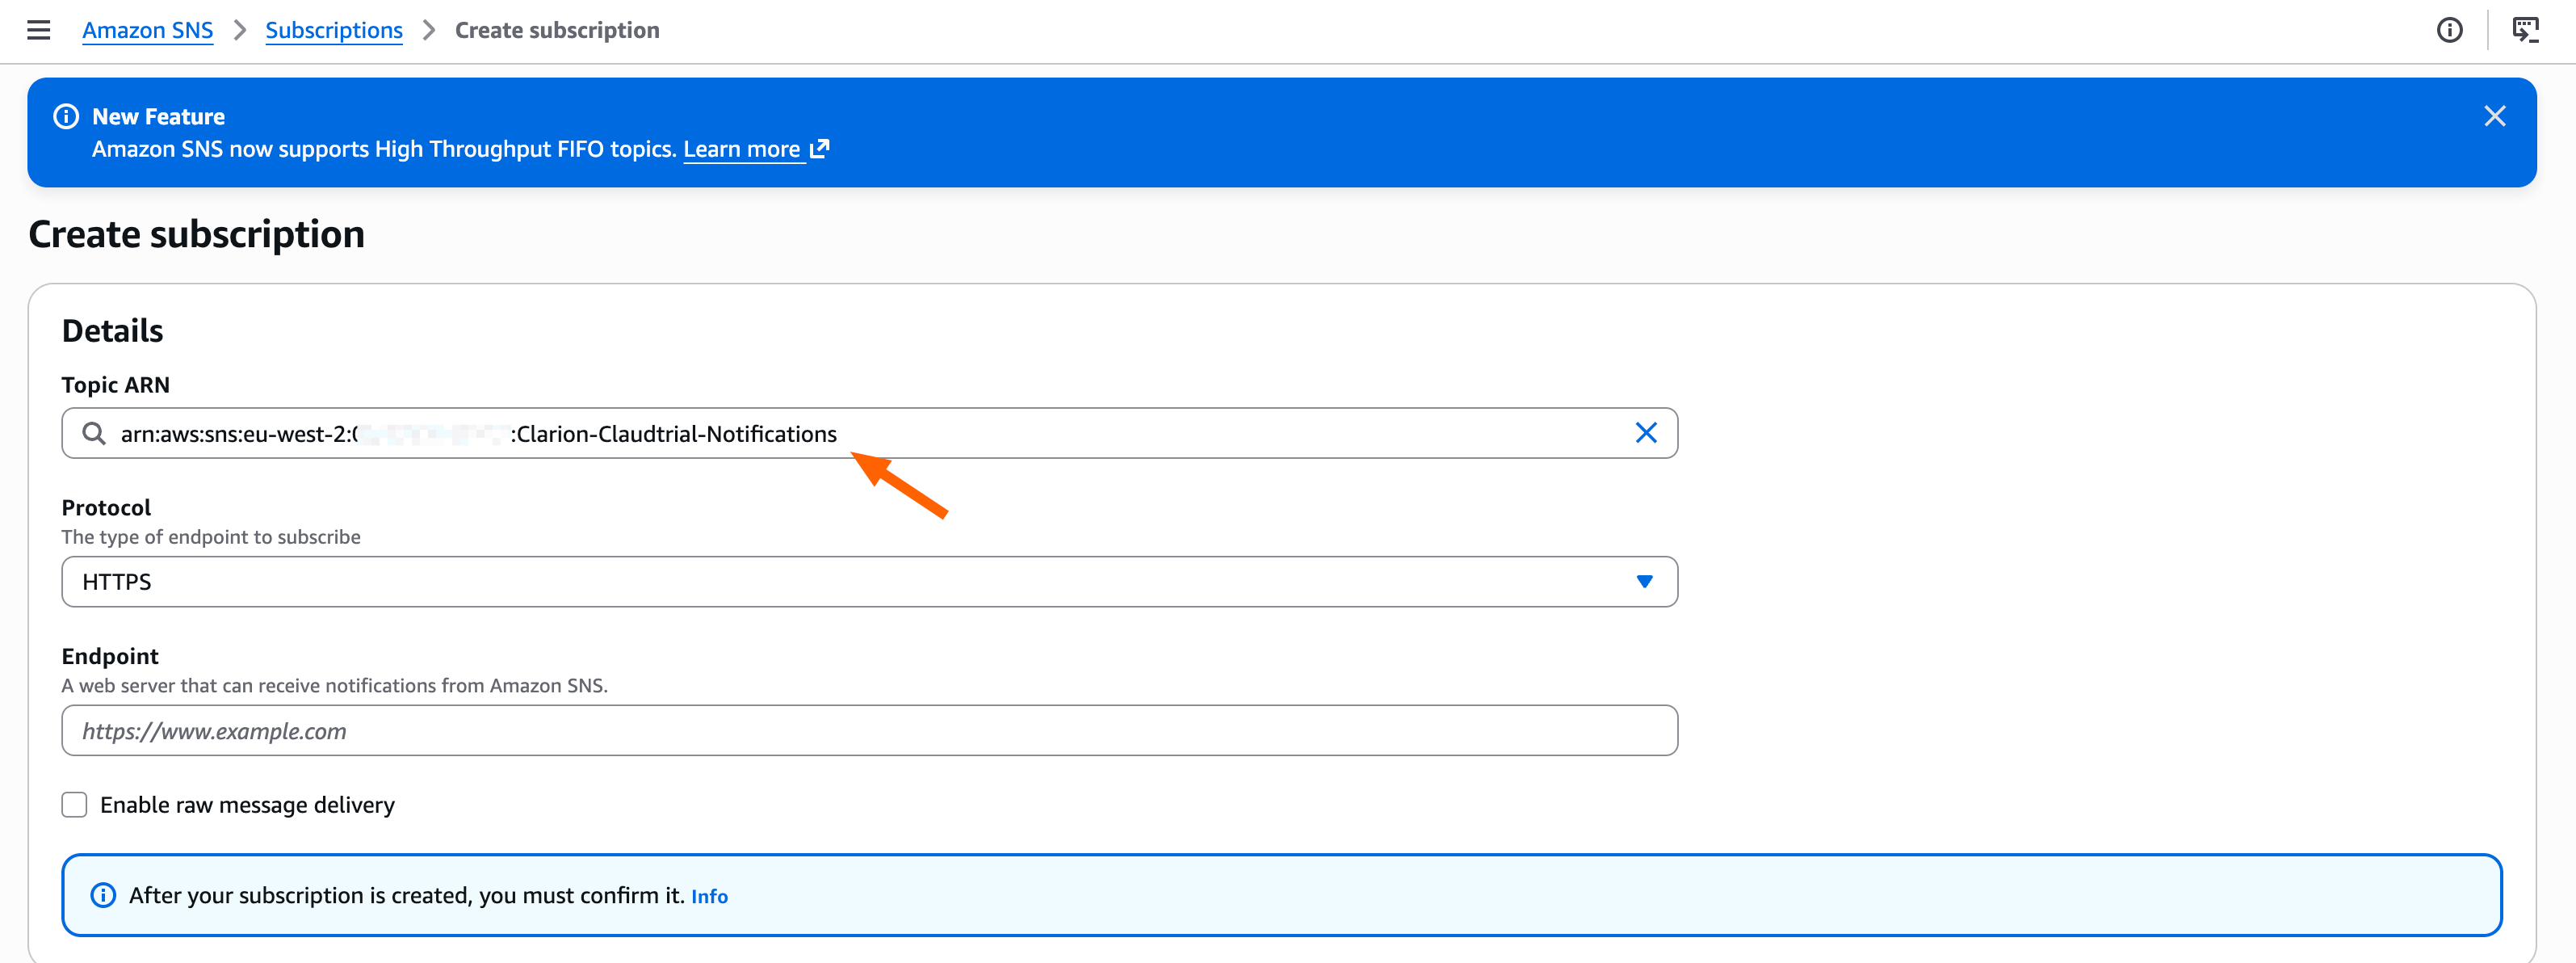
Step 4 — Subscribe Clarion to the SNS topic
Back on the SNS topic’s Create subscription screen, point the subscription at the Clarion webhook:- Set the protocol to HTTPS.
- Paste the Clarion webhook URL as the Endpoint.
- Create the subscription. Clarion auto-confirms it.
Step 5 — Notify Clarion when new log files arrive
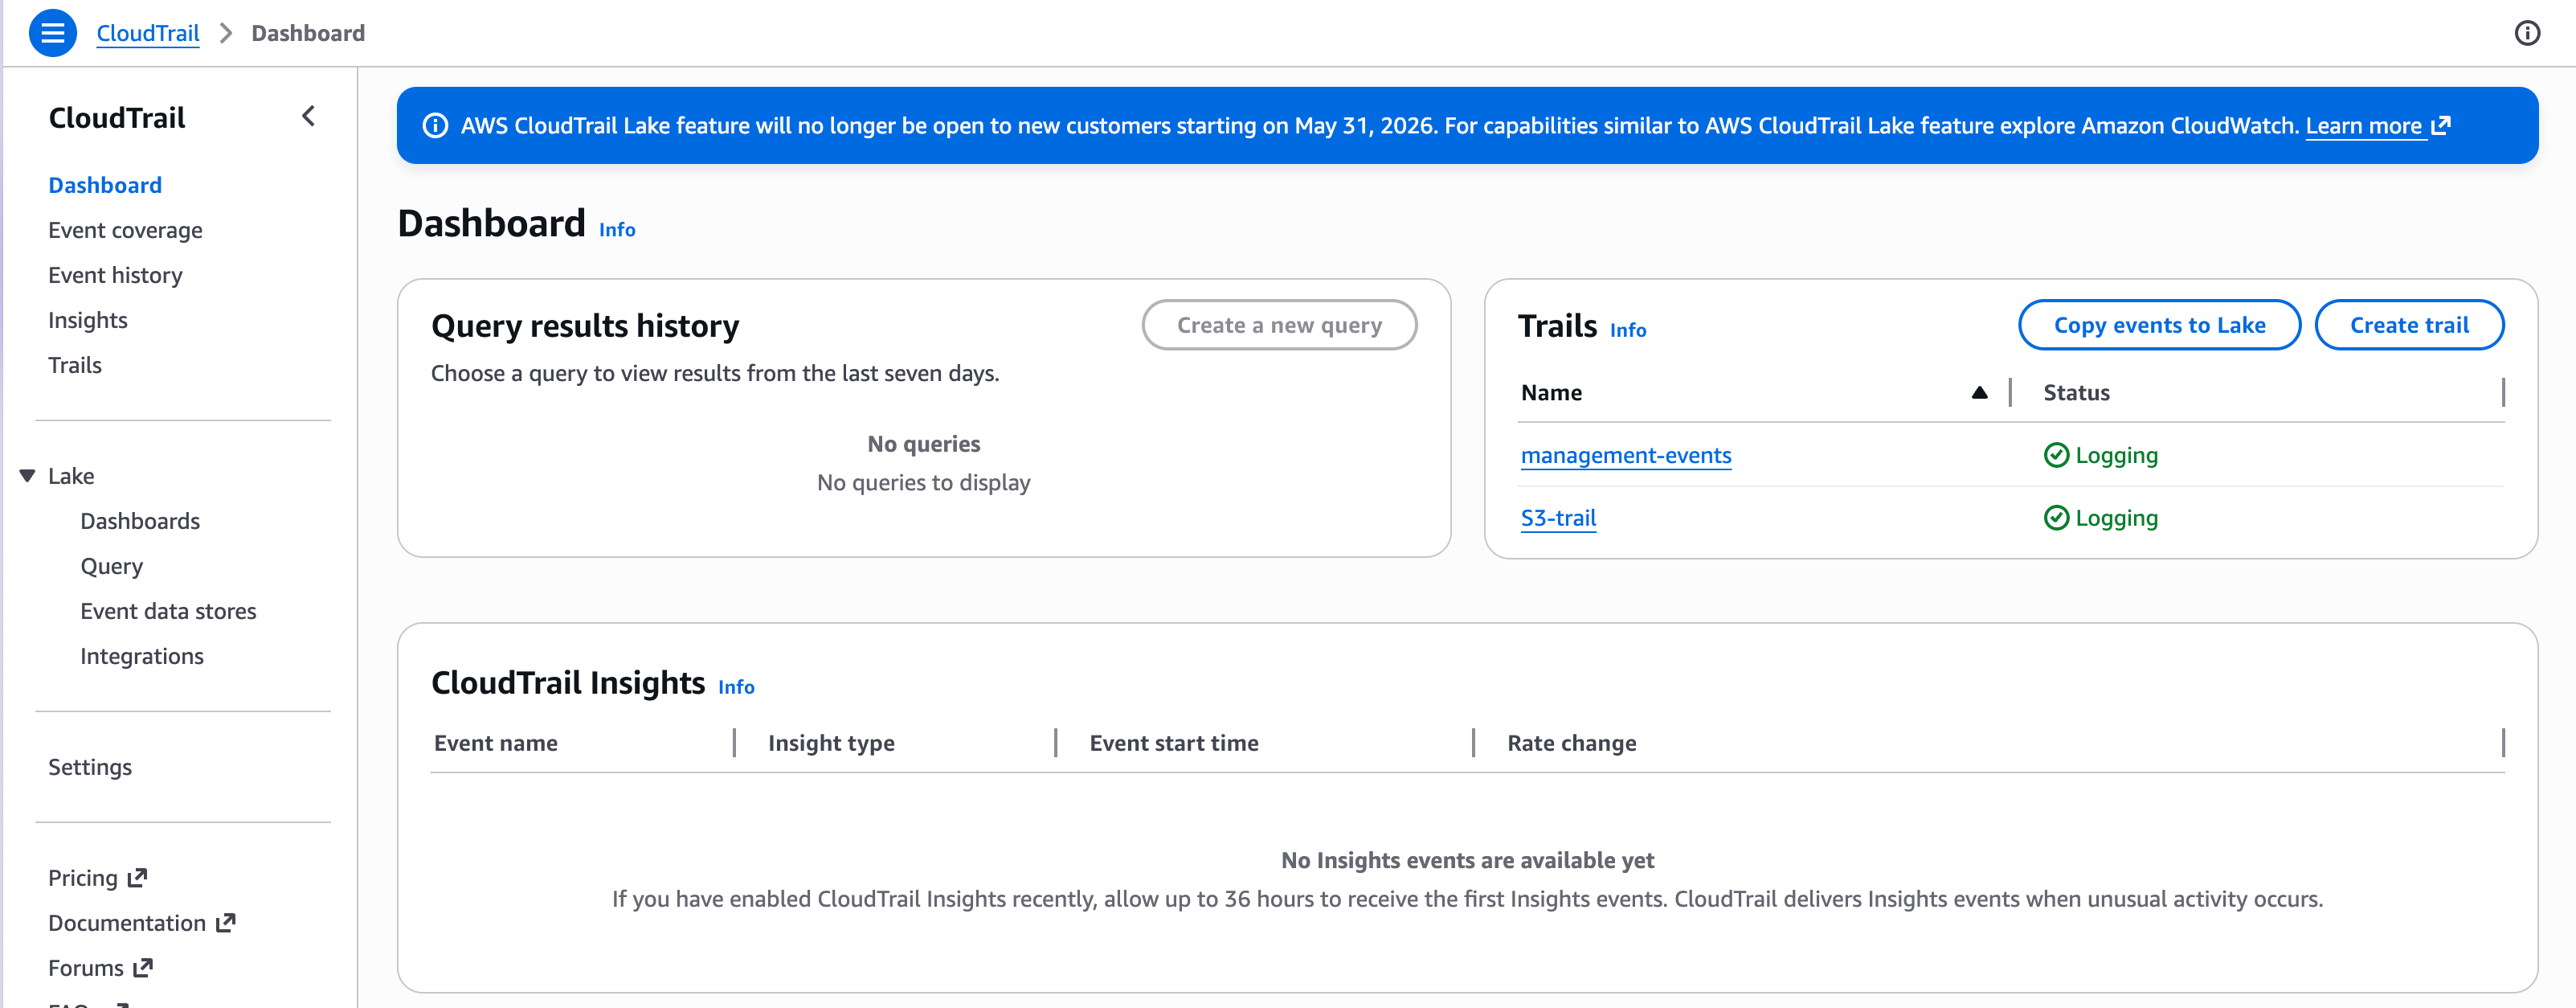
Now configure the S3 bucket to publish to the SNS topic whenever CloudTrail writes a new log file.- Open CloudTrail and select your existing trail.
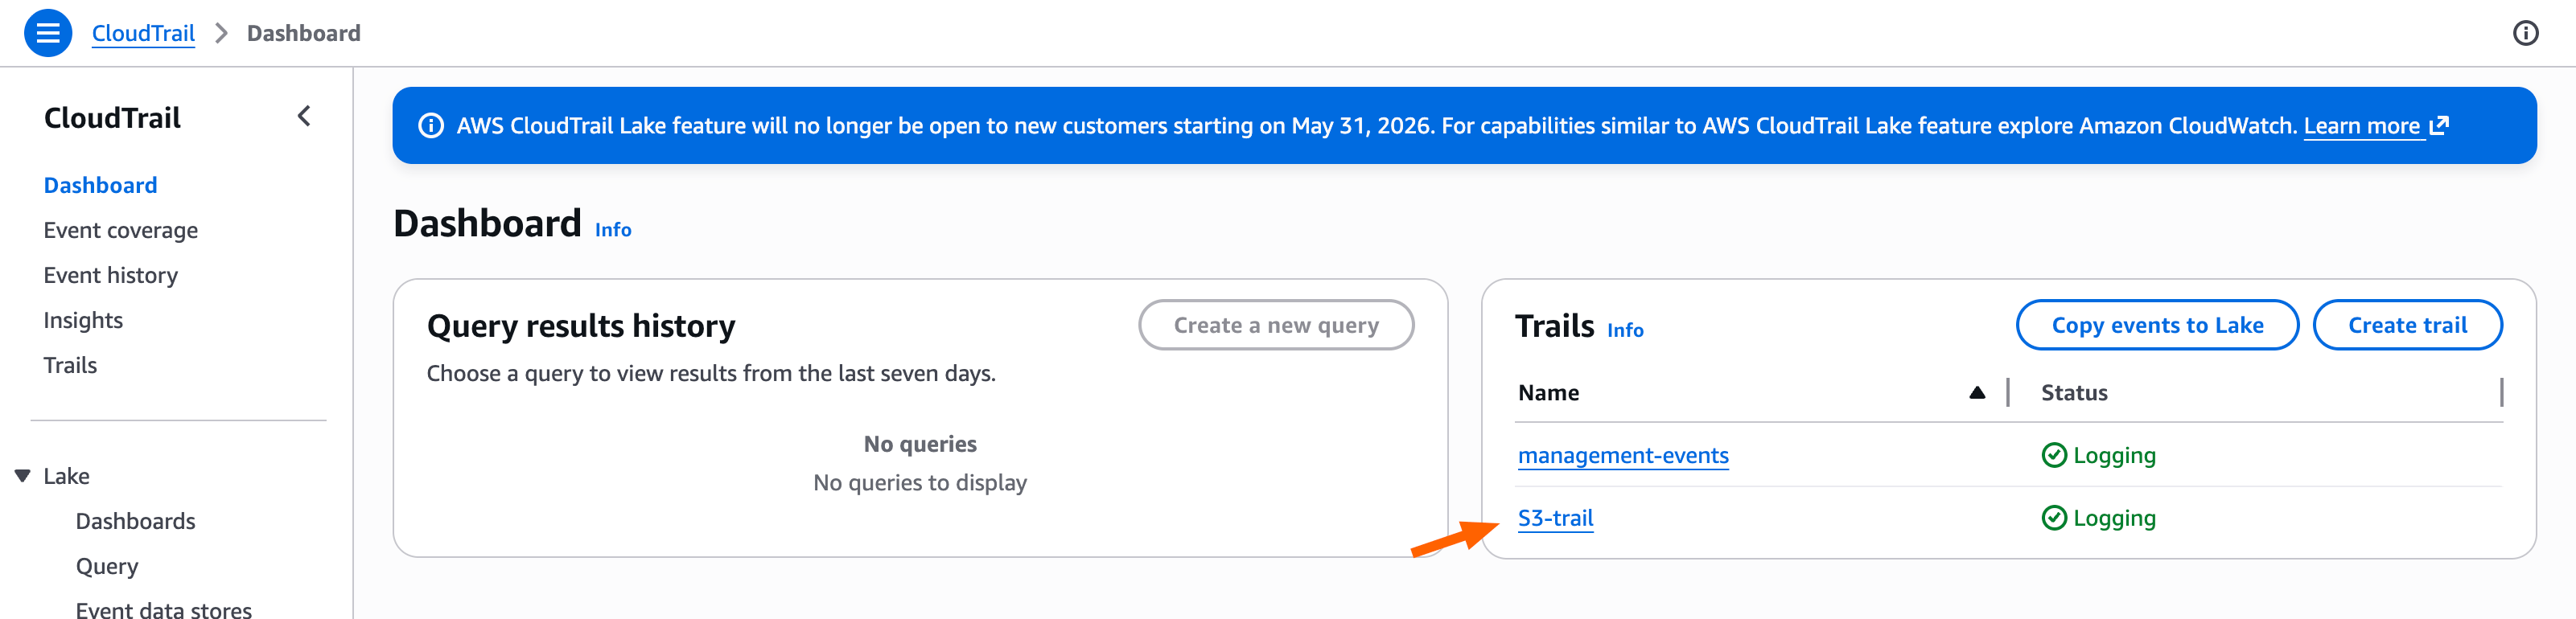
- Under the trail details, find the Trail log location — this is the S3 bucket your CloudTrail logs are stored in.
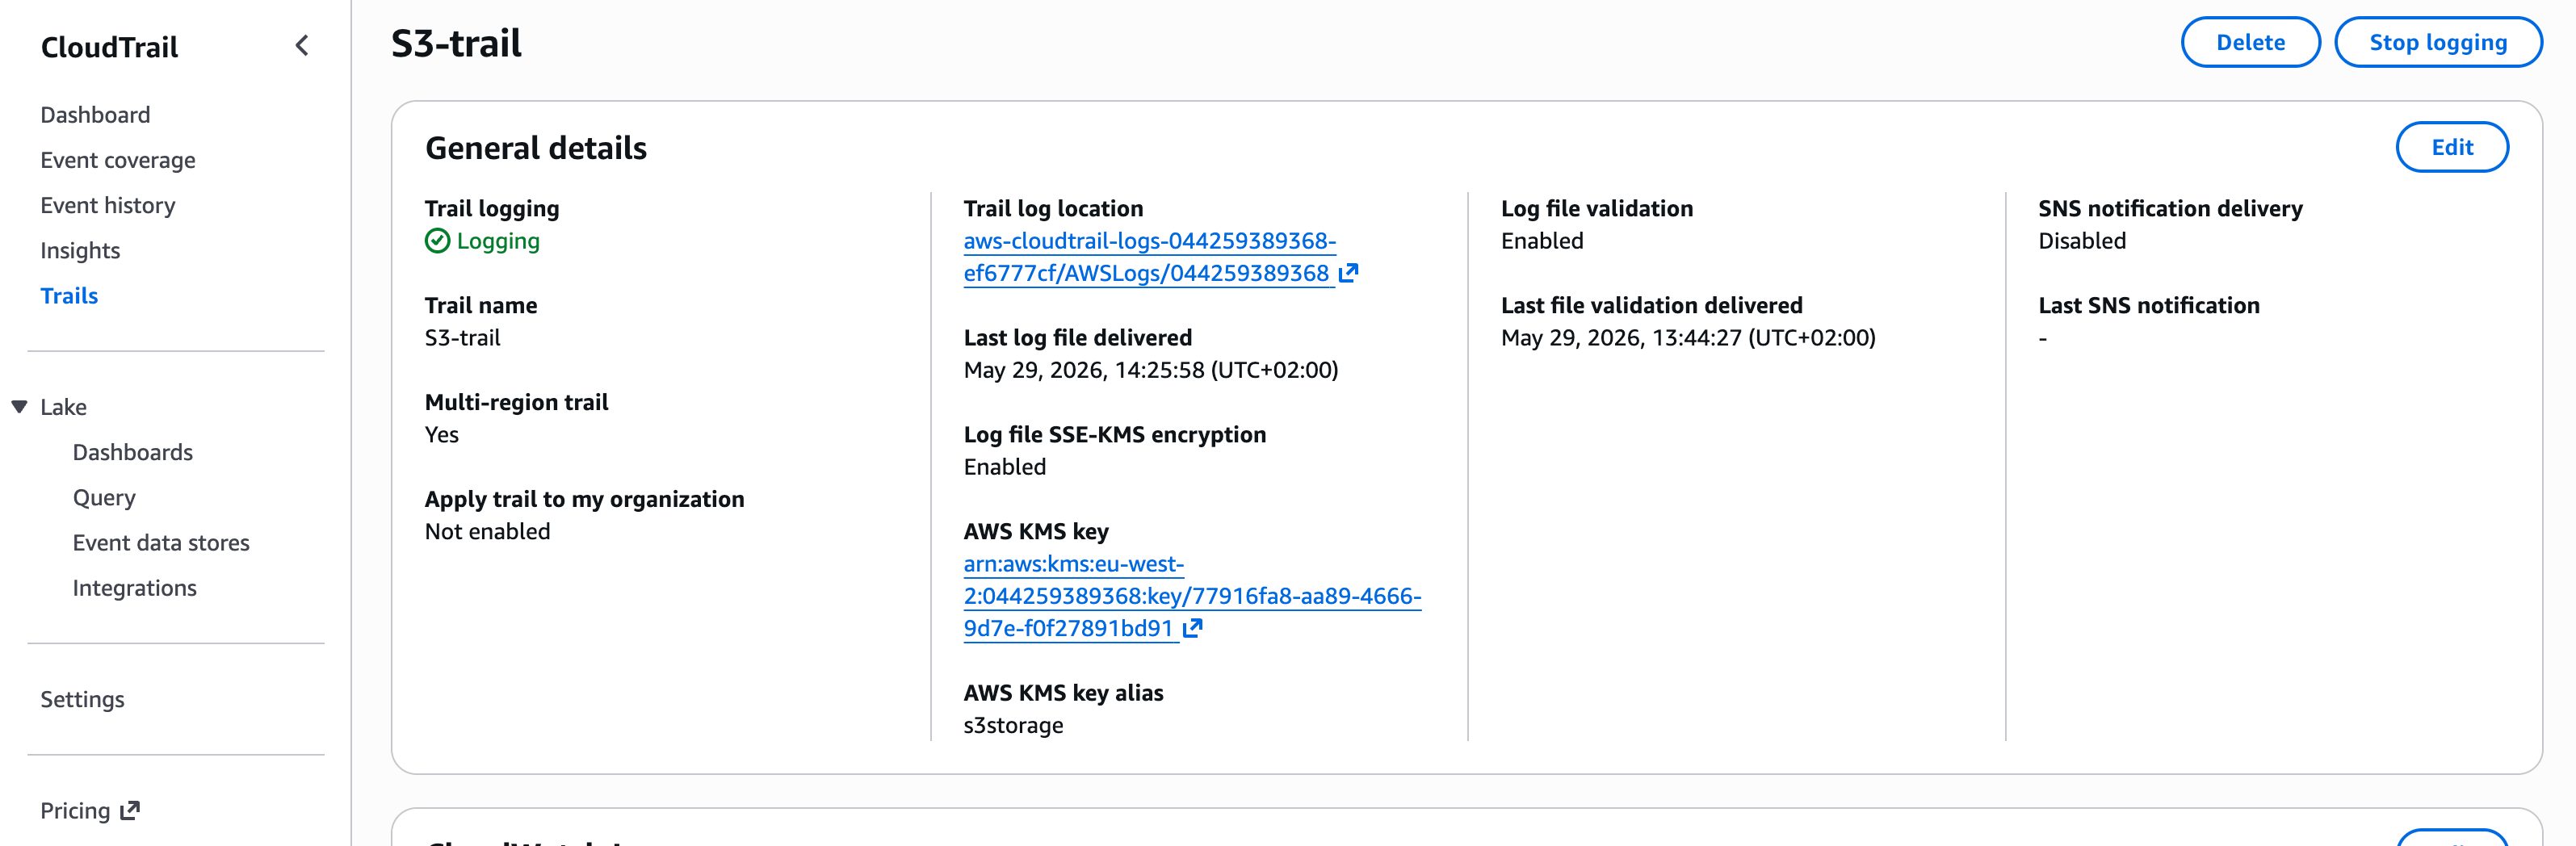
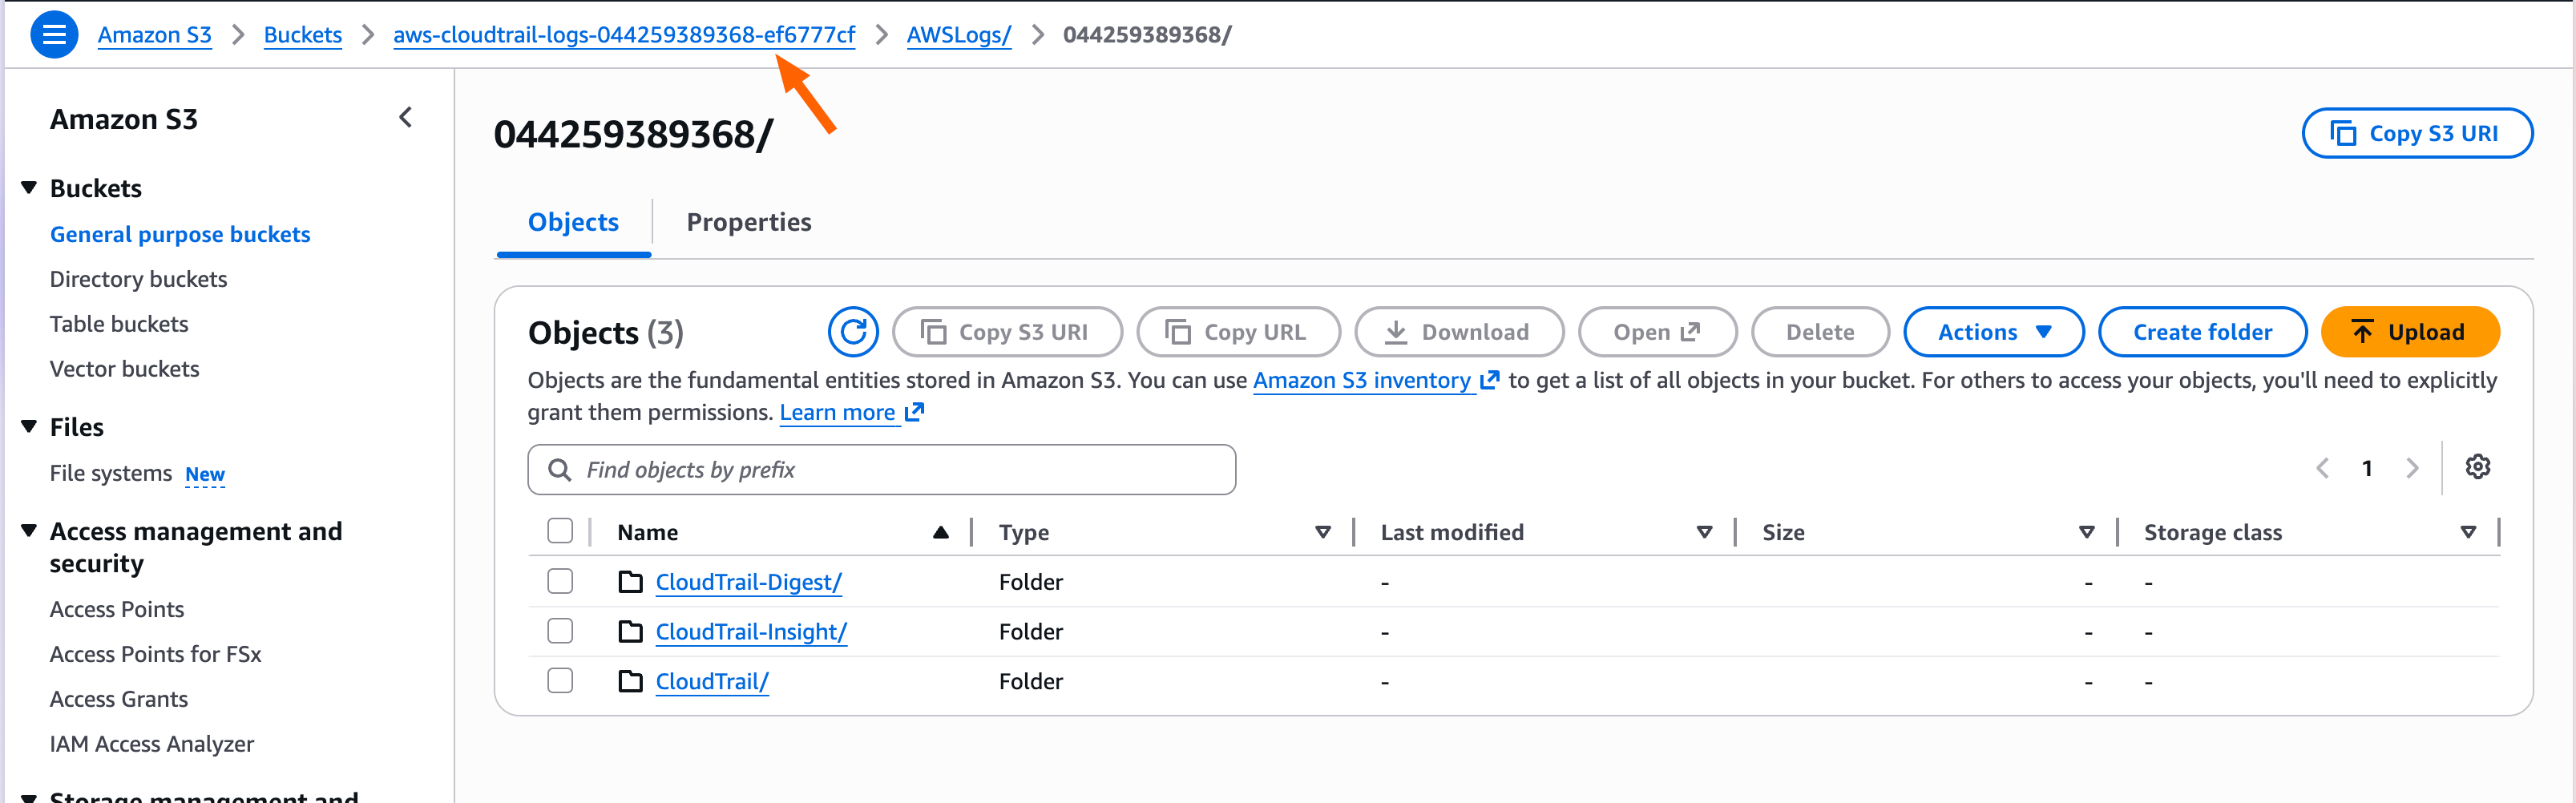
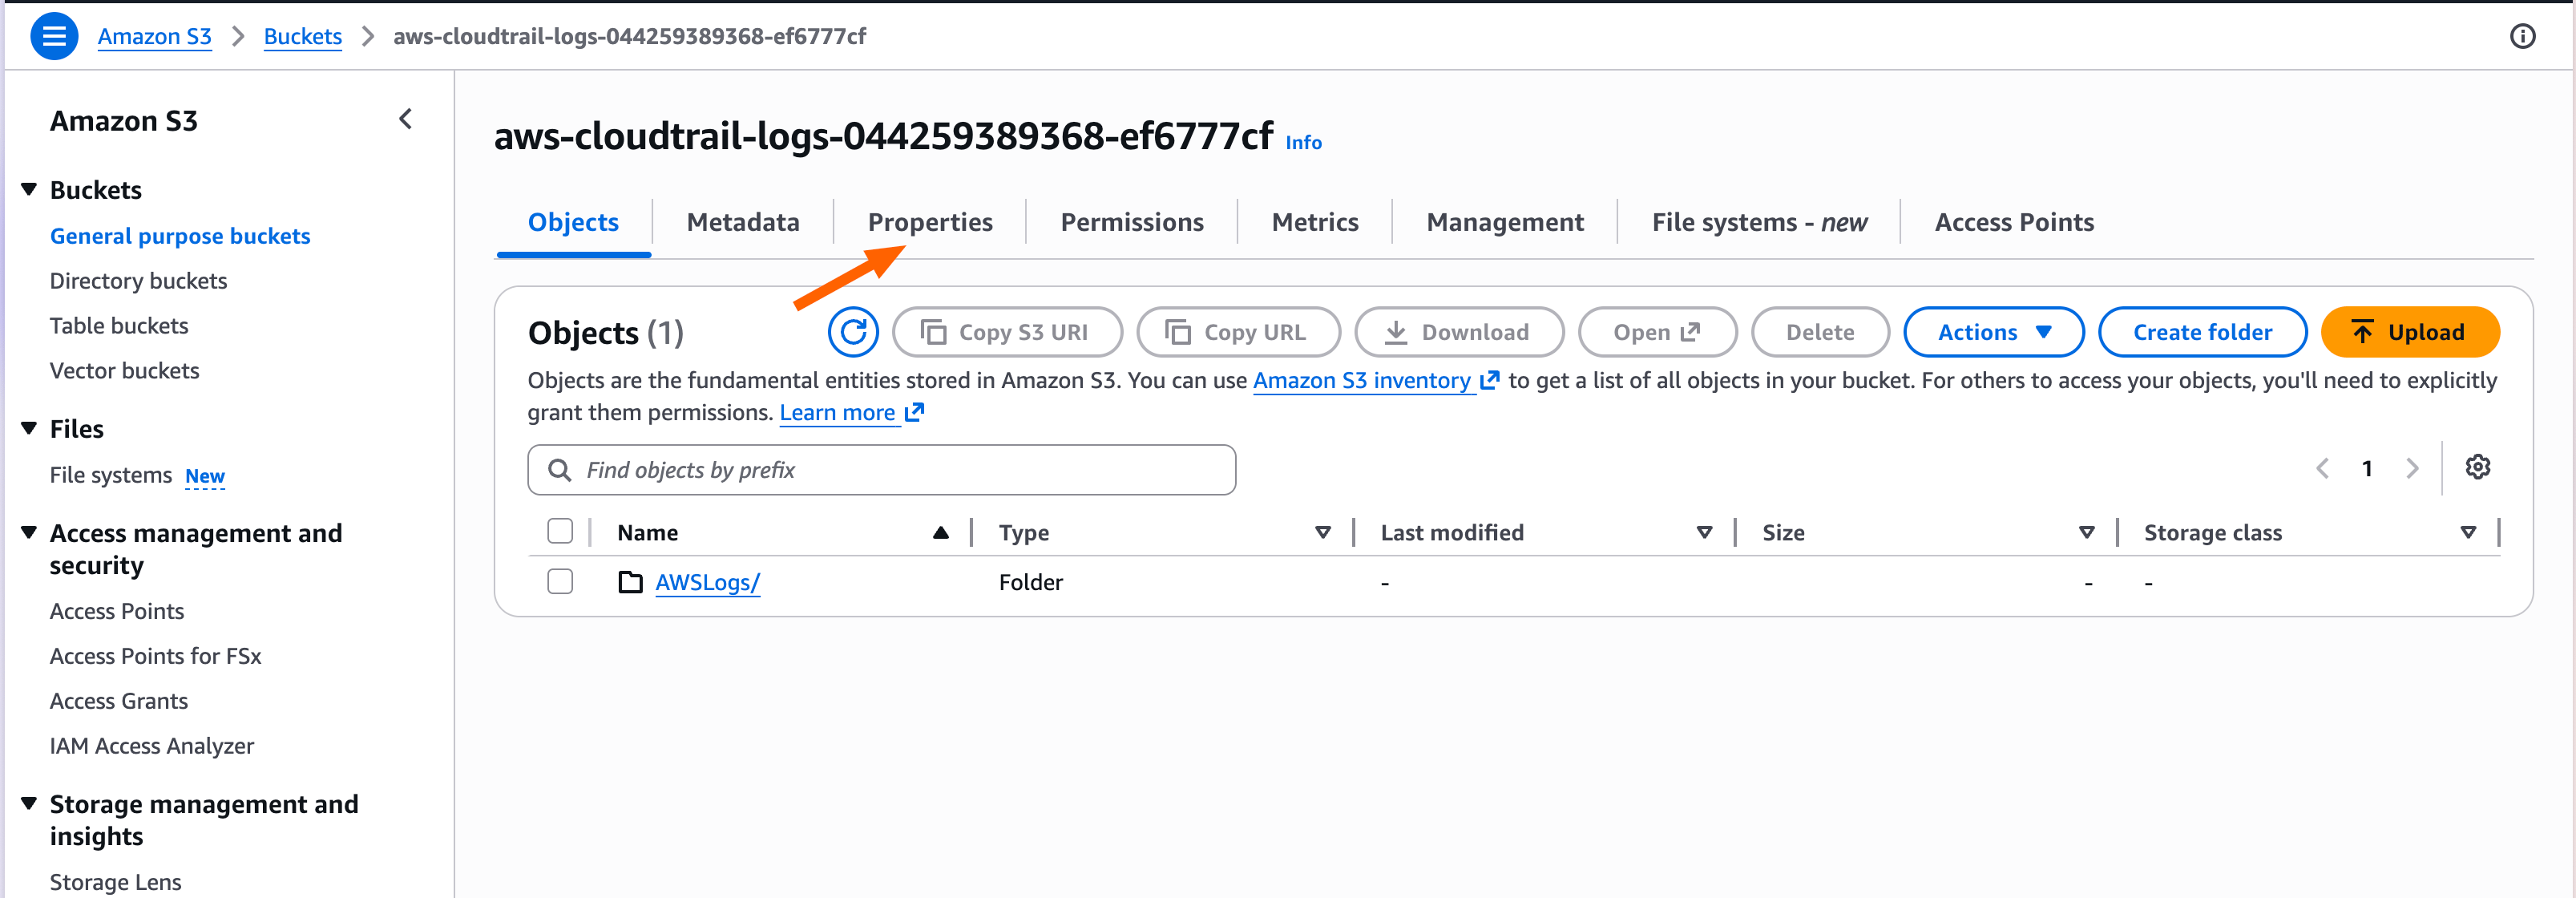
- Click the Trail log location link to open the bucket.

- Using the breadcrumb navigation at the top, navigate up to the bucket itself (out of the log-location folder).
- Open the Properties tab.
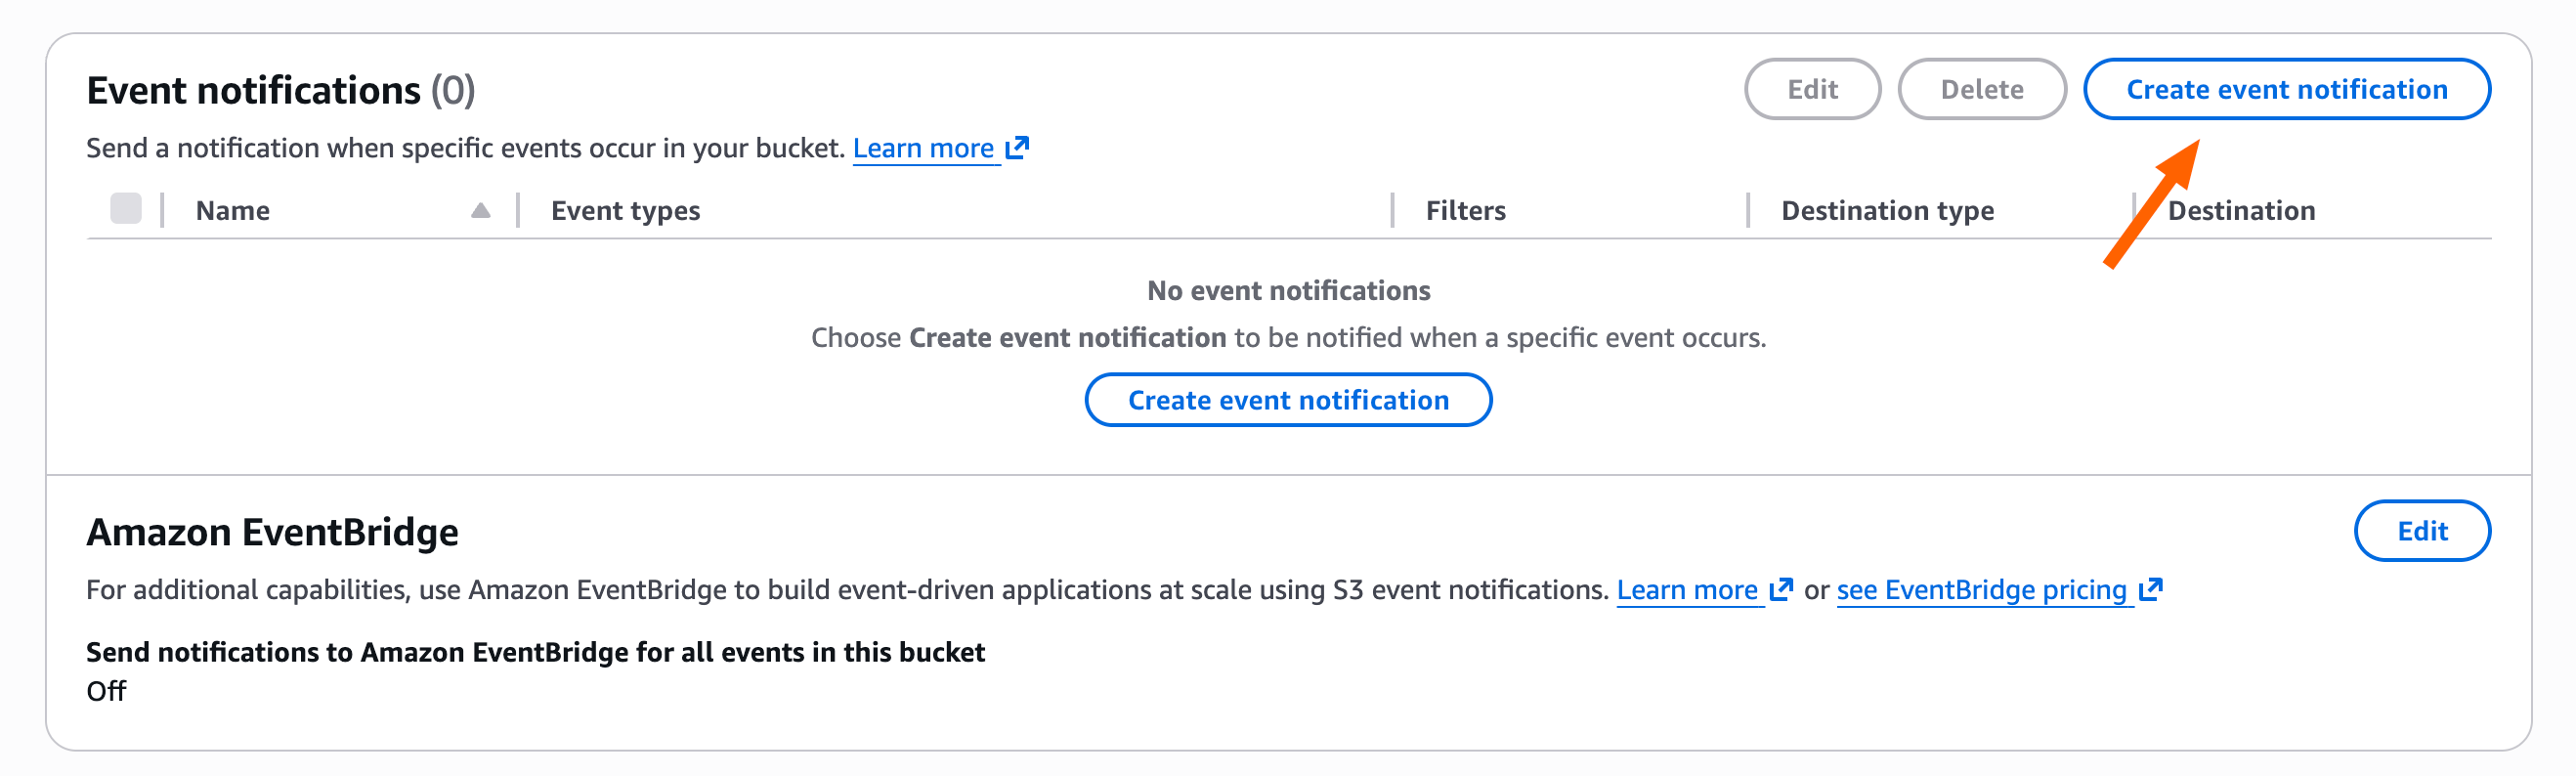
- Scroll down to Event notifications and click Create event notification.
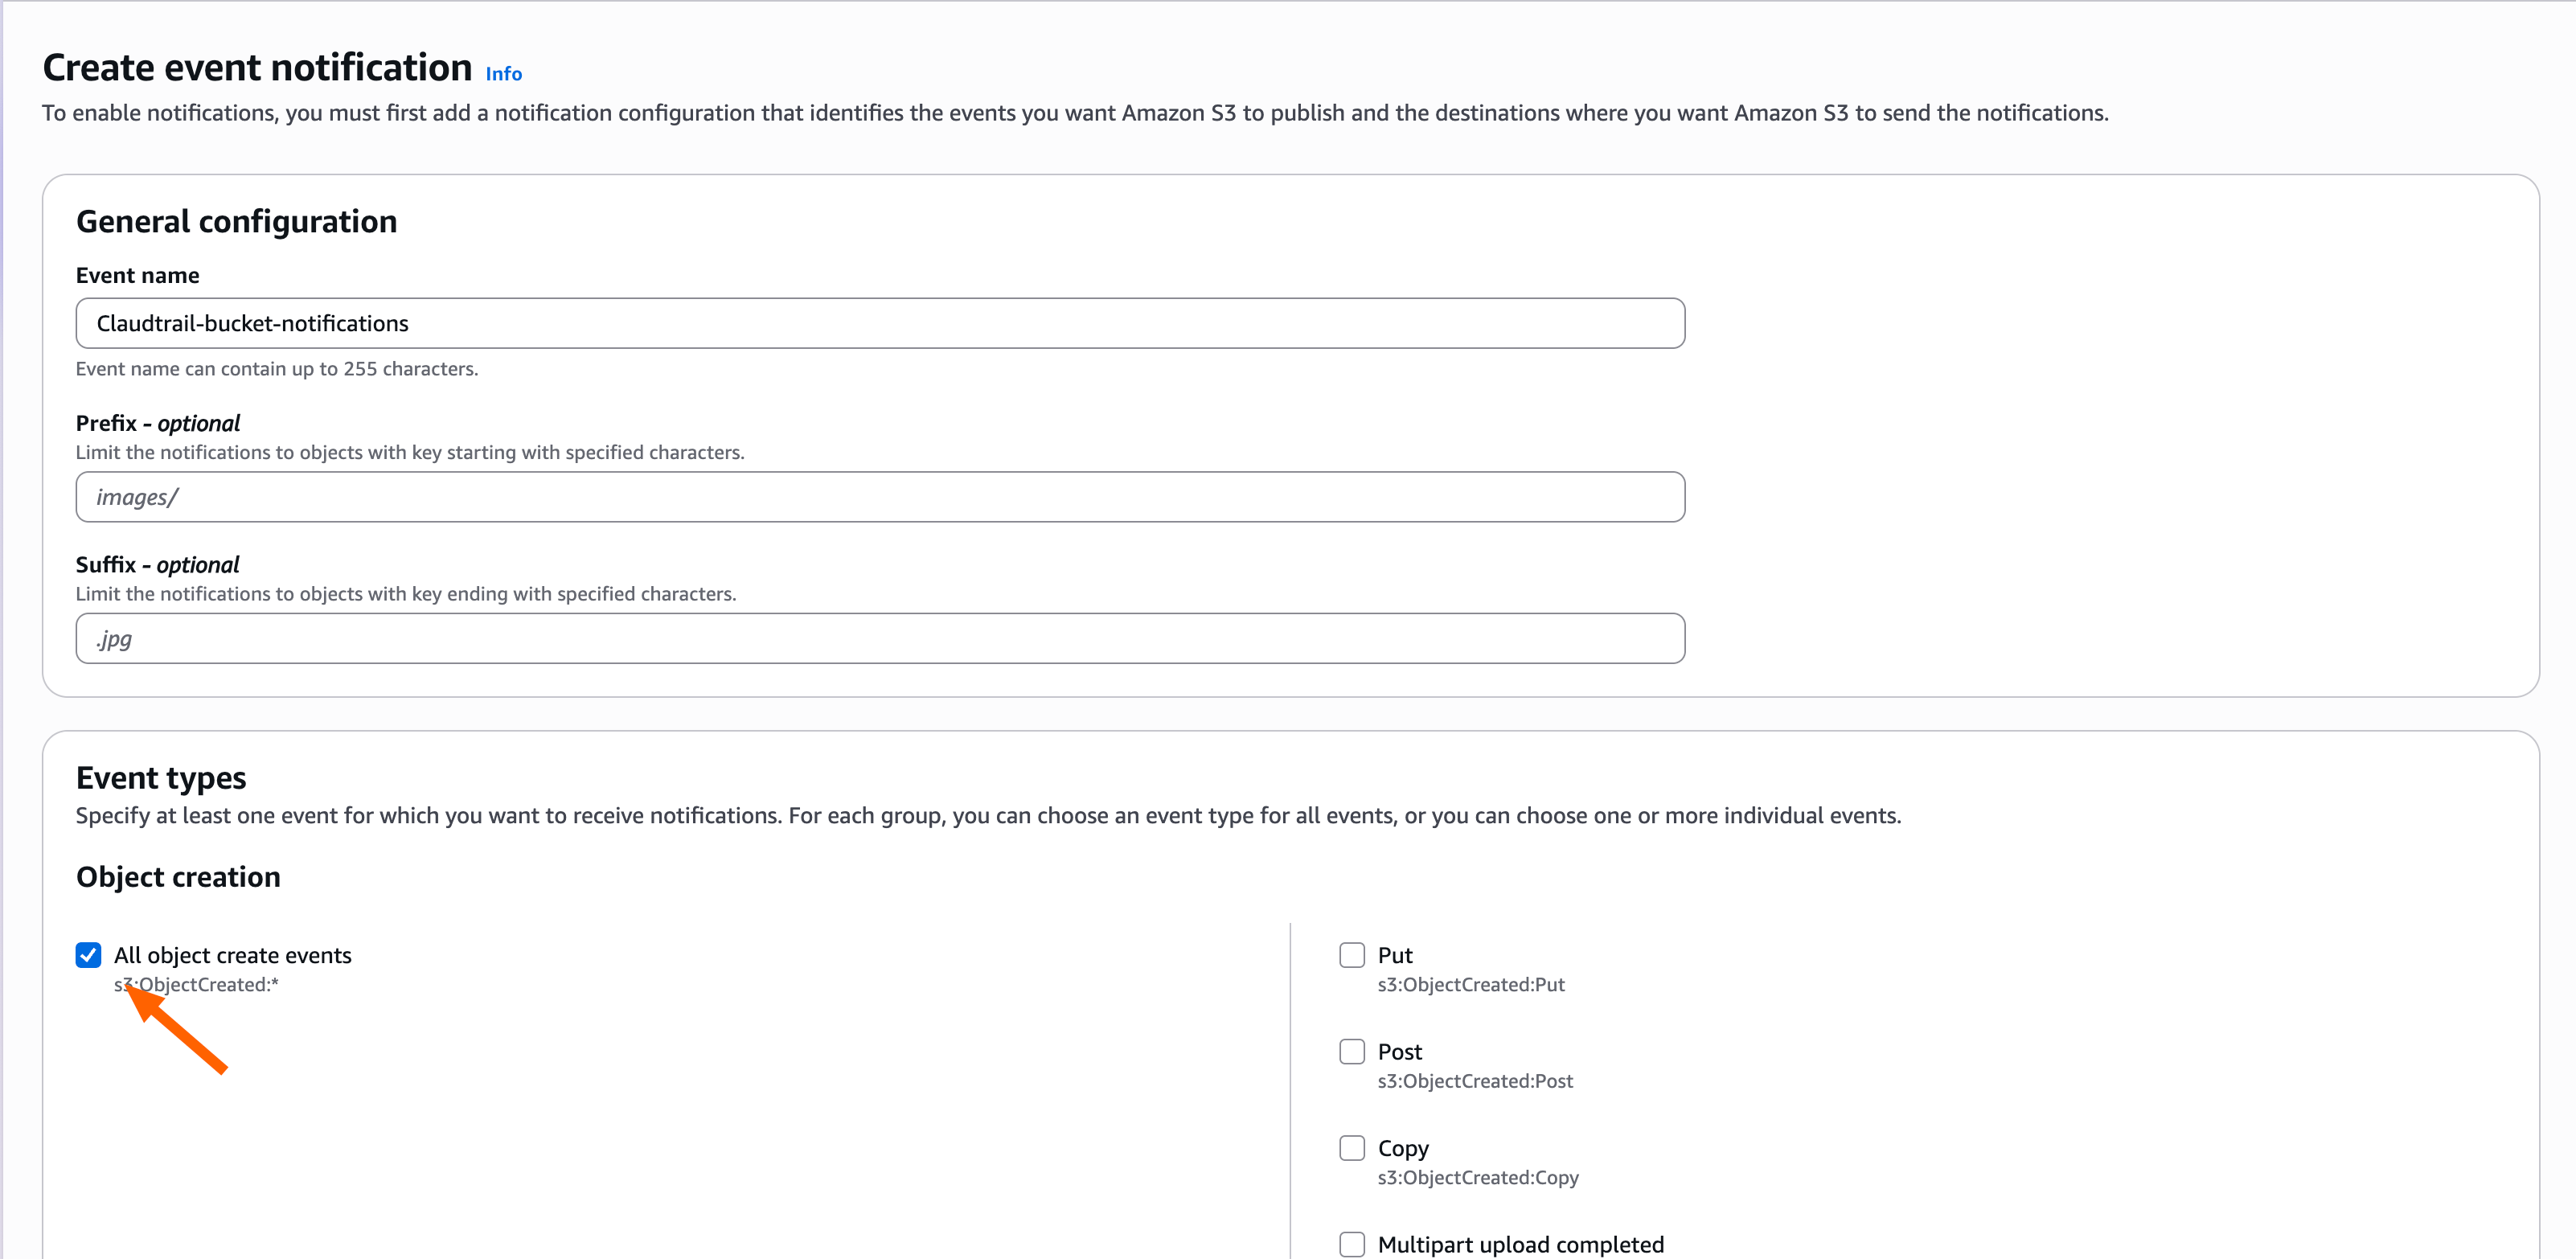
- Add an event name and select All object create events.
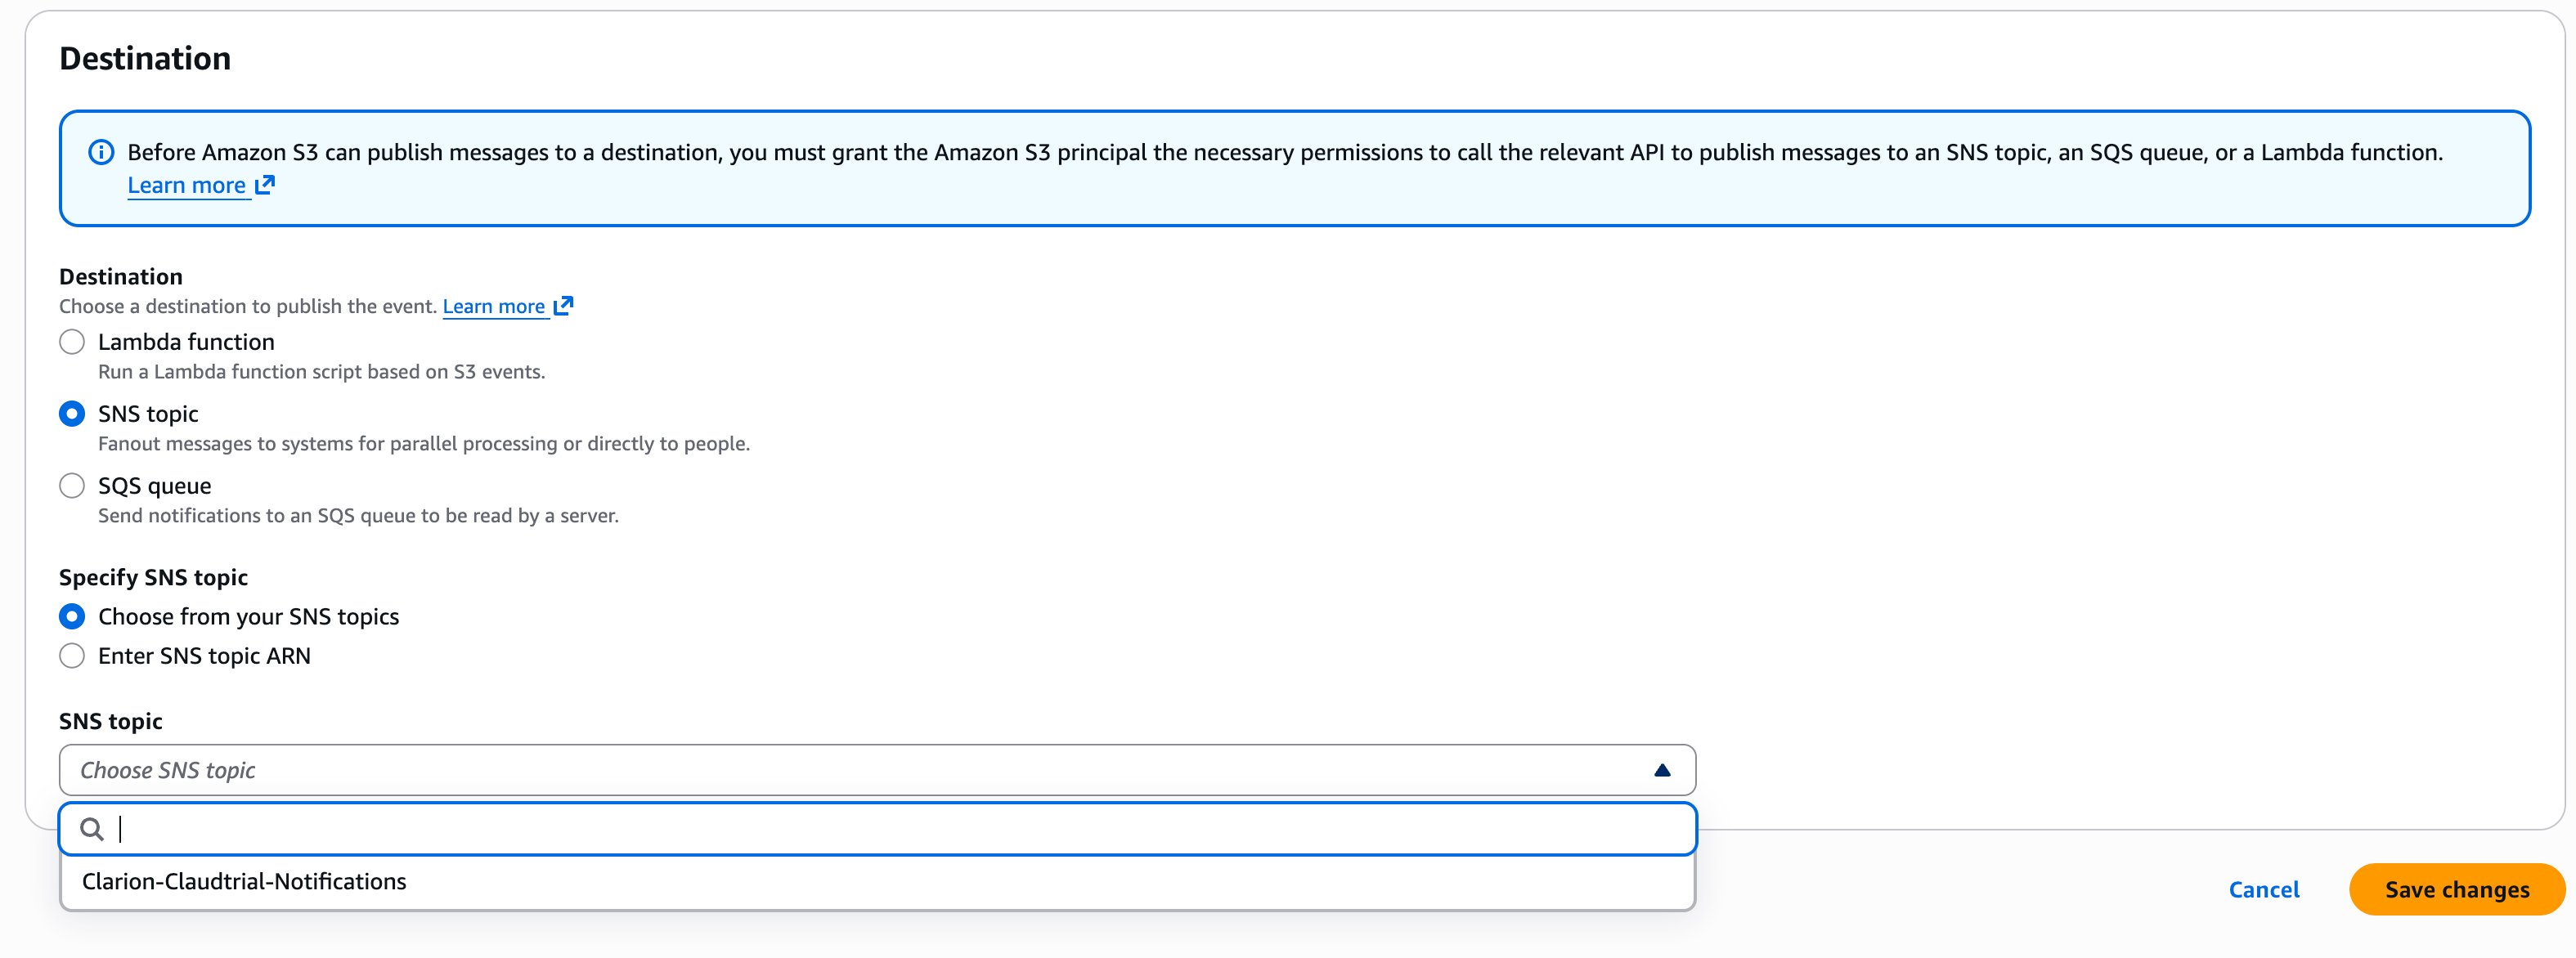
- Scroll down to Destination, select SNS topic as the destination, and use the dropdown to select the SNS topic you created in Step 2. Then hit Save changes.
Clarion is now subscribed and S3 will notify it on every new CloudTrail log file. Next, create an agent so those events get triaged.
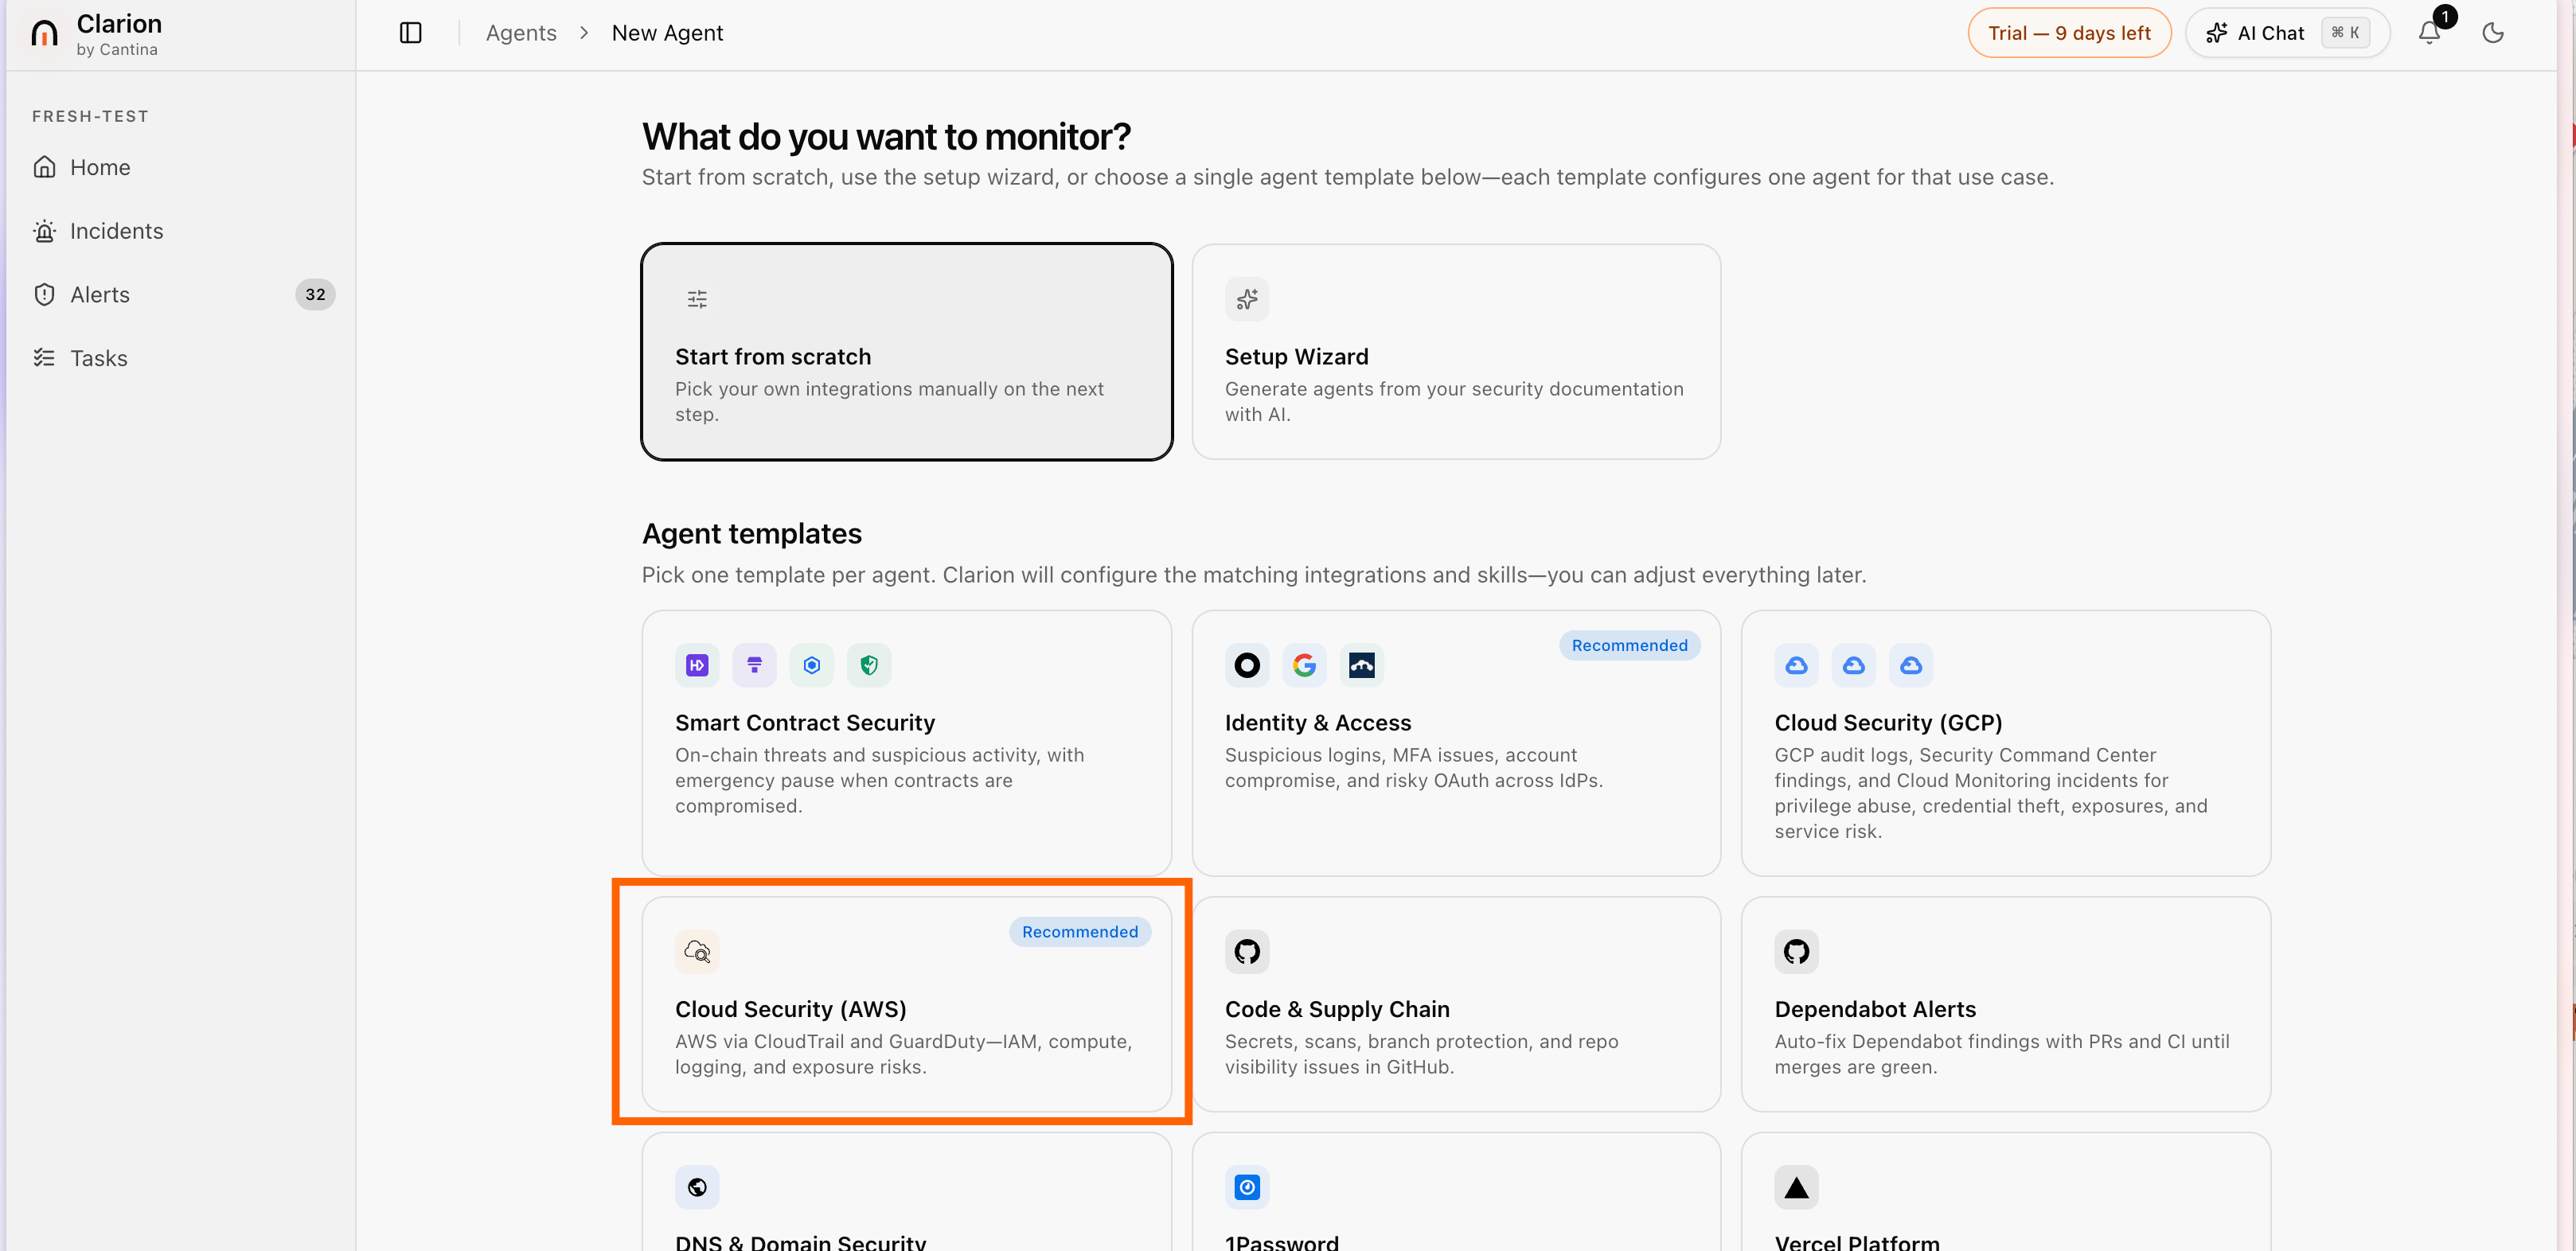
Step 6 — Create an agent
- Back in Clarion, select Agents on the left and click Create agent.
- Select the Cloud Security (AWS) agent template and click Continue.
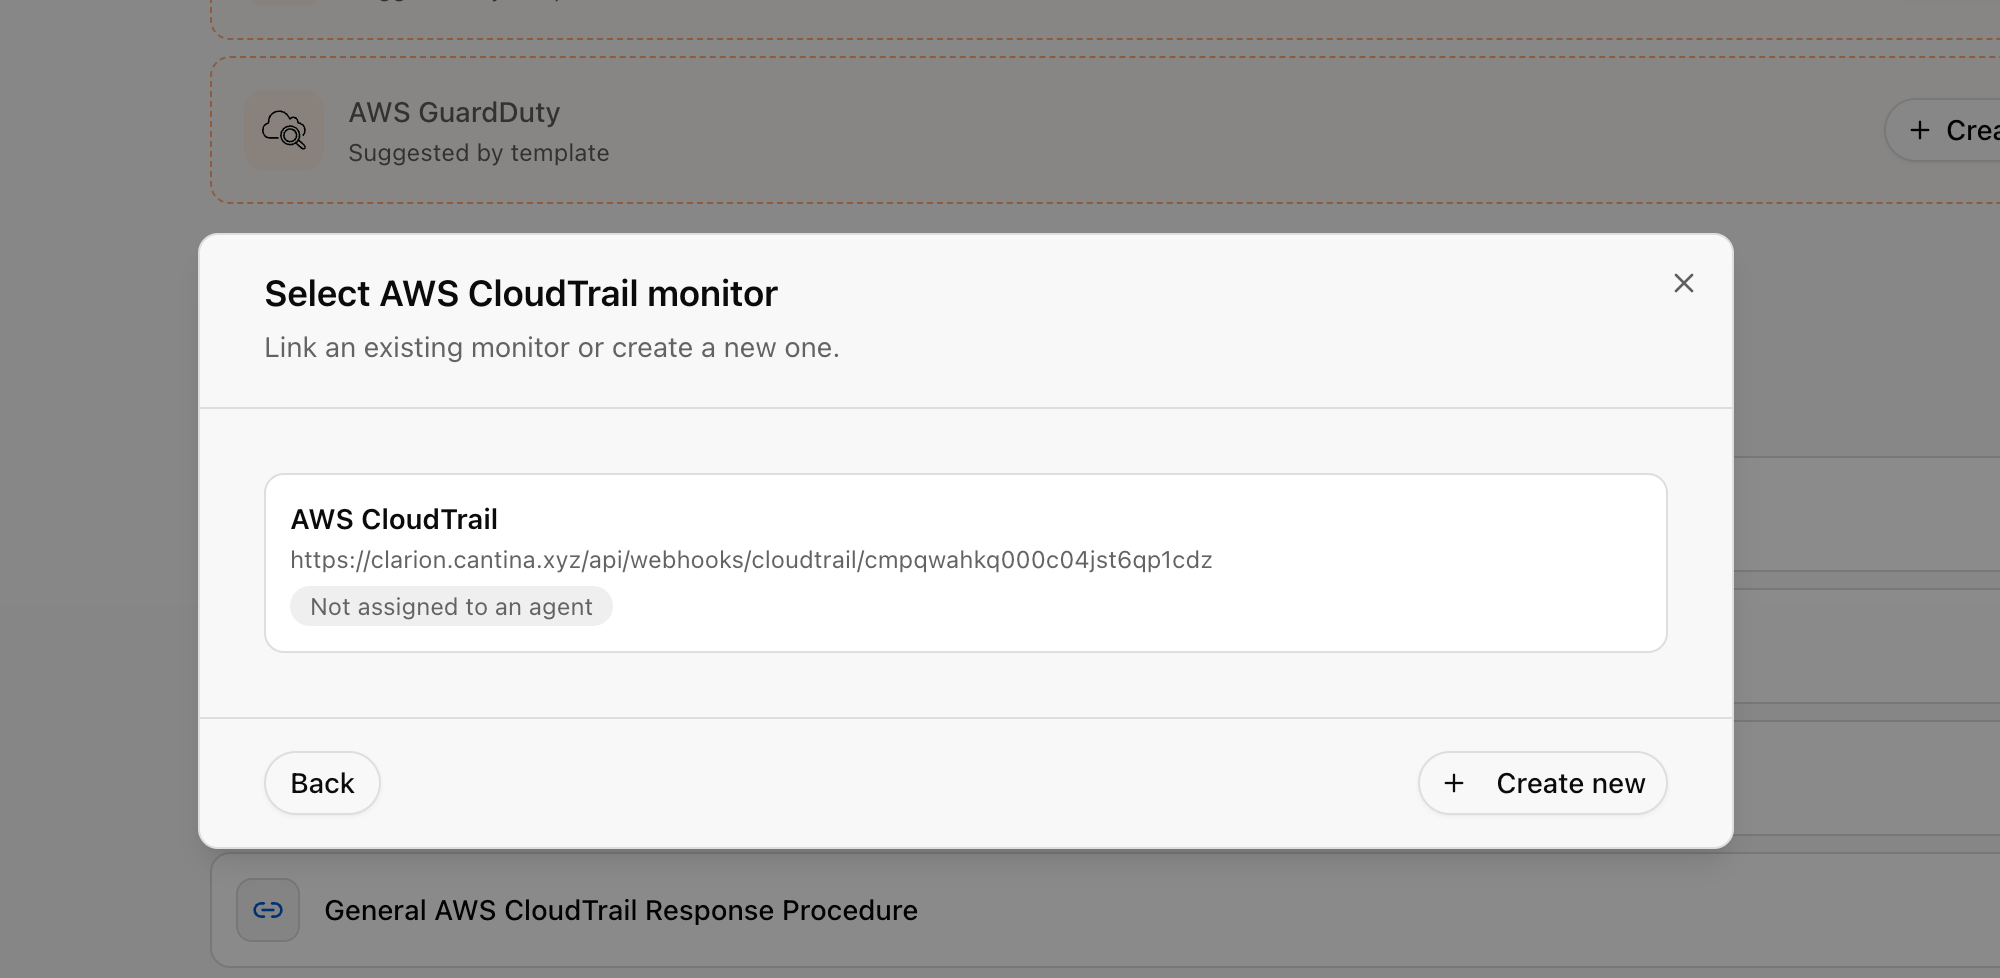
- Next to Monitors, click Add and select AWS CloudTrail.

- You’ll see the monitor you created earlier — select it, and it’s assigned to your agent.
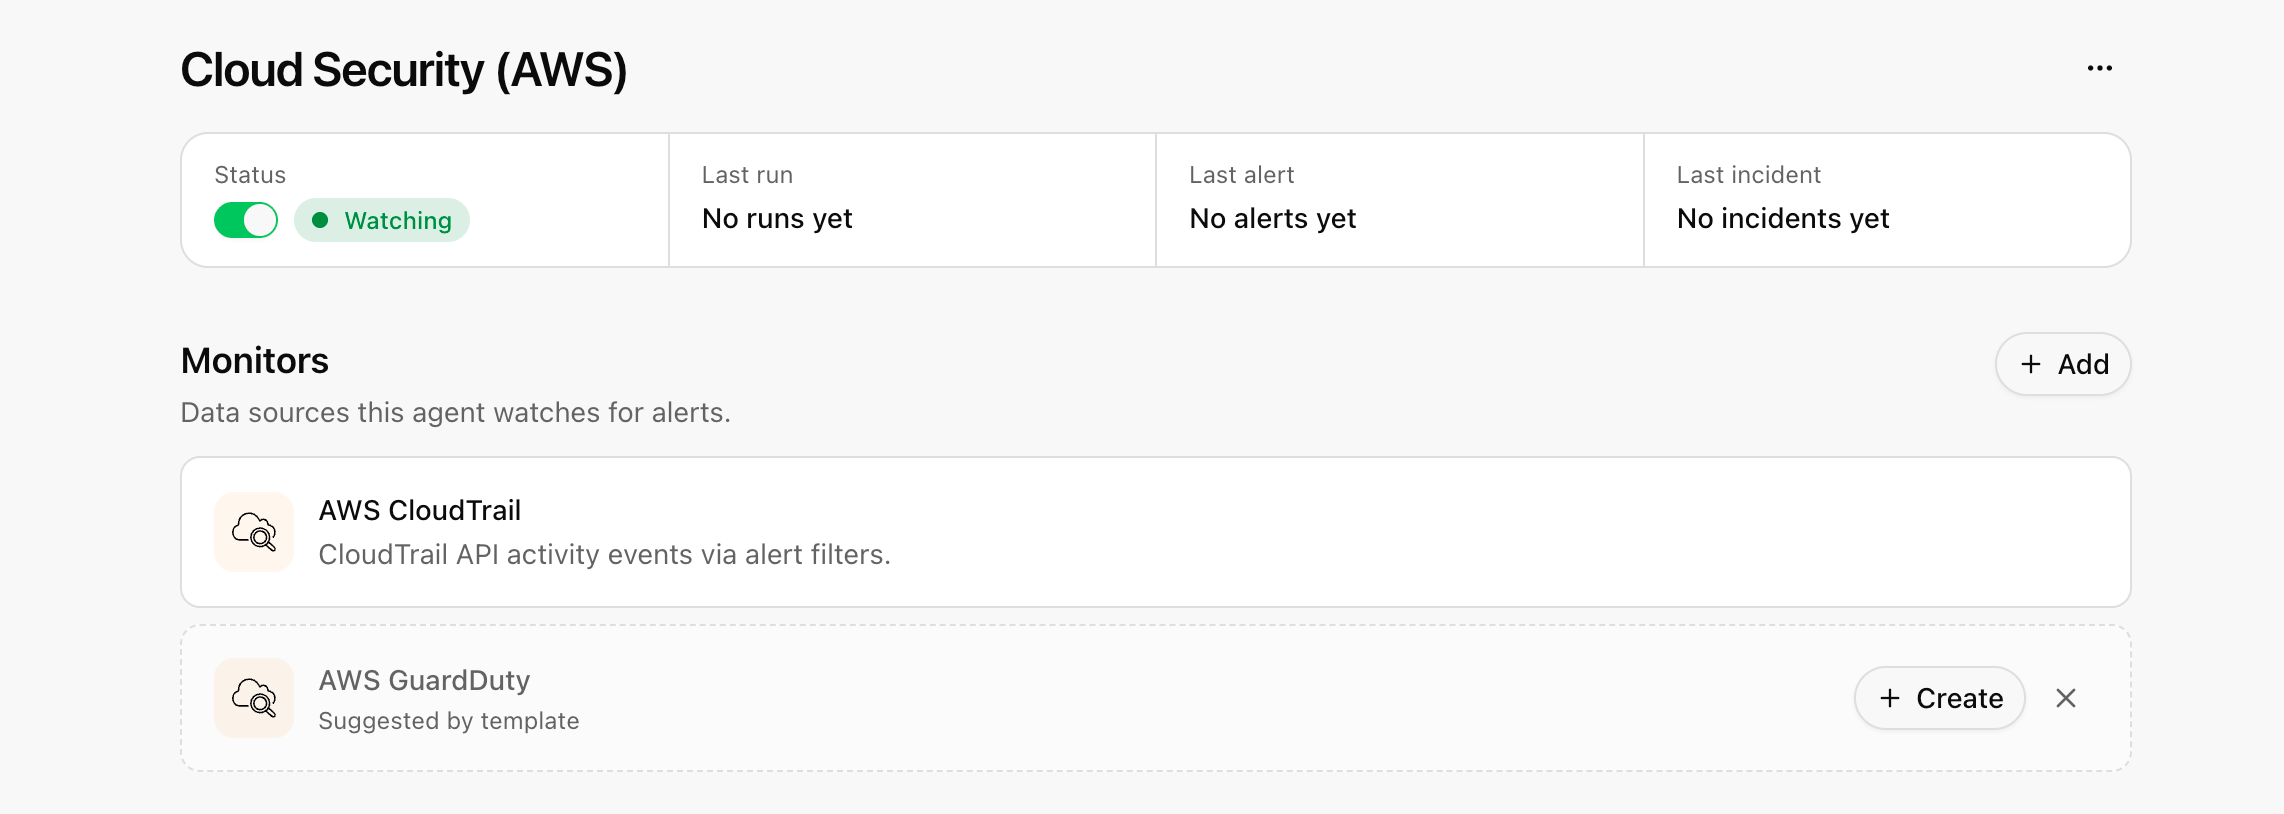
Done! Clarion now ingests CloudTrail events from your existing S3 bucket and your Cloud Security (AWS) agent triages them.