- OAuth admin consent — grant Clarion access to your Microsoft Entra tenant.
- Bot installation — upload the Clarion bot package to your Teams Admin Center.
- Member mapping — link Clarion workspace members to their Teams accounts.
- Notification channel — pick a default Teams channel or chat for alerts.
Estimated time: 15-20 minutes. You will need Microsoft Entra admin access (to grant tenant-wide consent), Microsoft Teams admin access (to upload the bot app), and access to the Clarion workspace where you are configuring the integration.
Prerequisites
- A Clarion workspace with permission to manage integrations
- A Microsoft Entra (Azure AD) account with permission to grant admin consent for tenant-wide applications
- Access to the Microsoft Teams Admin Center to upload custom apps
- A team and channel (or chat) in Microsoft Teams where Clarion should post notifications
Step 1 — Connect with Microsoft
- In Clarion, open Integrations and find Microsoft Teams.
- Click Connect with Microsoft. A new tab opens to the Microsoft admin consent screen.
- Sign in with a Microsoft Entra account that can grant tenant-wide consent.
- Review the requested permissions and click Accept to grant consent for the entire tenant.
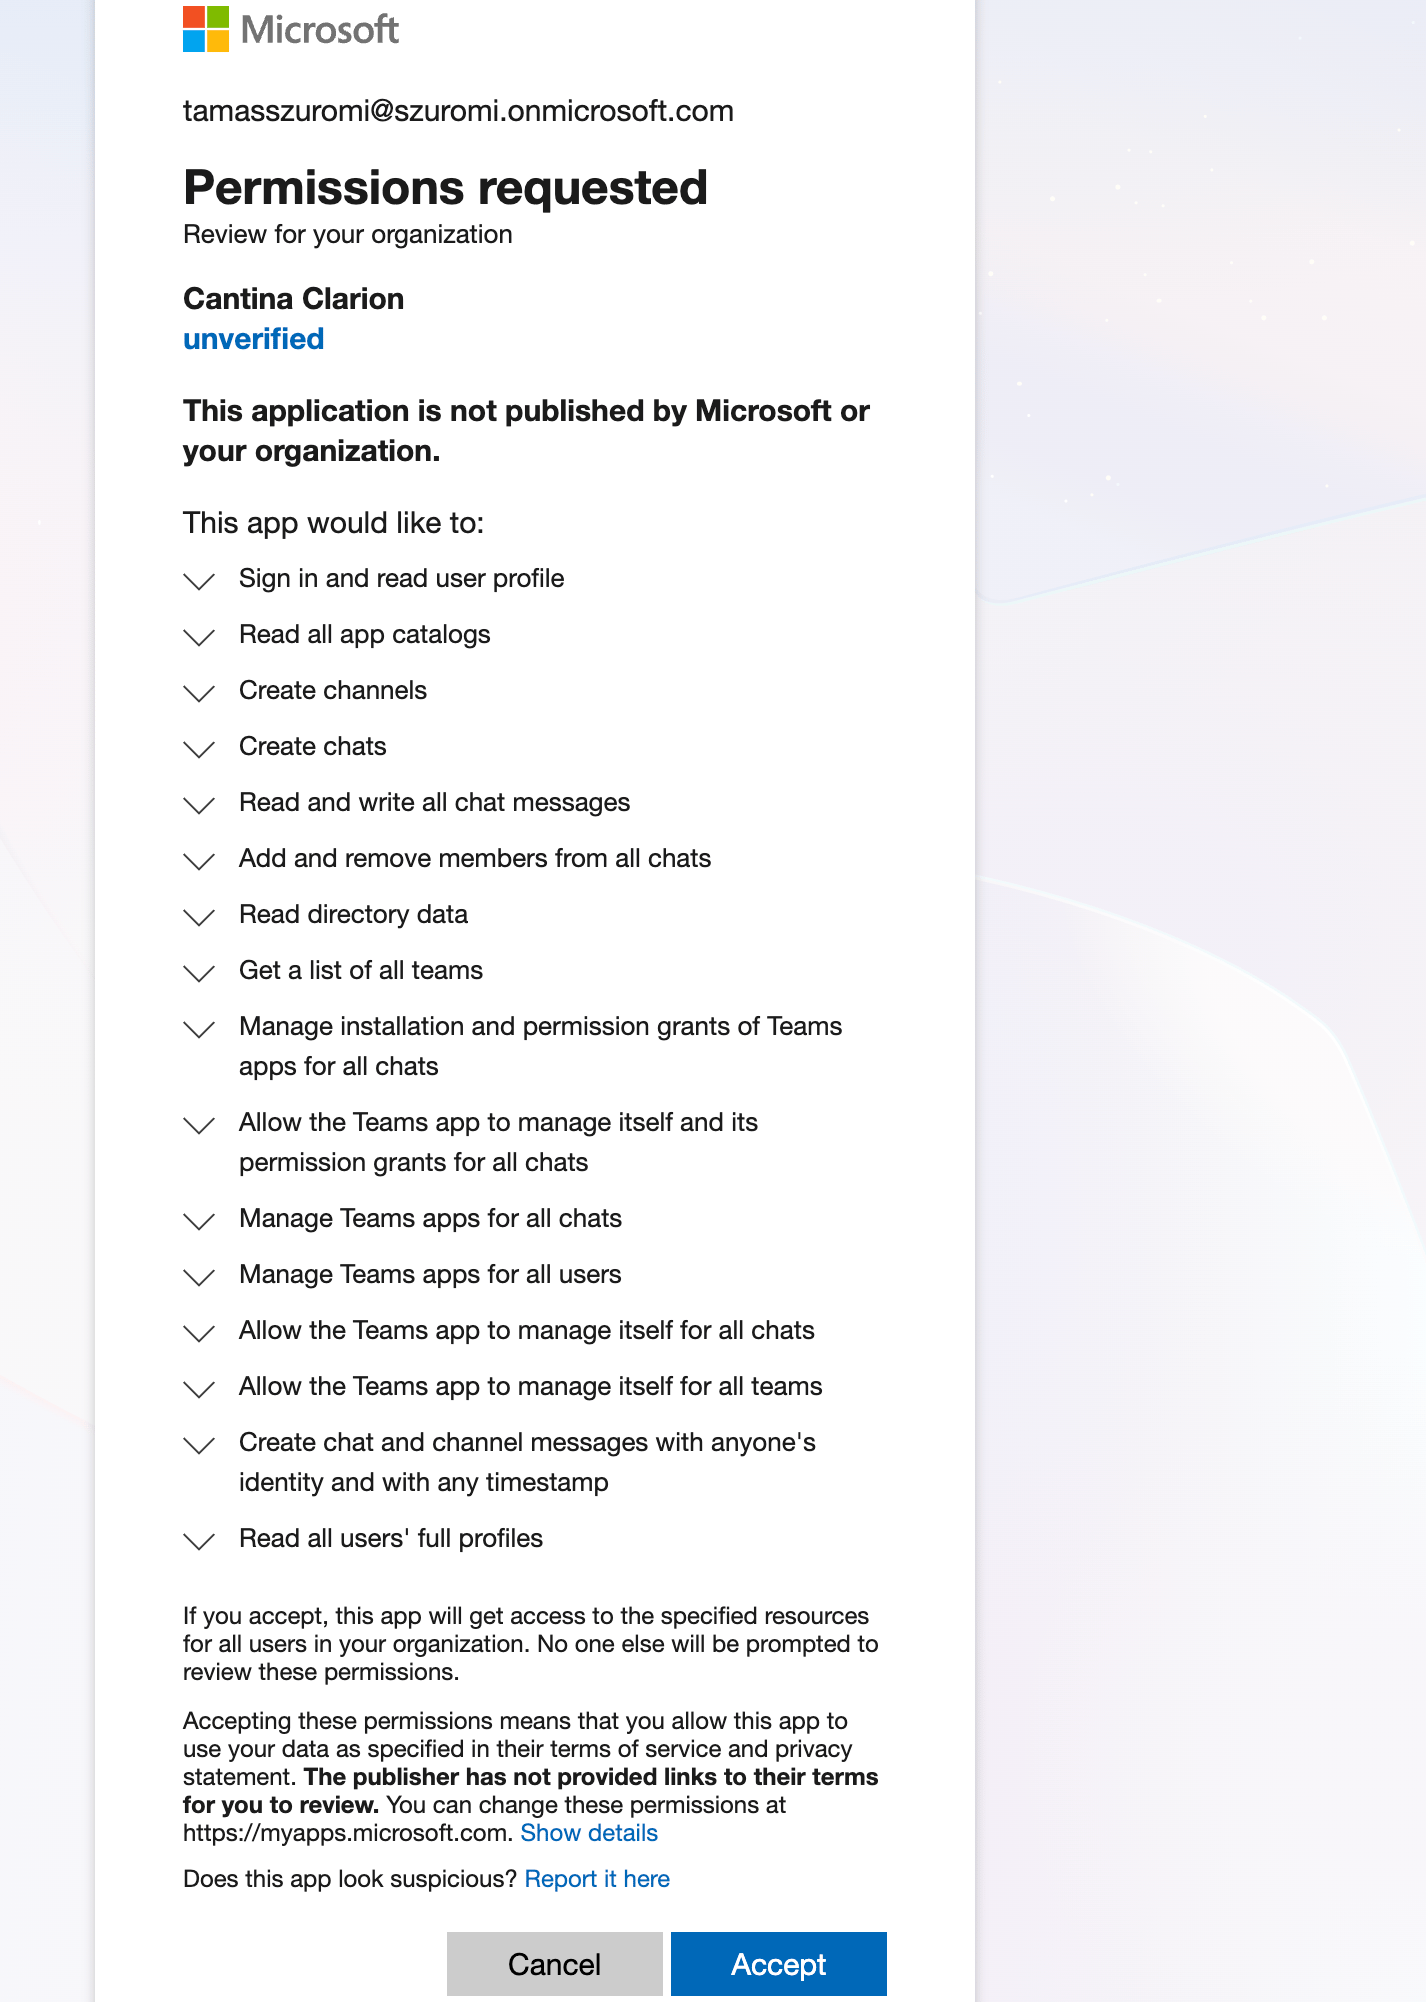
Clarion uses the admin consent flow with app-only (client credentials) tokens. The consenting account does not need to be the same account that uses Clarion day-to-day — admin consent applies to your whole Microsoft Entra tenant.
Step 2 — Install the Clarion bot in Teams
OAuth gives Clarion access to your tenant’s directory and chats, but posting messages requires the Clarion bot app to be installed in your organization’s Teams app catalog.-
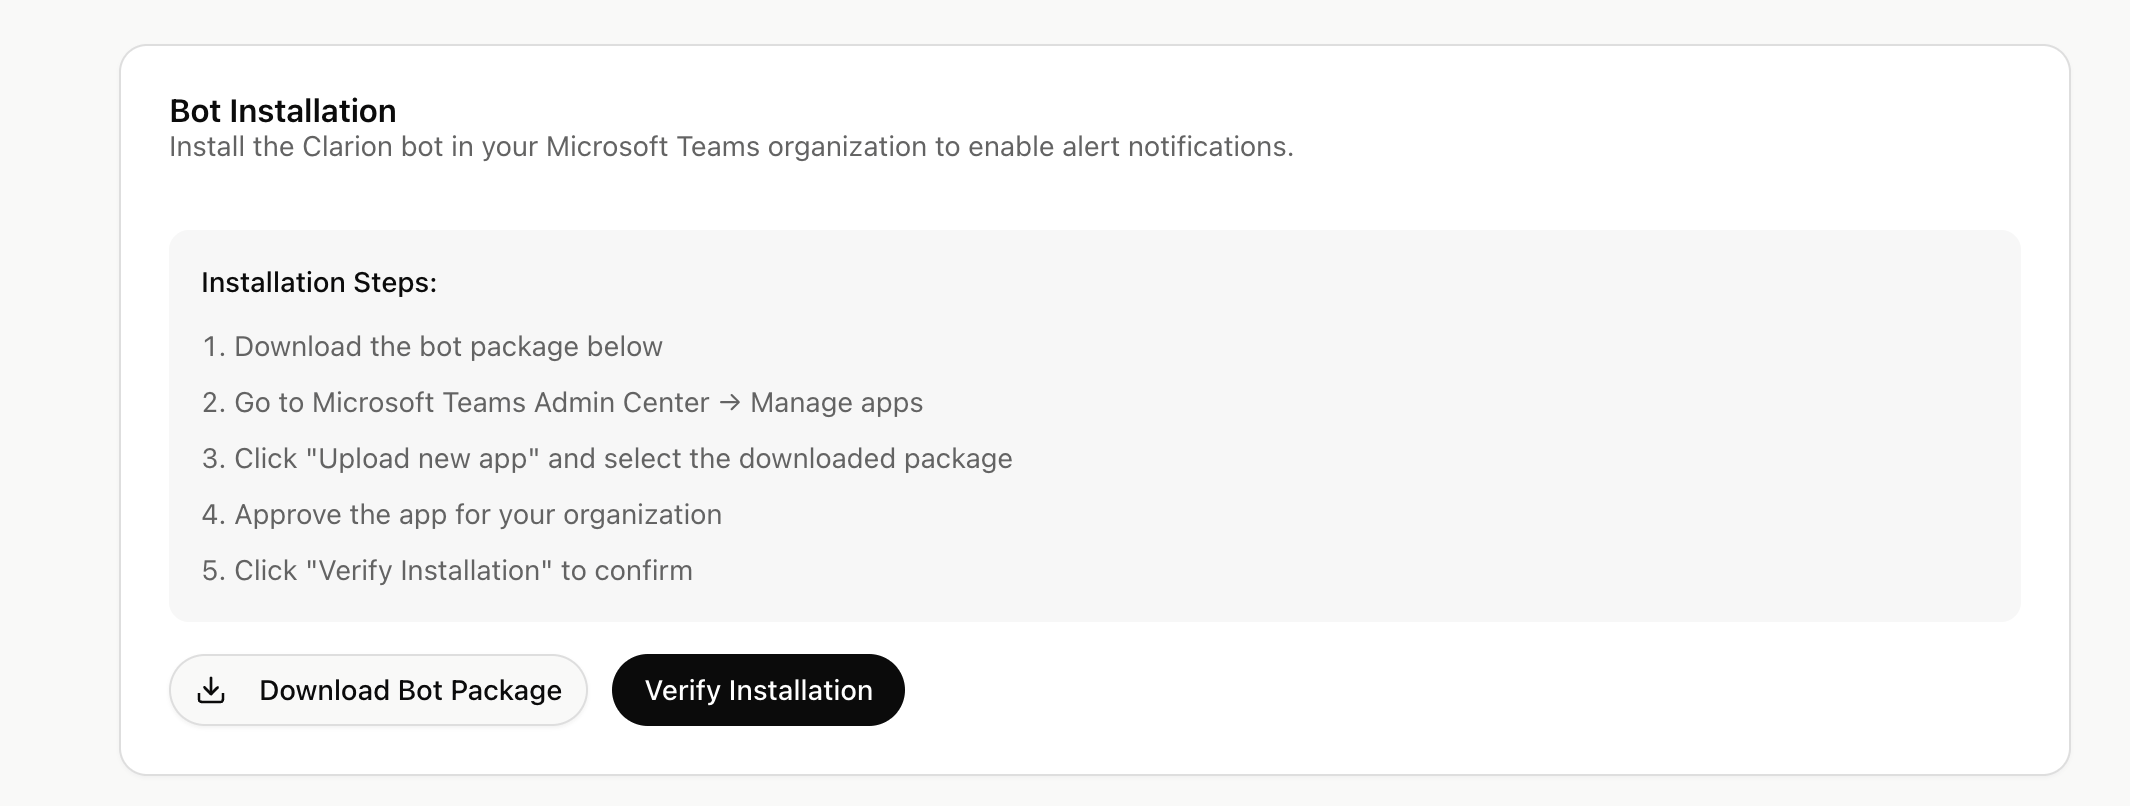
On the Setup page, find the Bot Installation card.
-
Click Download Bot Package to download the Clarion bot manifest (a
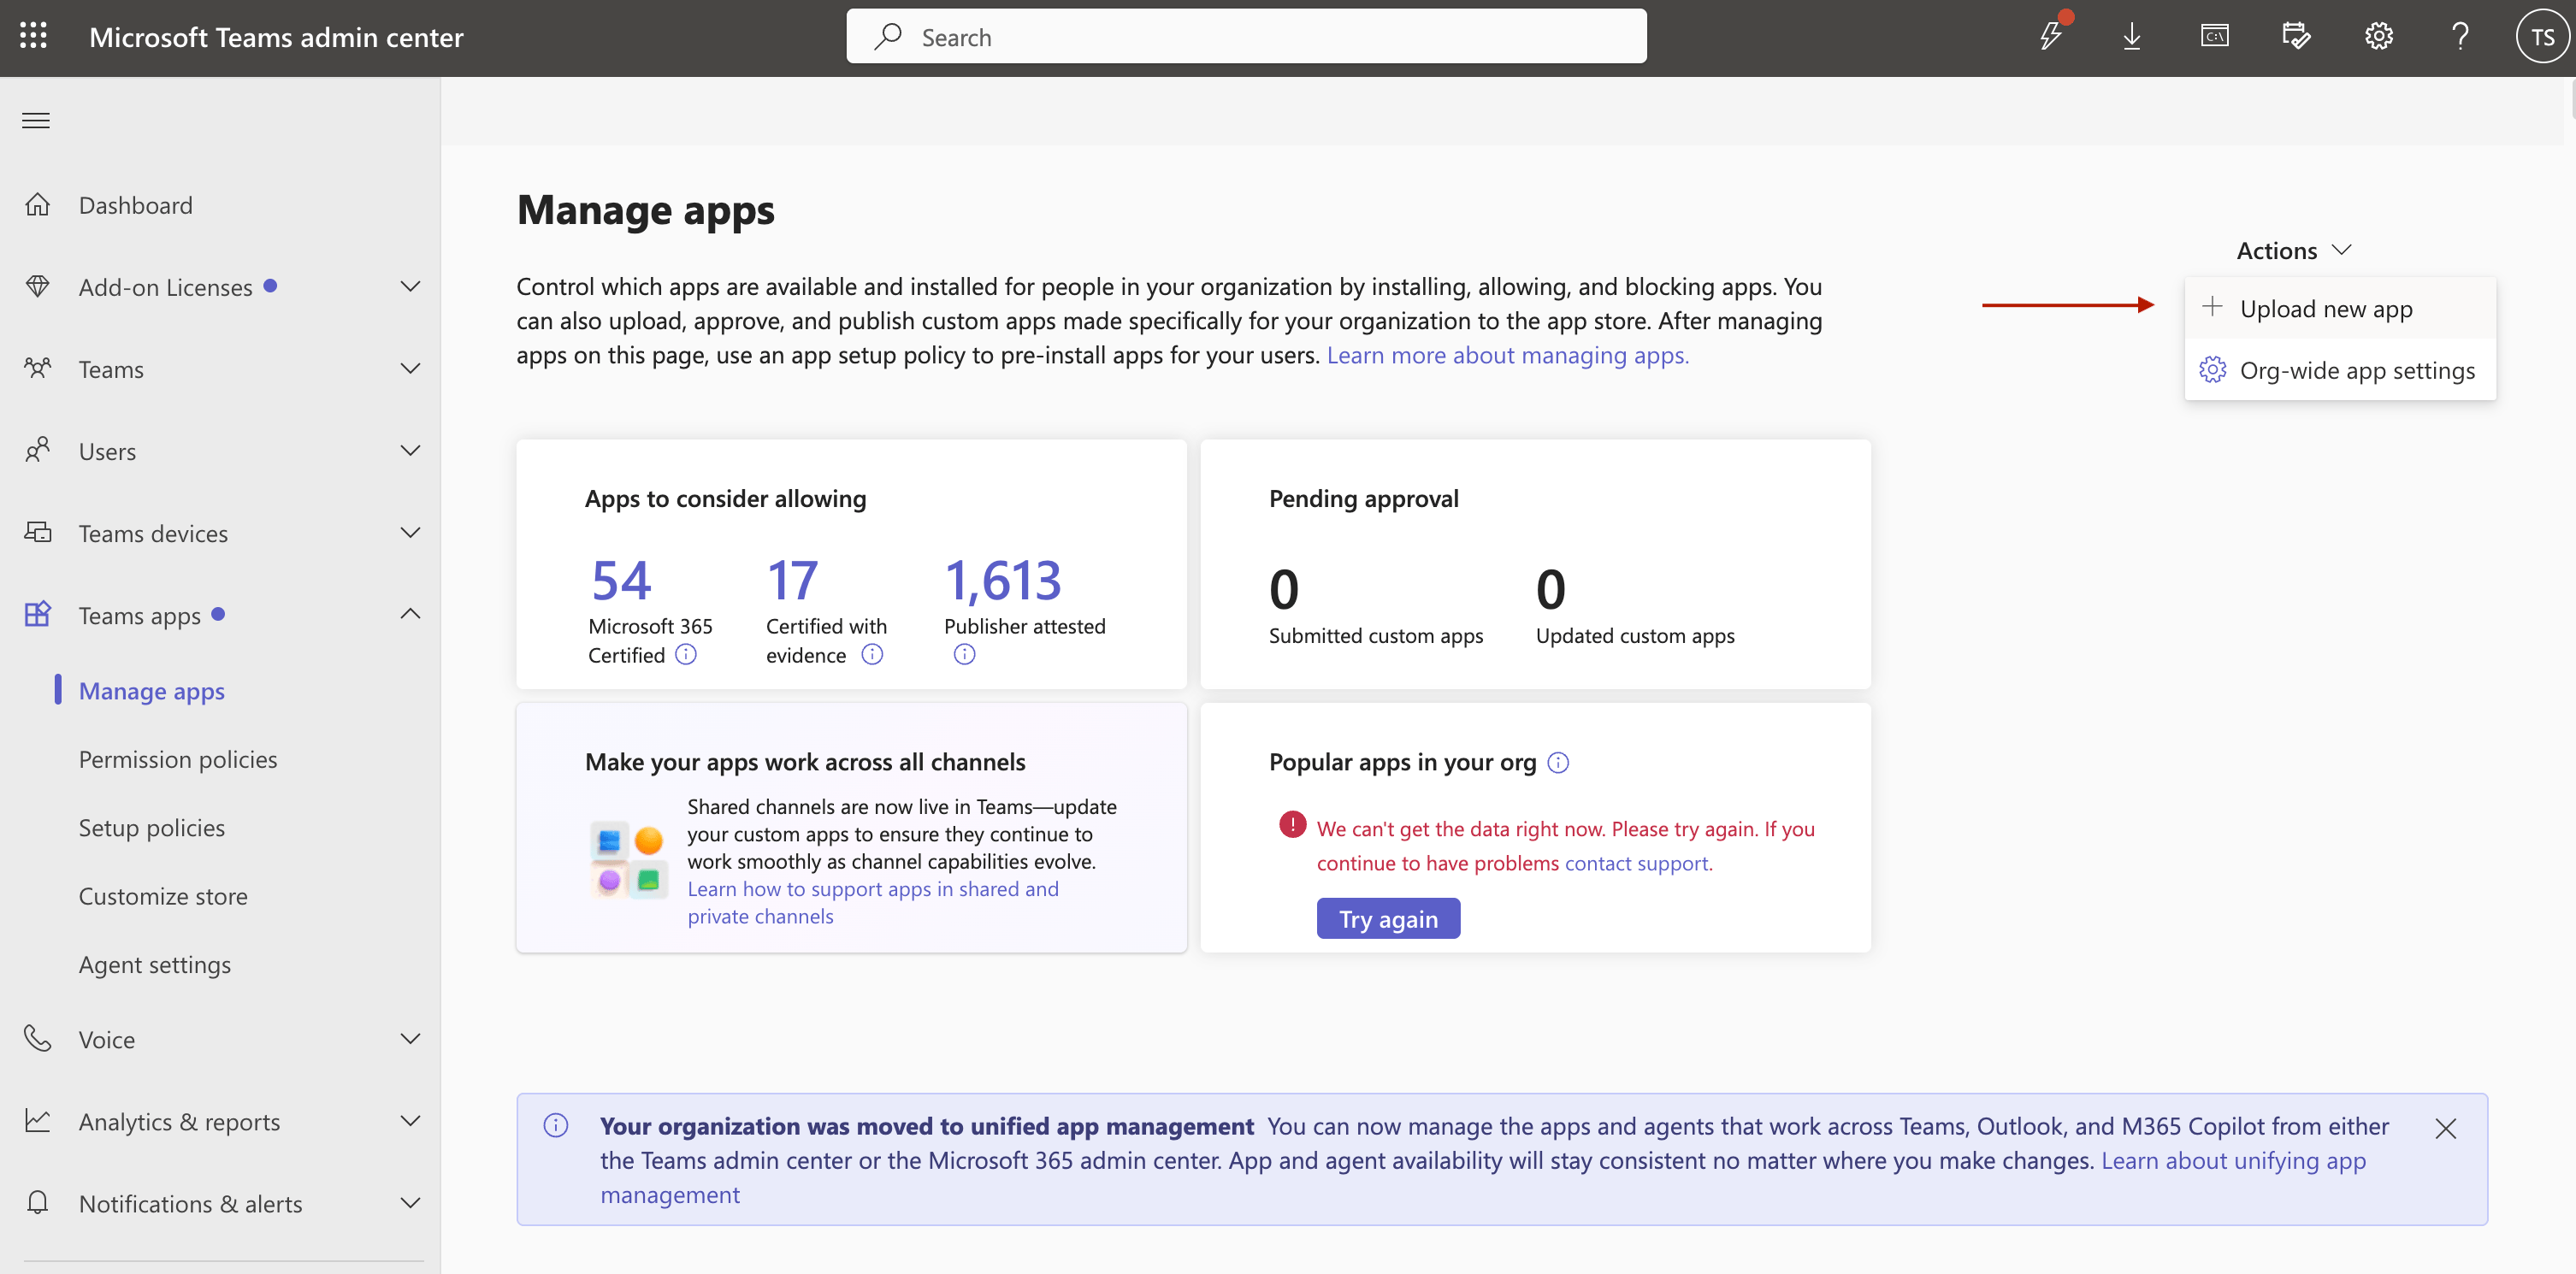
.zipfile). - Open Microsoft Teams Admin Center → Manage apps. You can also click the Manage apps link in the Bot Installation card to jump straight there.
-
Click Upload new app and select the downloaded package.
- Approve the app for your organization.
- Back in Clarion, click Verify Installation.
Step 3 — Link workspace members to Teams accounts
For approval cards and direct messages to reach the right person, Clarion needs to know each workspace member’s Microsoft Teams identity.- On the Member Mapping card, click Auto-match to link members whose Clarion email matches a Microsoft Entra user.
- For any members who did not auto-match, use the dropdown next to their name to pick the correct Teams user.
- At least one member must be linked before you can run the test connection in Step 4.
Member mapping is stored as the user’s Microsoft Entra object ID. If you re-invite a workspace member or they change email, you may need to re-link them.
Step 4 — Test the connection
- On the Test Connection card, click Create Test Chat.
- Clarion creates a small group chat in Teams that includes the linked members and posts a test message.
- Open Teams and confirm the message arrived. The card also shows a direct link to the test chat.
Step 5 — Choose a default notification channel
Click Back to Teams settings to return to the main configuration page.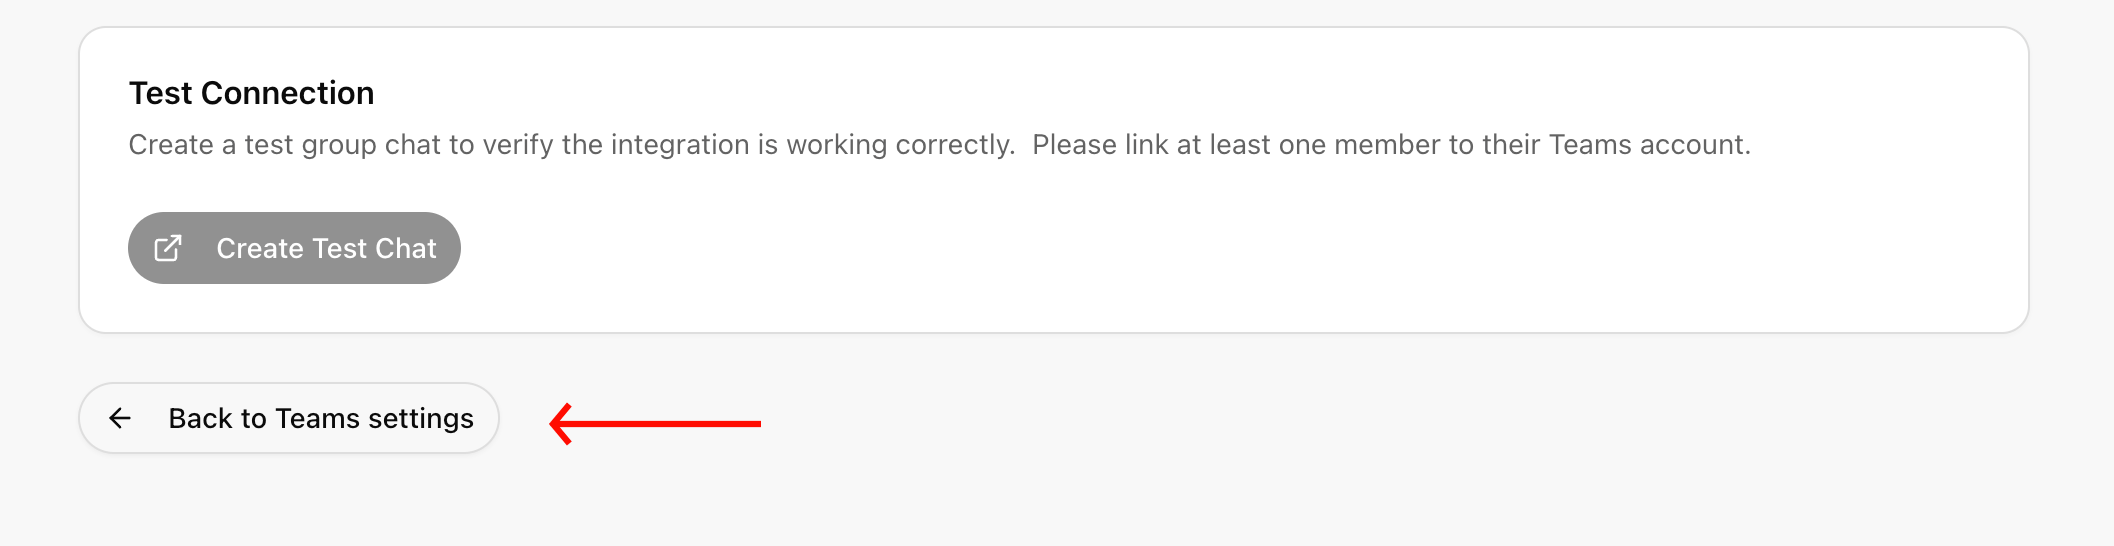
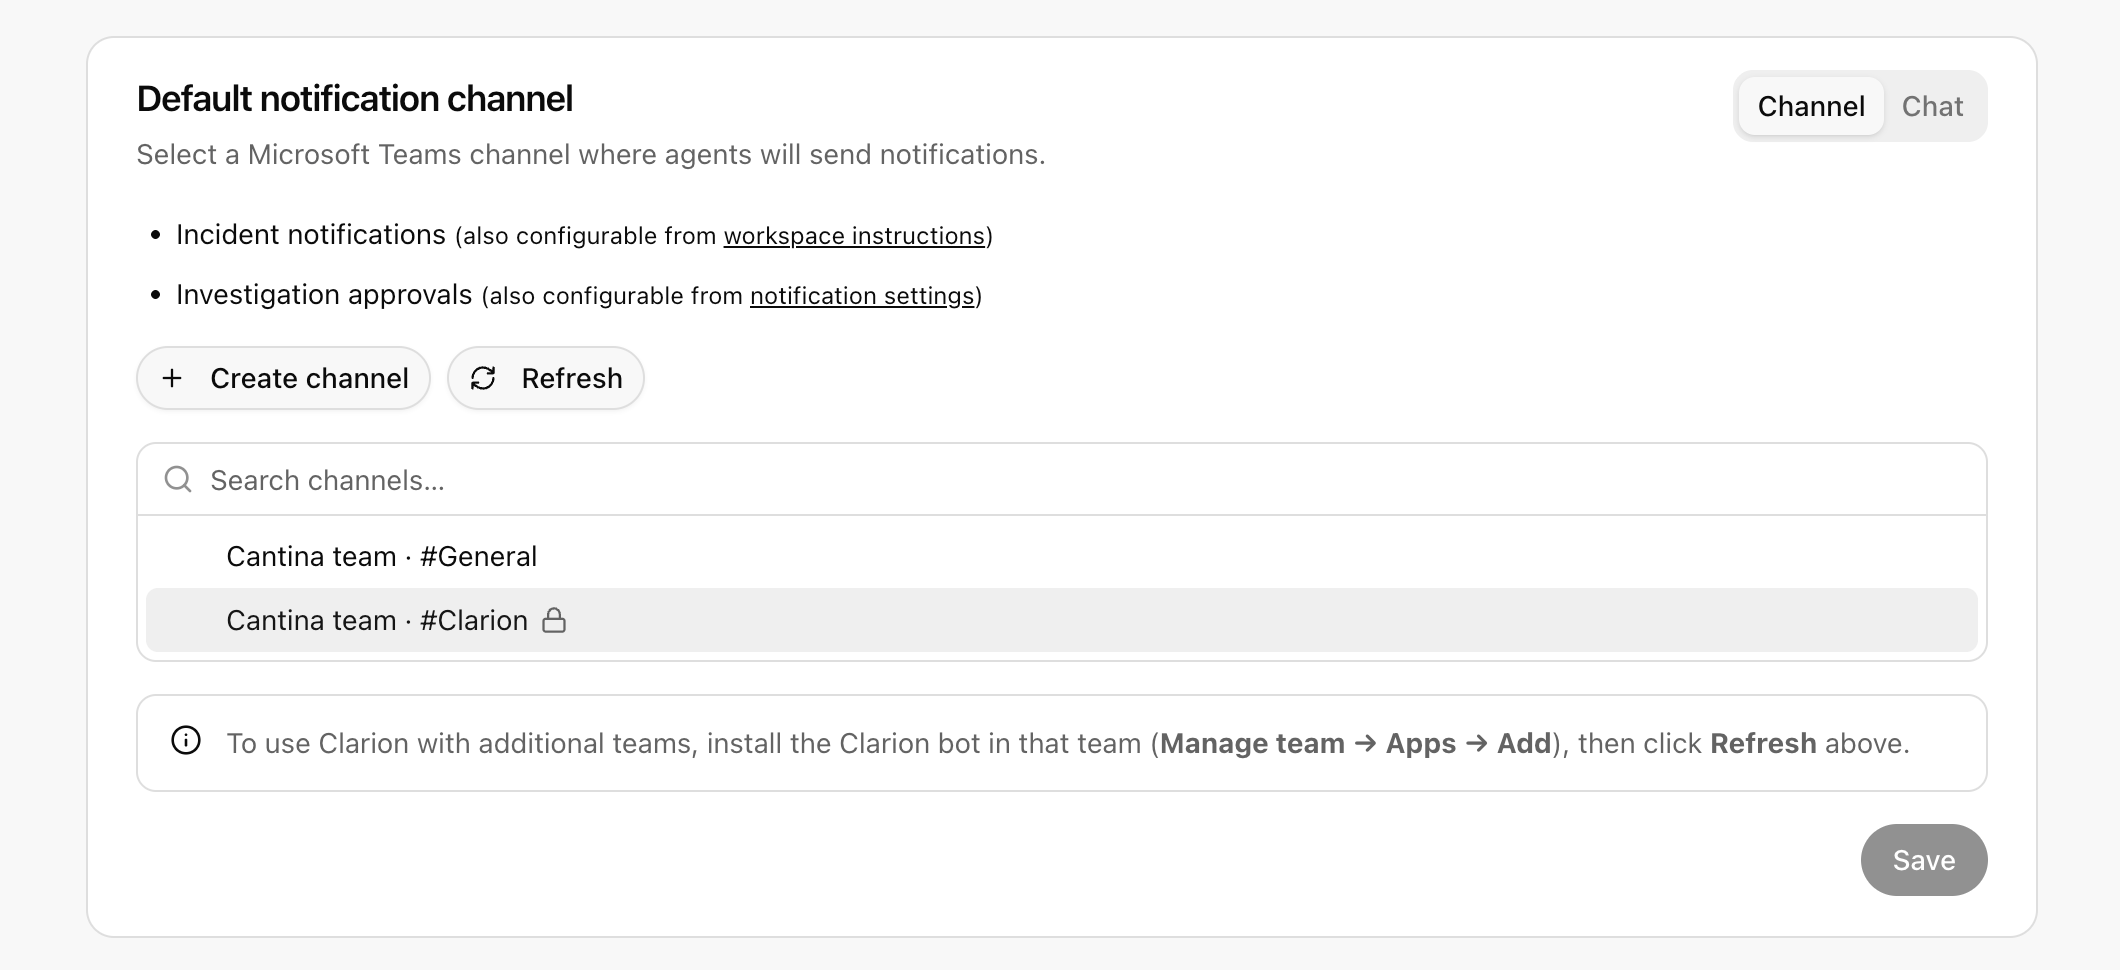
- Channel (recommended for broadcasts) — pick a team, then a channel within that team. Anyone in the channel can see and respond to Clarion’s messages and approval cards.
- Chat — pick an existing Teams chat, or have Clarion create a new ad-hoc group chat with the workspace members you choose.
What Clarion can do
Once Microsoft Teams is fully connected, agents can:- Post messages to a Teams channel — broadcast incident updates to a team channel.
- Post messages to a Teams chat — send updates to an existing chat (group or 1:1) by chat ID.
- List channels and chats the bot has access to, so agents can pick the right destination.
- Create an ad-hoc group chat with specific users — used as a last resort when no existing channel or chat fits.
- List users in your Microsoft Entra directory to look up who to message.
Disconnect Microsoft Teams
To disconnect:- Open the Microsoft Teams integration in Clarion.
- Click Disconnect in the status card and confirm.