Estimated time: 5-10 minutes. You will need Okta Admin access and access to the Clarion workspace where you want to connect Okta.
Use the OIN catalog installation flow described below. Do not create a custom Okta API Services app or manually configure an Okta Event Hook for this integration.
Prerequisites
- Access to an Okta org with permission to install API Service integrations
- Access to the Clarion workspace where you want to configure the Okta integration
- A secure place to store the client secret shown during the Okta install flow
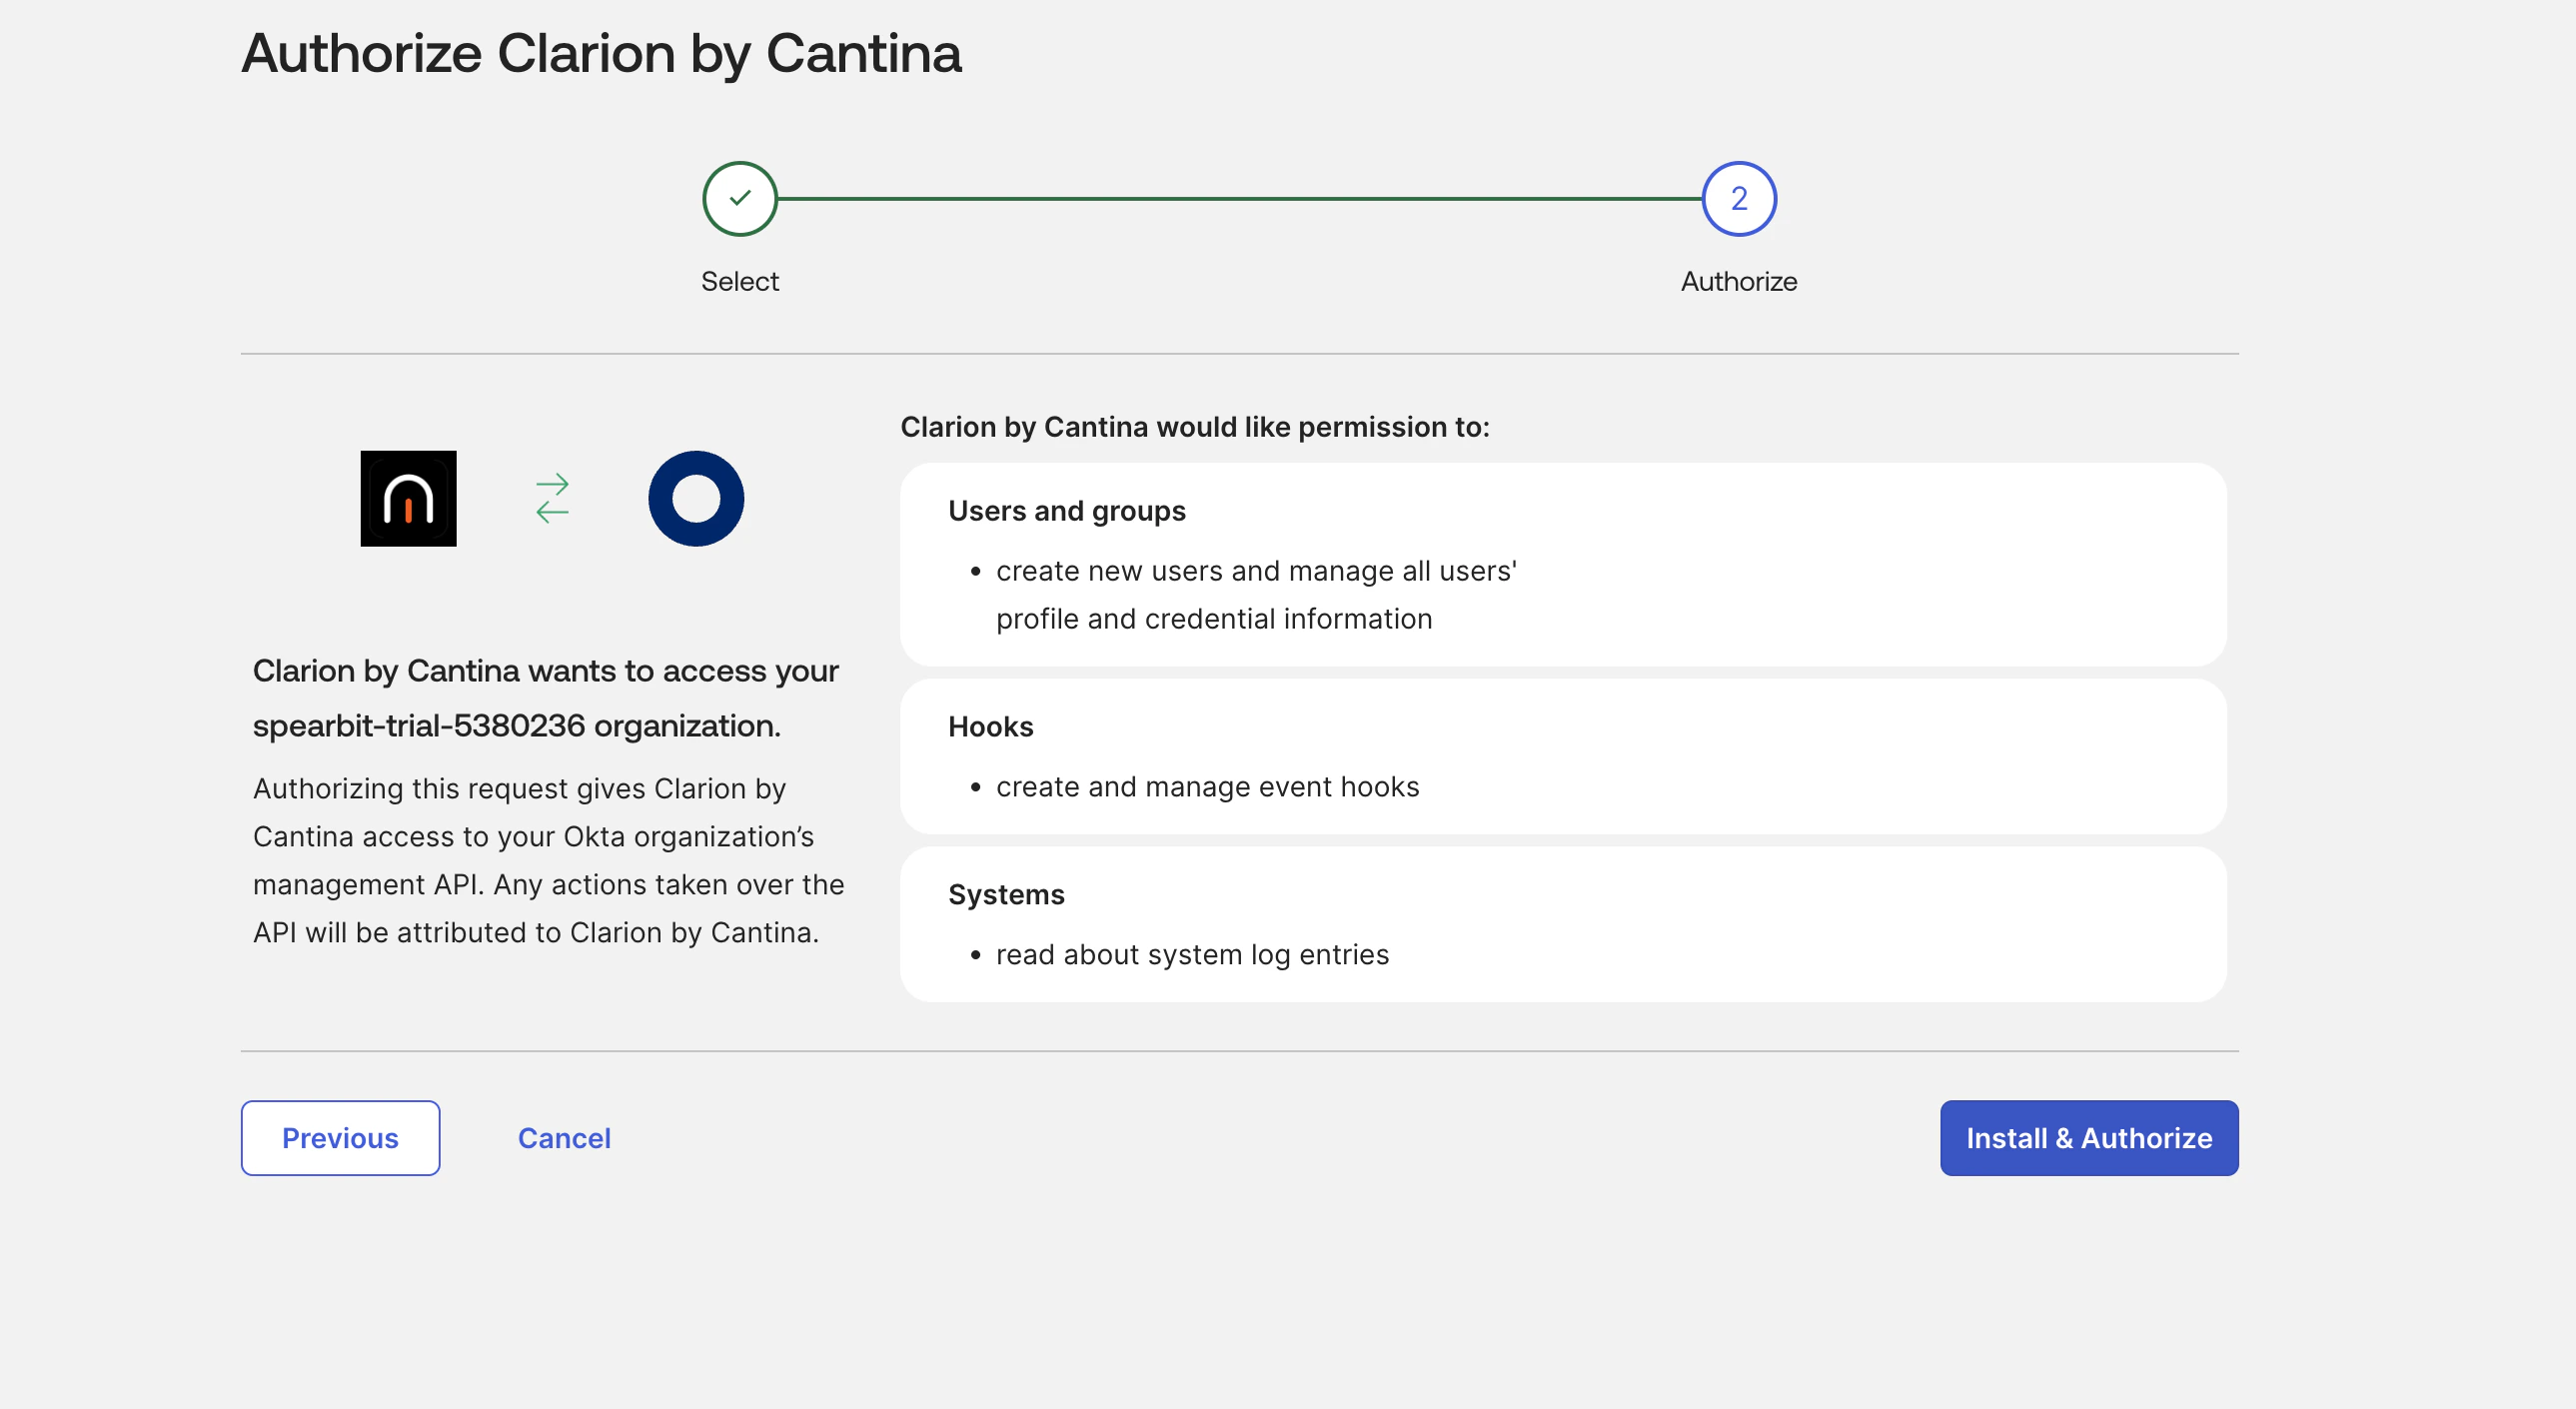
Supported Okta scopes
The Clarion Okta app supports the following Okta API scopes:okta.eventHooks.manage- create, update, verify, and delete the Clarion-managed Okta Event Hookokta.logs.read- read Okta System Log events used for monitoring and investigation enrichmentokta.users.manage- look up users and support response actions such as account suspension from Clarion
Install the Clarion app in Okta
- Sign in to the Okta Admin Console.
- Go to Applications > API Service Integrations.
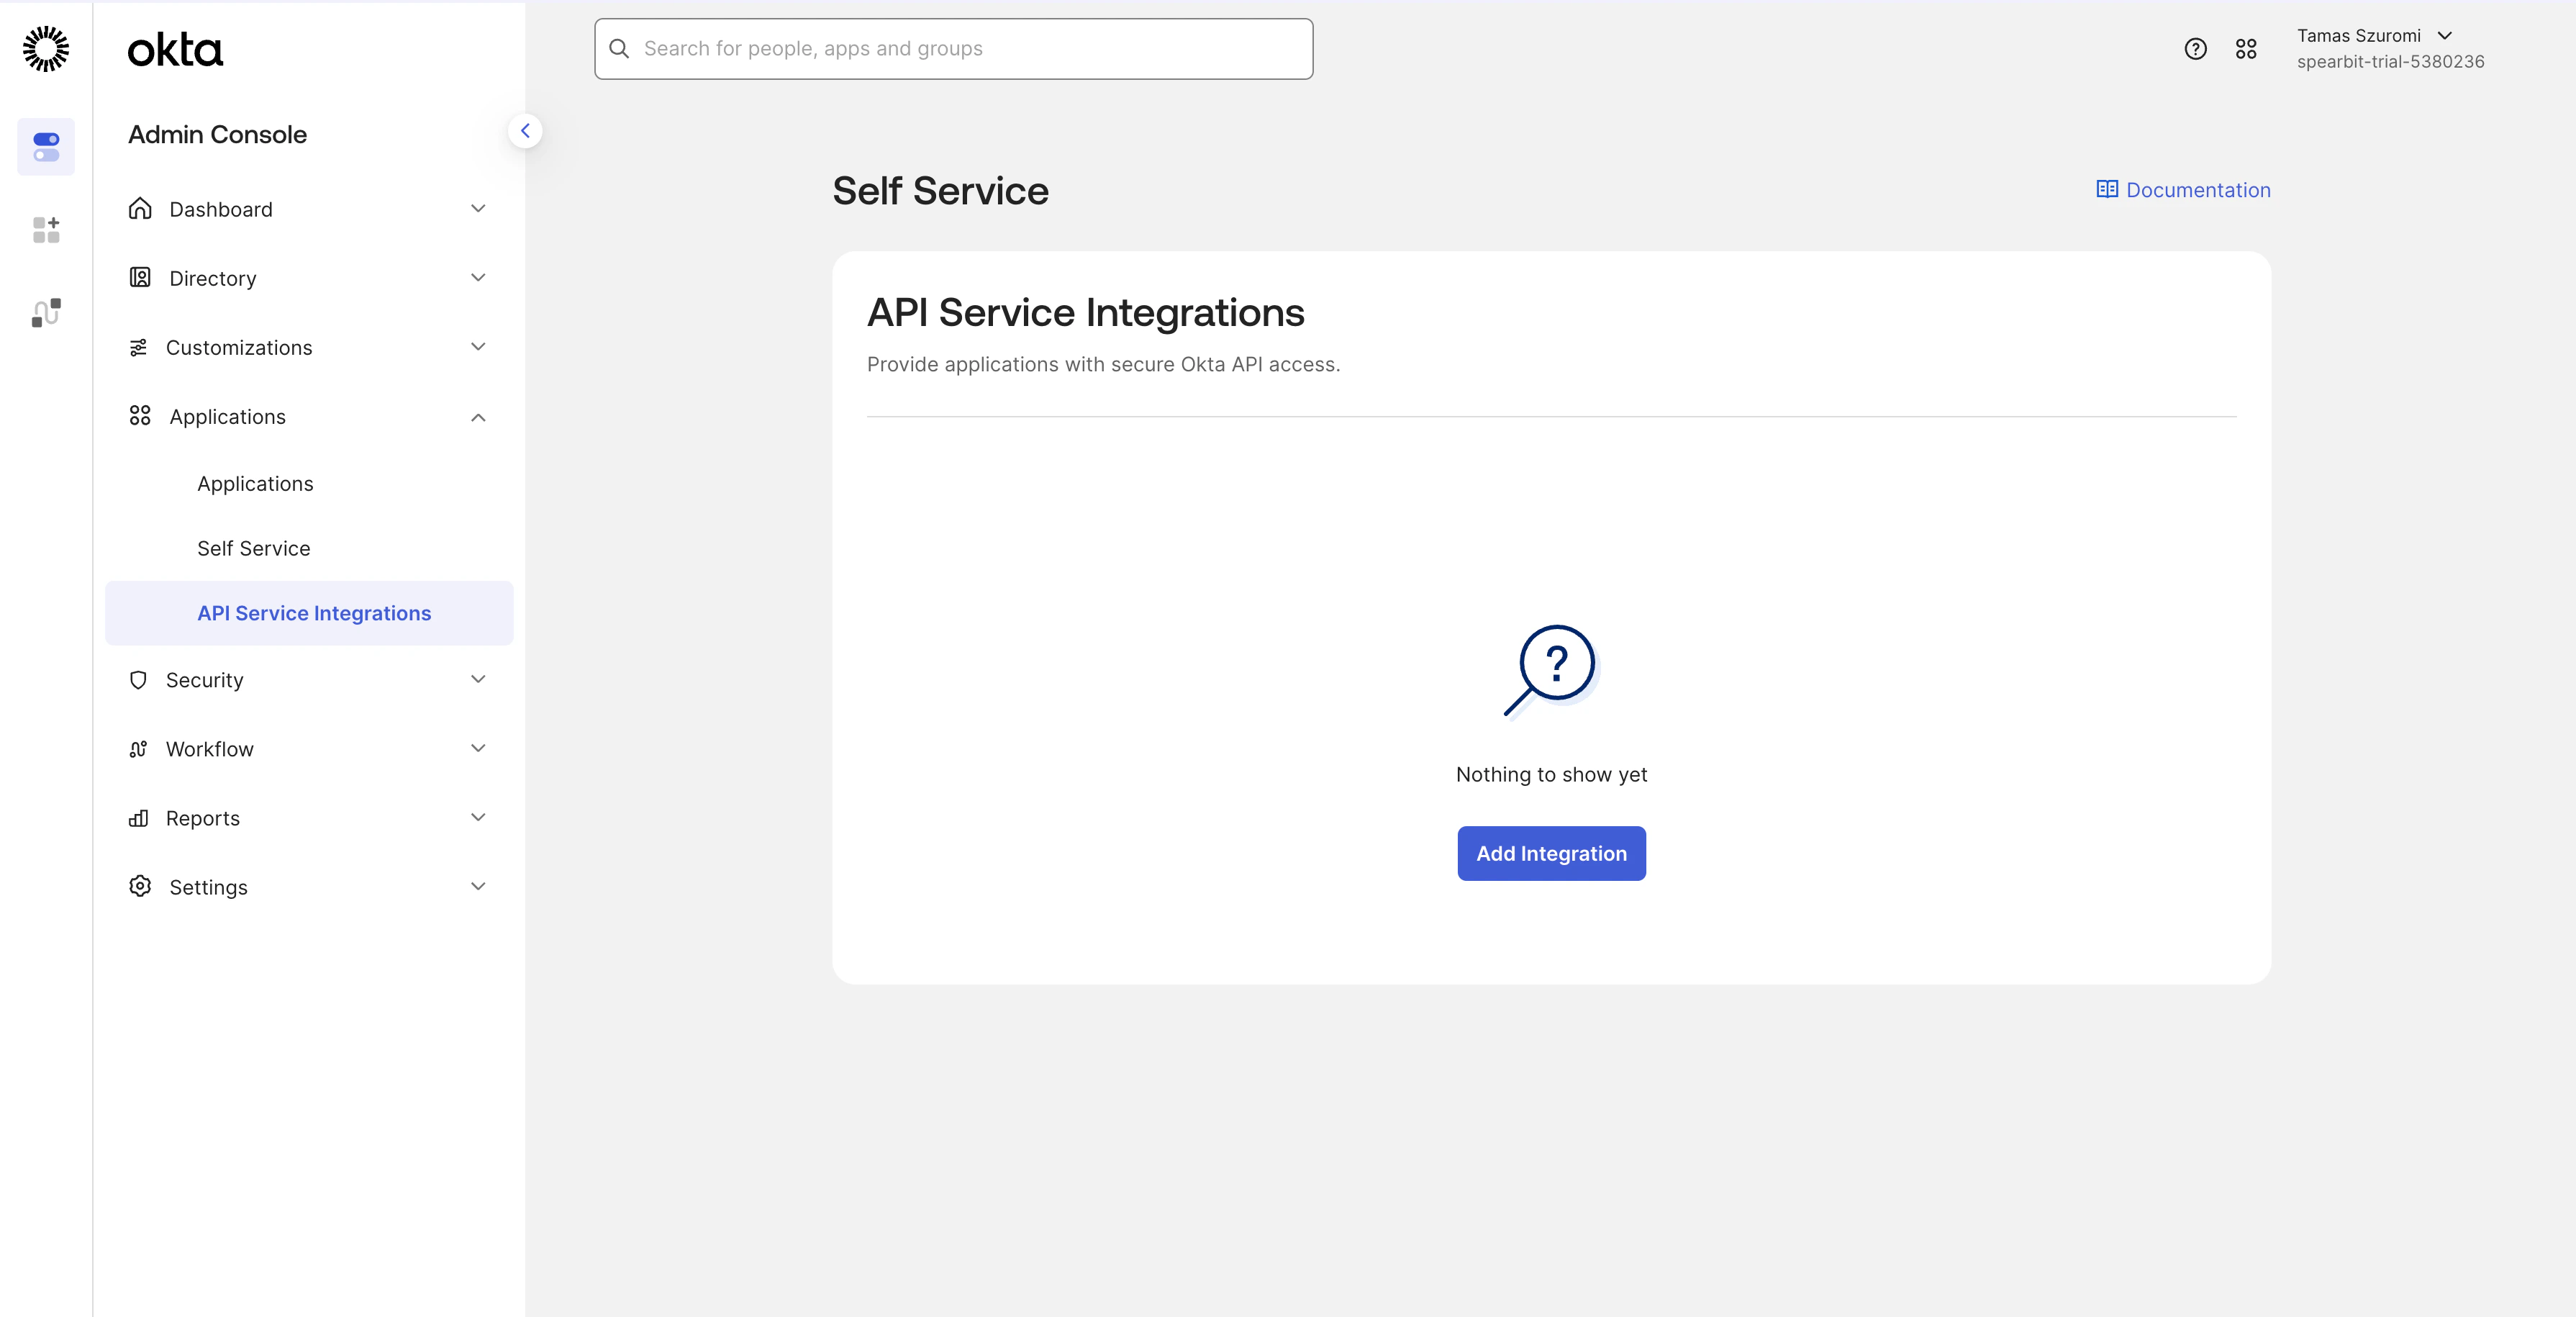
- Click Add Integration.
- Search for Clarion by Cantina.
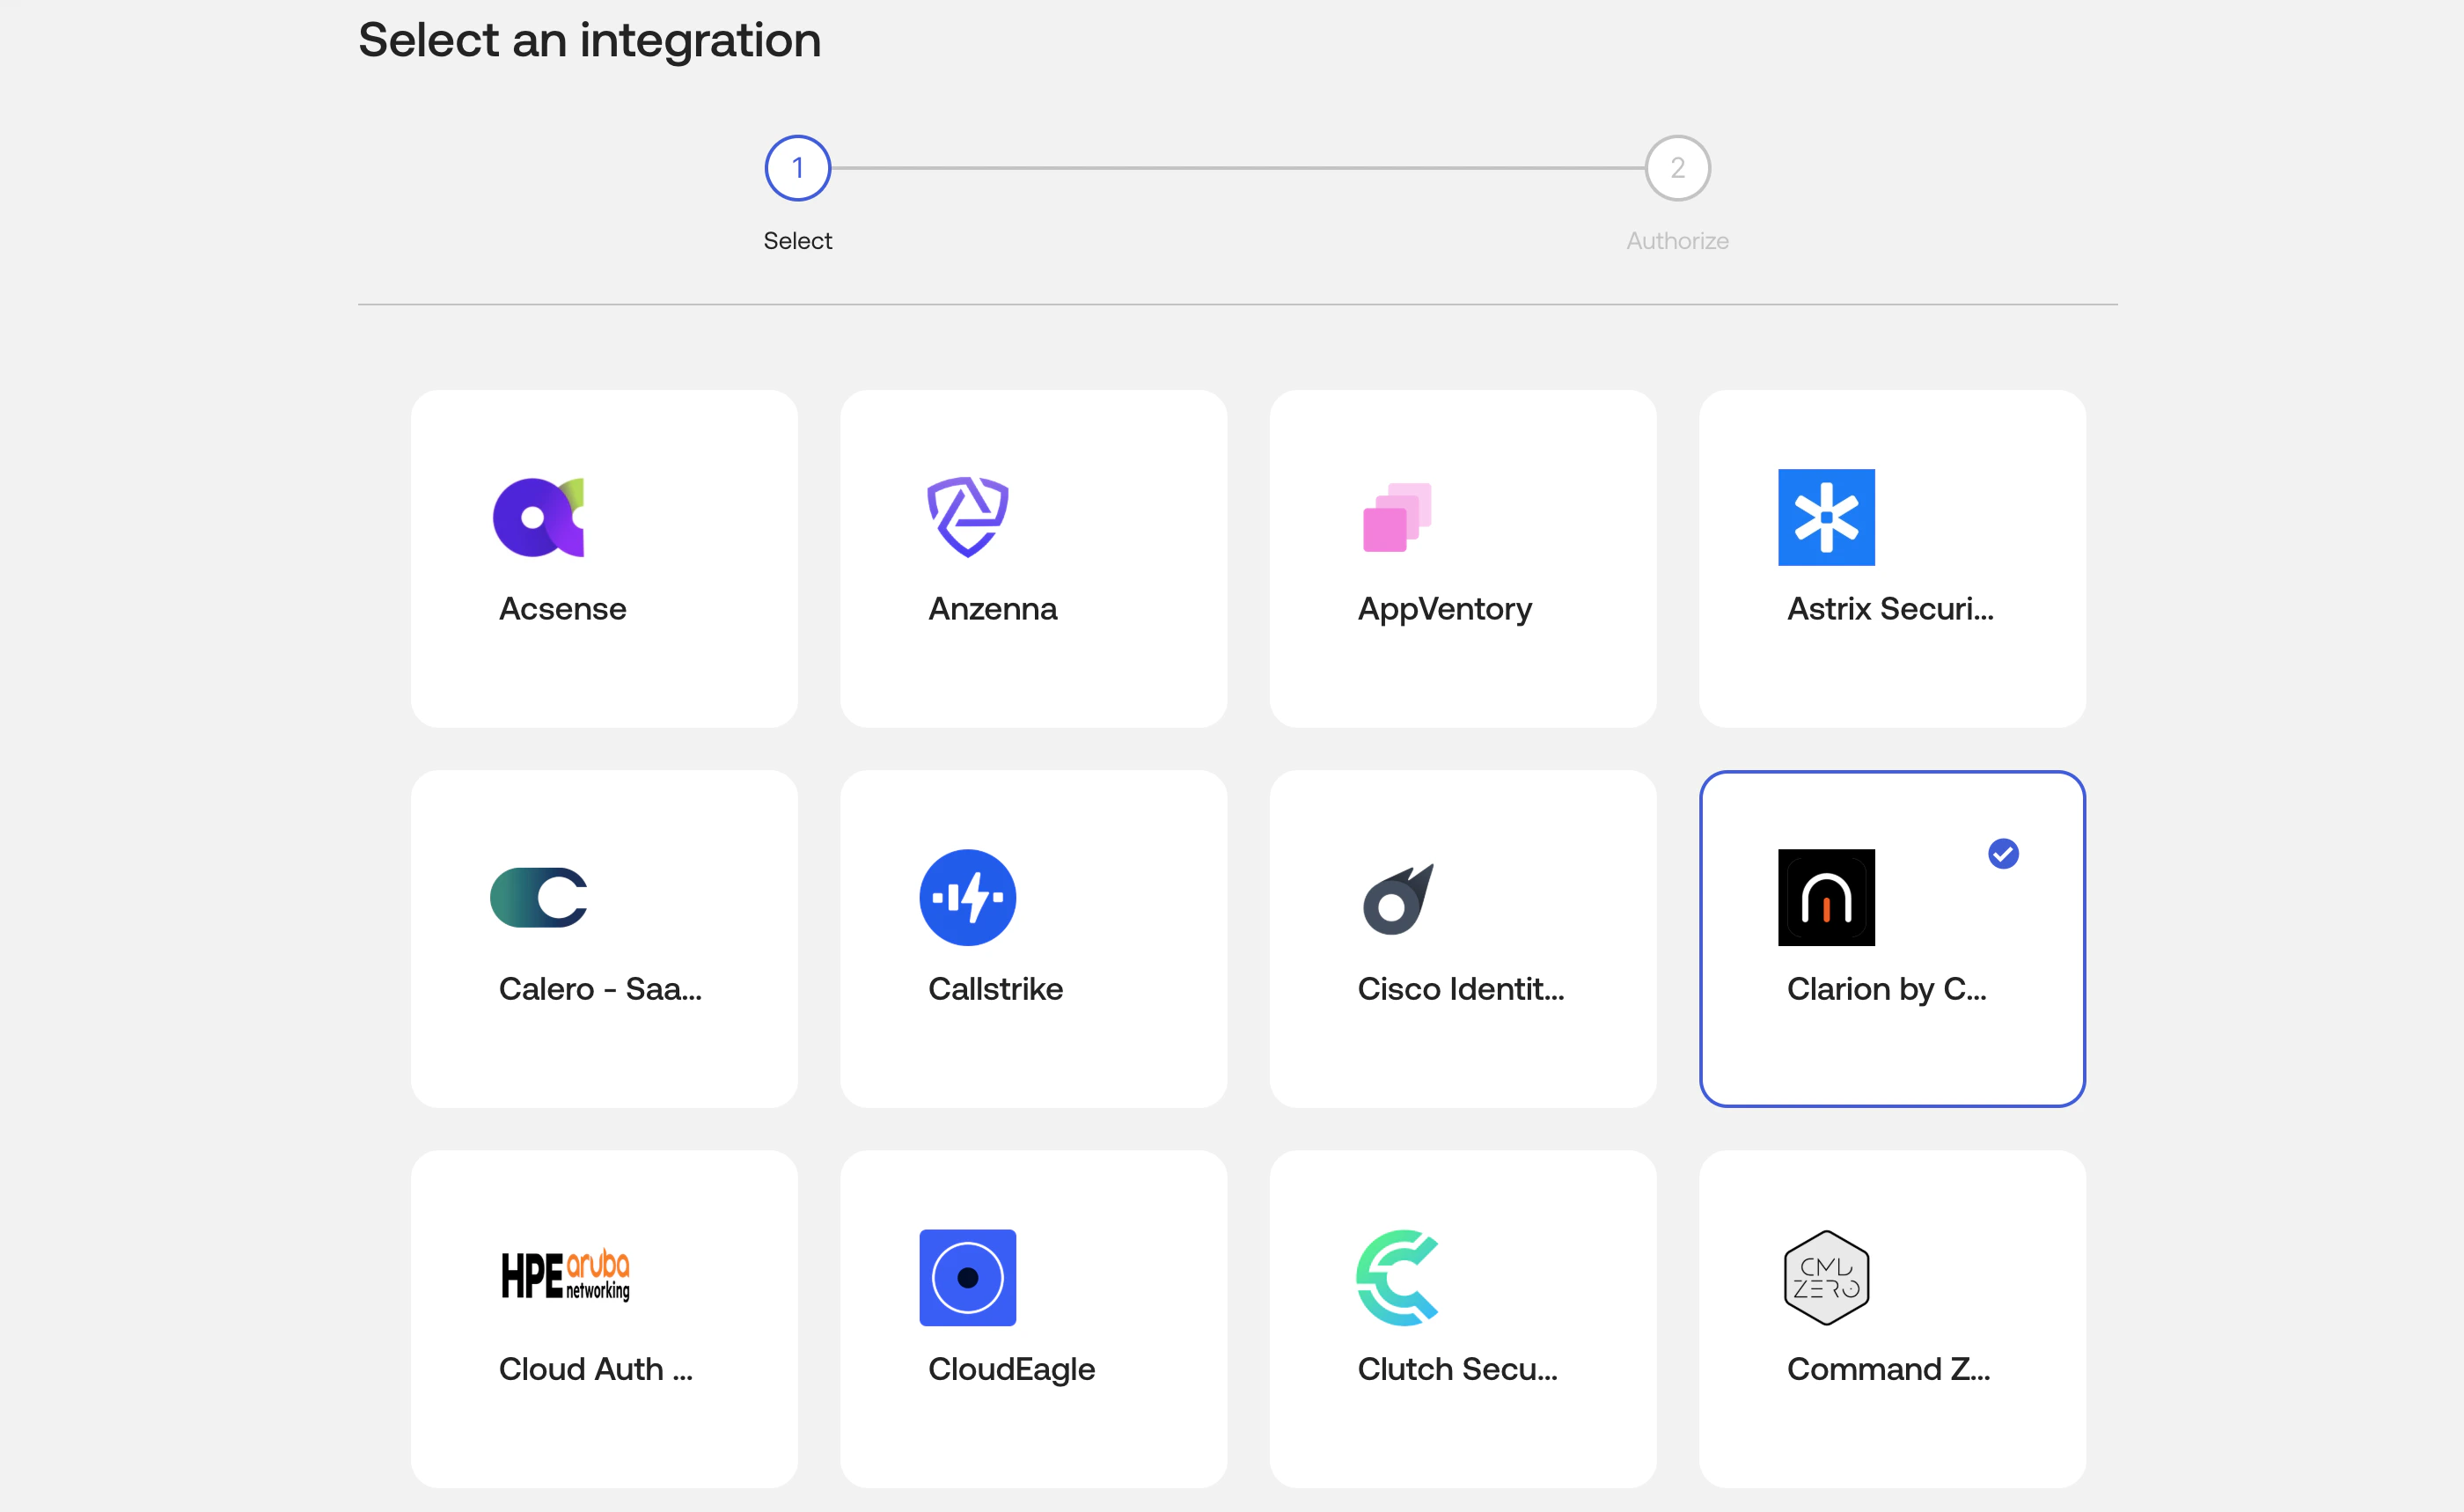
- Select the integration and continue to the authorization step.
- Review the requested scopes, then click Install & Authorize.
- Copy the Client Secret from the one-time confirmation dialog and store it securely.
- Open the installed Clarion integration in Okta and copy the Client ID from the General tab.
- Note your Okta org domain, for example
company.okta.com.
Connect Okta in Clarion
- Open Clarion and go to Integrations > Okta.
- Enter the following values:
- Okta Domain - your Okta org hostname only, such as
company.okta.com - Client ID - the value from the installed Clarion integration in Okta
- Client Secret - the value shown during Install & Authorize
- Okta Domain - your Okta org hostname only, such as
- Click Connect.
- Clarion validates the credentials, provisions the managed Okta Event Hook, and saves the integration.
Verify the connection
After connecting:- The Okta integration status in Clarion should show Connected
- The Managed Okta connection section should show the connected org and Event Hook ID
- Clarion should provision the webhook endpoint automatically without requiring additional Okta-side Event Hook setup
Enable Clarion detection rules
Click Add recommended filters to enable Clarion’s detection rules. These rules monitor for suspicious activity and generate alerts, adding an extra layer of security on top of Okta’s built-in alerts.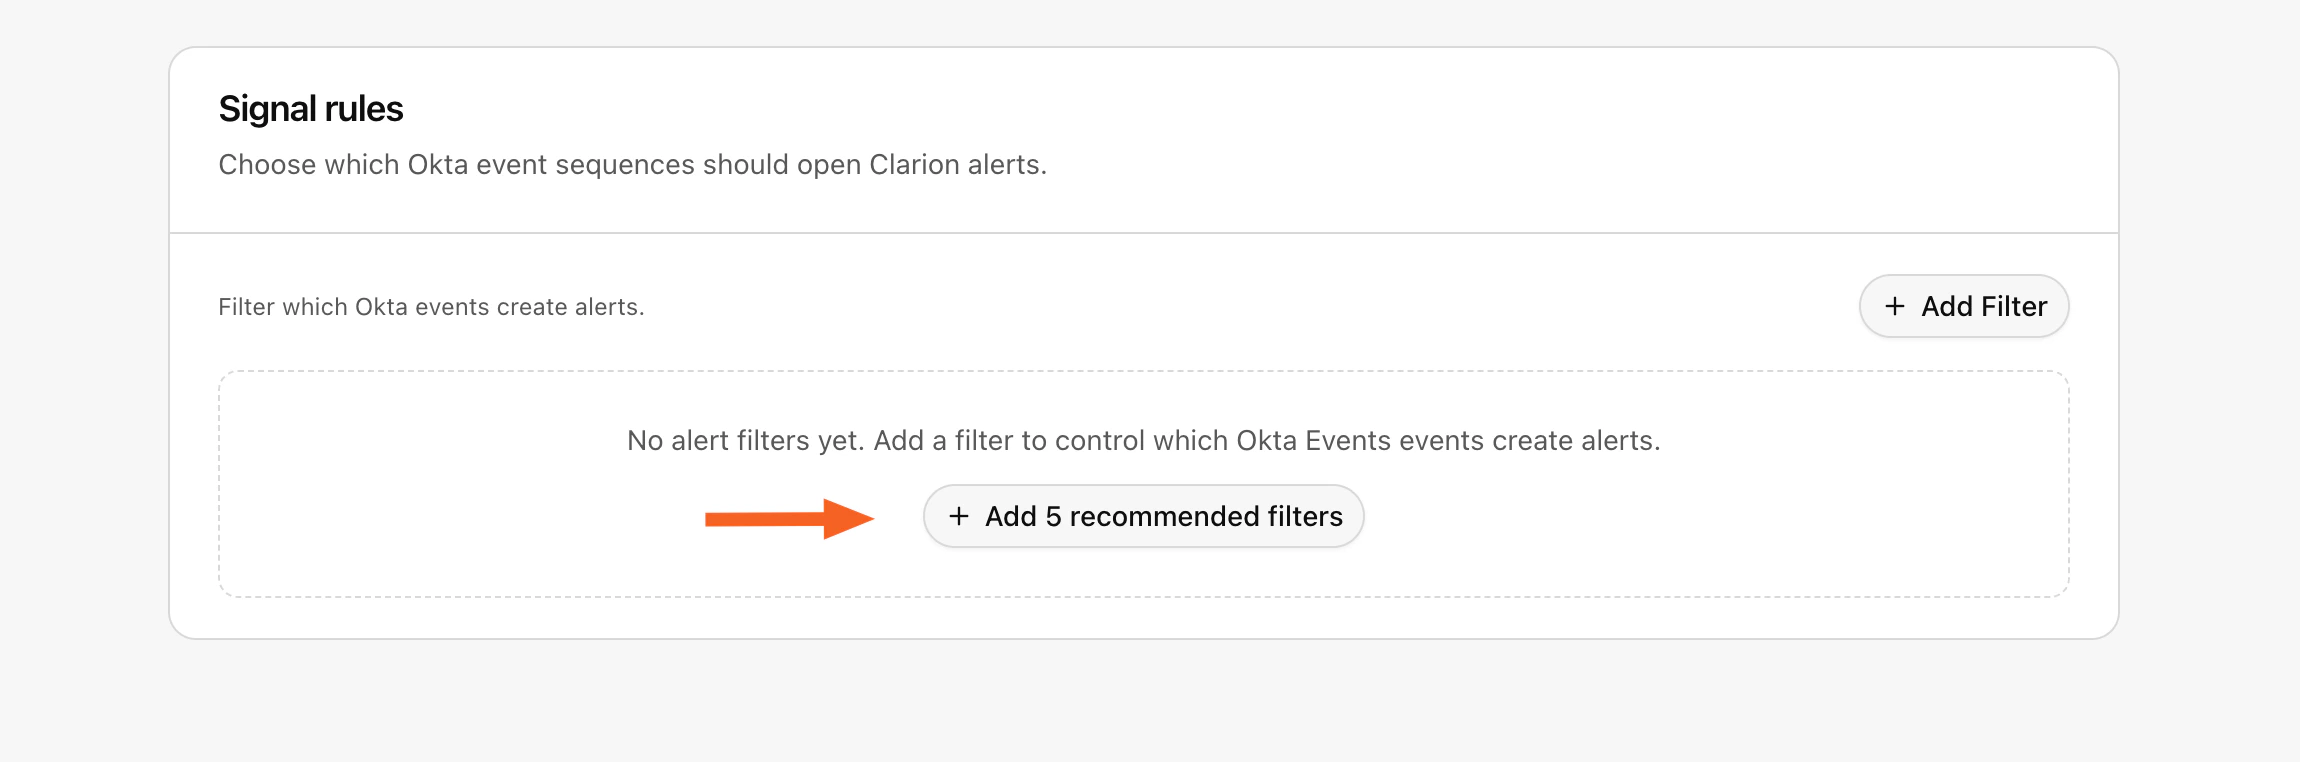
Reconnect an existing Okta integration
If your workspace connected Okta before the OIN-based app flow was introduced, Clarion may show Reconnect required instead of Connected. If Clarion still has the saved Okta app credentials, use Recreate managed hook to create a fresh Clarion-owned Event Hook without re-entering credentials. If Clarion asks for new credentials:- Install Clarion by Cantina from Applications > API Service Integrations in the same Okta org.
- Copy your Okta Domain and the generated Client ID and Client Secret from the installed app.
- Return to Clarion and use Save credentials and reconnect on the Okta integration page.
What Clarion does after connection
Once connected, Clarion can:- Receive supported Okta events in real time
- Use Okta System Log data to enrich investigations
- Create alerts and triage suspicious activity in Clarion
- Support response actions such as suspending compromised accounts when initiated from Clarion workflows
Troubleshooting
401 Unauthorized during connect
- Confirm you are using the Client ID and Client Secret from the installed Clarion by Cantina API Service integration in the same Okta org
- If you no longer have the client secret, generate a new secret in Okta and reconnect Clarion with the rotated value
The Okta domain is rejected or the token request fails
- Paste the Okta org hostname or full Okta URL from the same org; Clarion automatically removes protocol, path, trailing dots, and supported Admin Console suffixes
- If the value is still rejected, confirm it belongs to an Okta org domain such as
company.okta.com,company.okta-emea.com, orcompany.oktapreview.com - Confirm you are using the Client ID and Client Secret from the installed Clarion app in that same Okta org
The connection succeeds but no hook is created
- Confirm the integration was installed from Applications > API Service Integrations
- Confirm the authorized app includes the supported scopes listed above
- Retry the Clarion connection or use Recreate Hook from the Okta integration page in Clarion