Documentation Index
Fetch the complete documentation index at: https://docs.clarion.cantina.xyz/llms.txt
Use this file to discover all available pages before exploring further.
This guide walks you through connecting your AWS account to Clarion. By the end, Clarion will receive CloudTrail events, CloudWatch alarms, and GuardDuty findings — and have IAM permissions to run agent tools (CloudTrail lookup, Route 53, CloudWatch queries).
Prerequisites
- An AWS account with admin or IAM-capable permissions.
- Access to the Clarion dashboard.
Step 0 — Generate a Webhook URL in Clarion
Before configuring AWS subscriptions, open your Clarion workspace and generate a webhook URL.
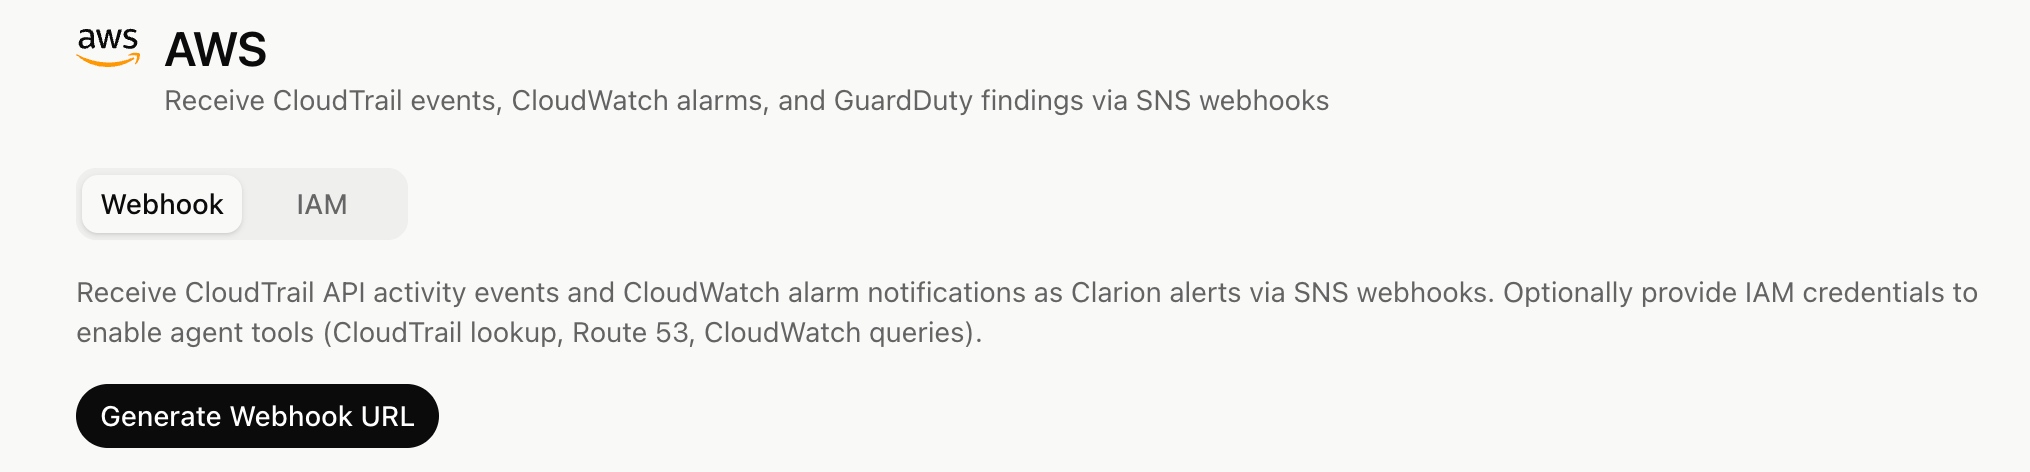 You will use this URL as the HTTPS subscription endpoint for your SNS topics in the steps below.
Keep this URL handy — you’ll need it for CloudTrail, CloudWatch, and GuardDuty setup. Clarion also requires the exact SNS topic ARN for each topic that publishes to the webhook.
SNS messages are accepted only from topic ARNs saved in Clarion. Existing AWS monitors with no saved SNS topic ARN must be updated before Clarion can confirm subscriptions or receive notifications.
Step 1 — CloudTrail via EventBridge
Send CloudTrail management events (API calls and console sign-ins) to Clarion through an SNS topic and an EventBridge rule.
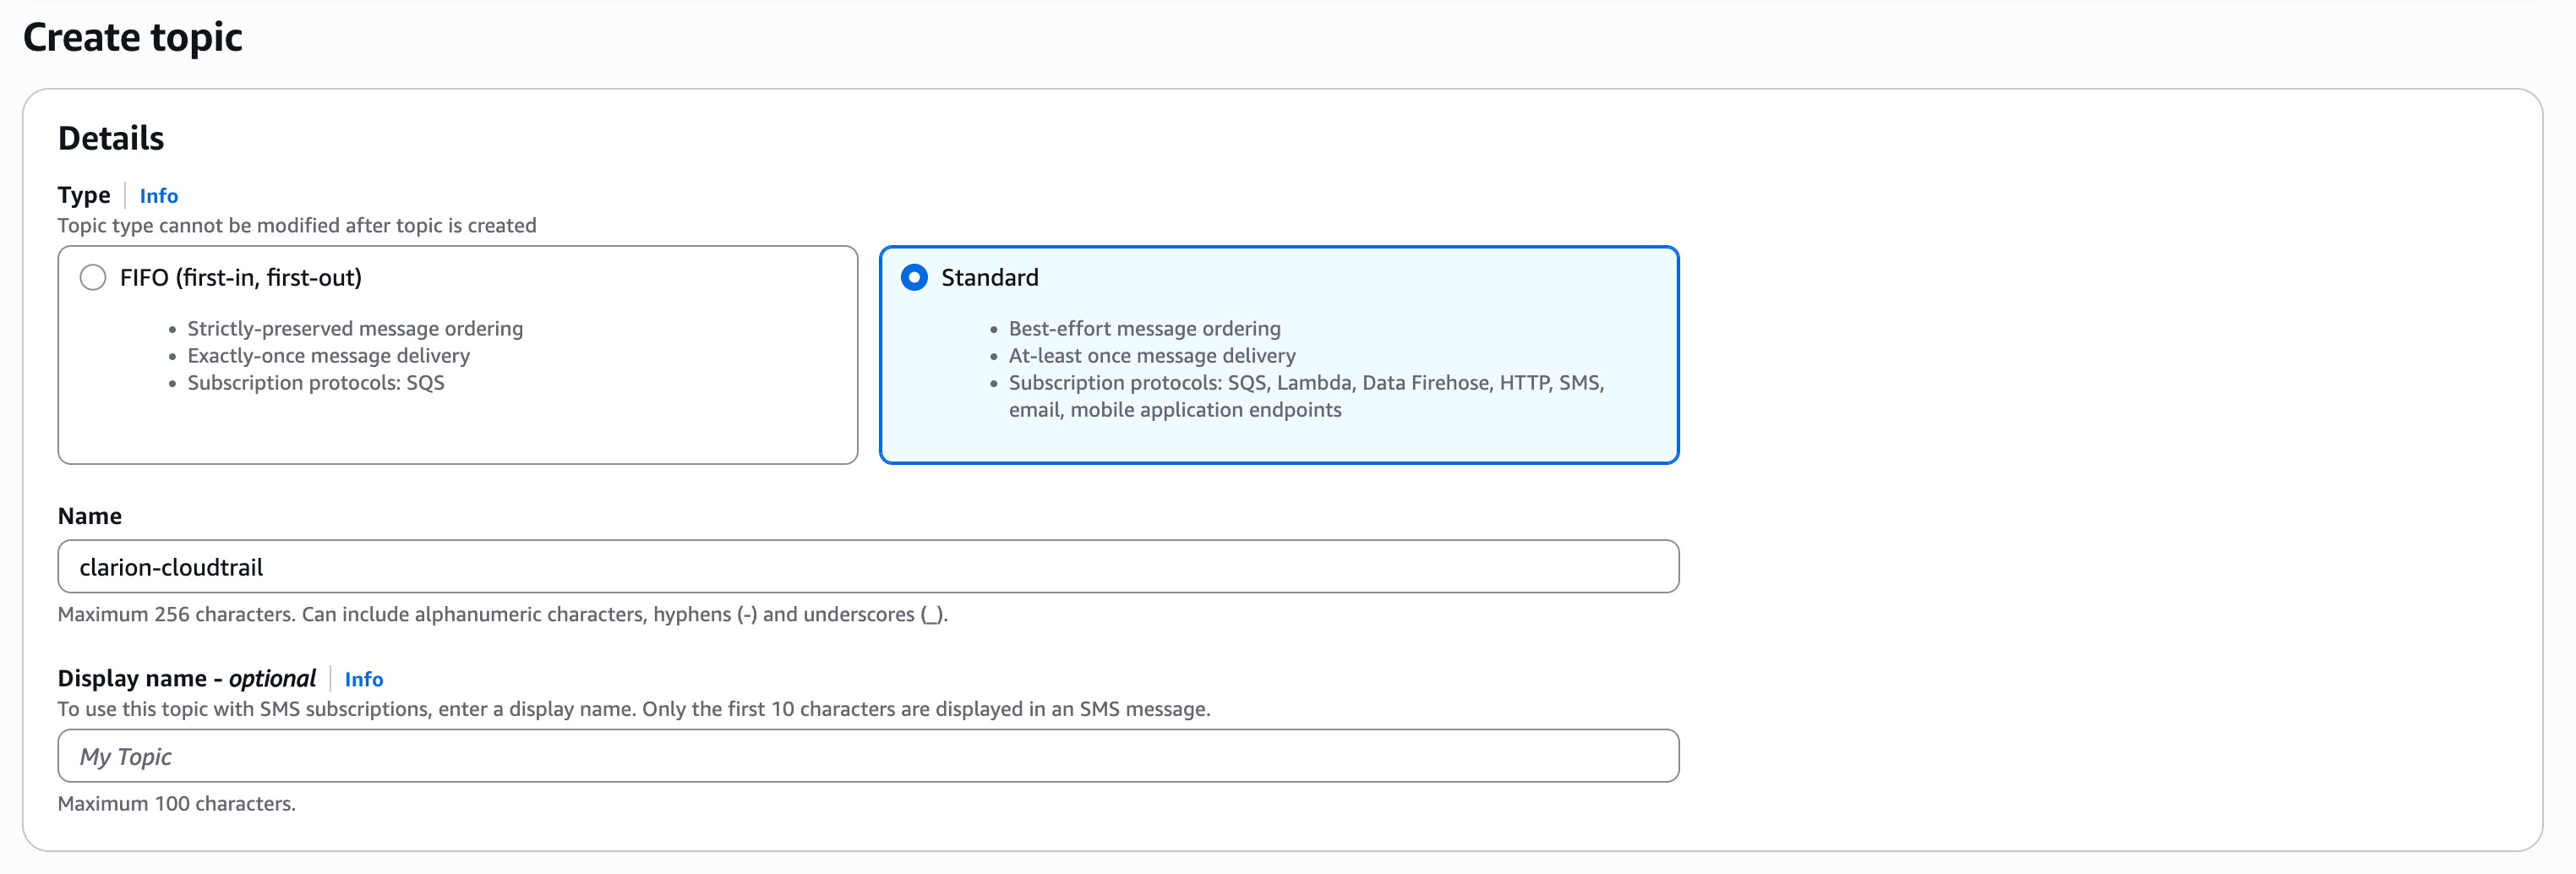
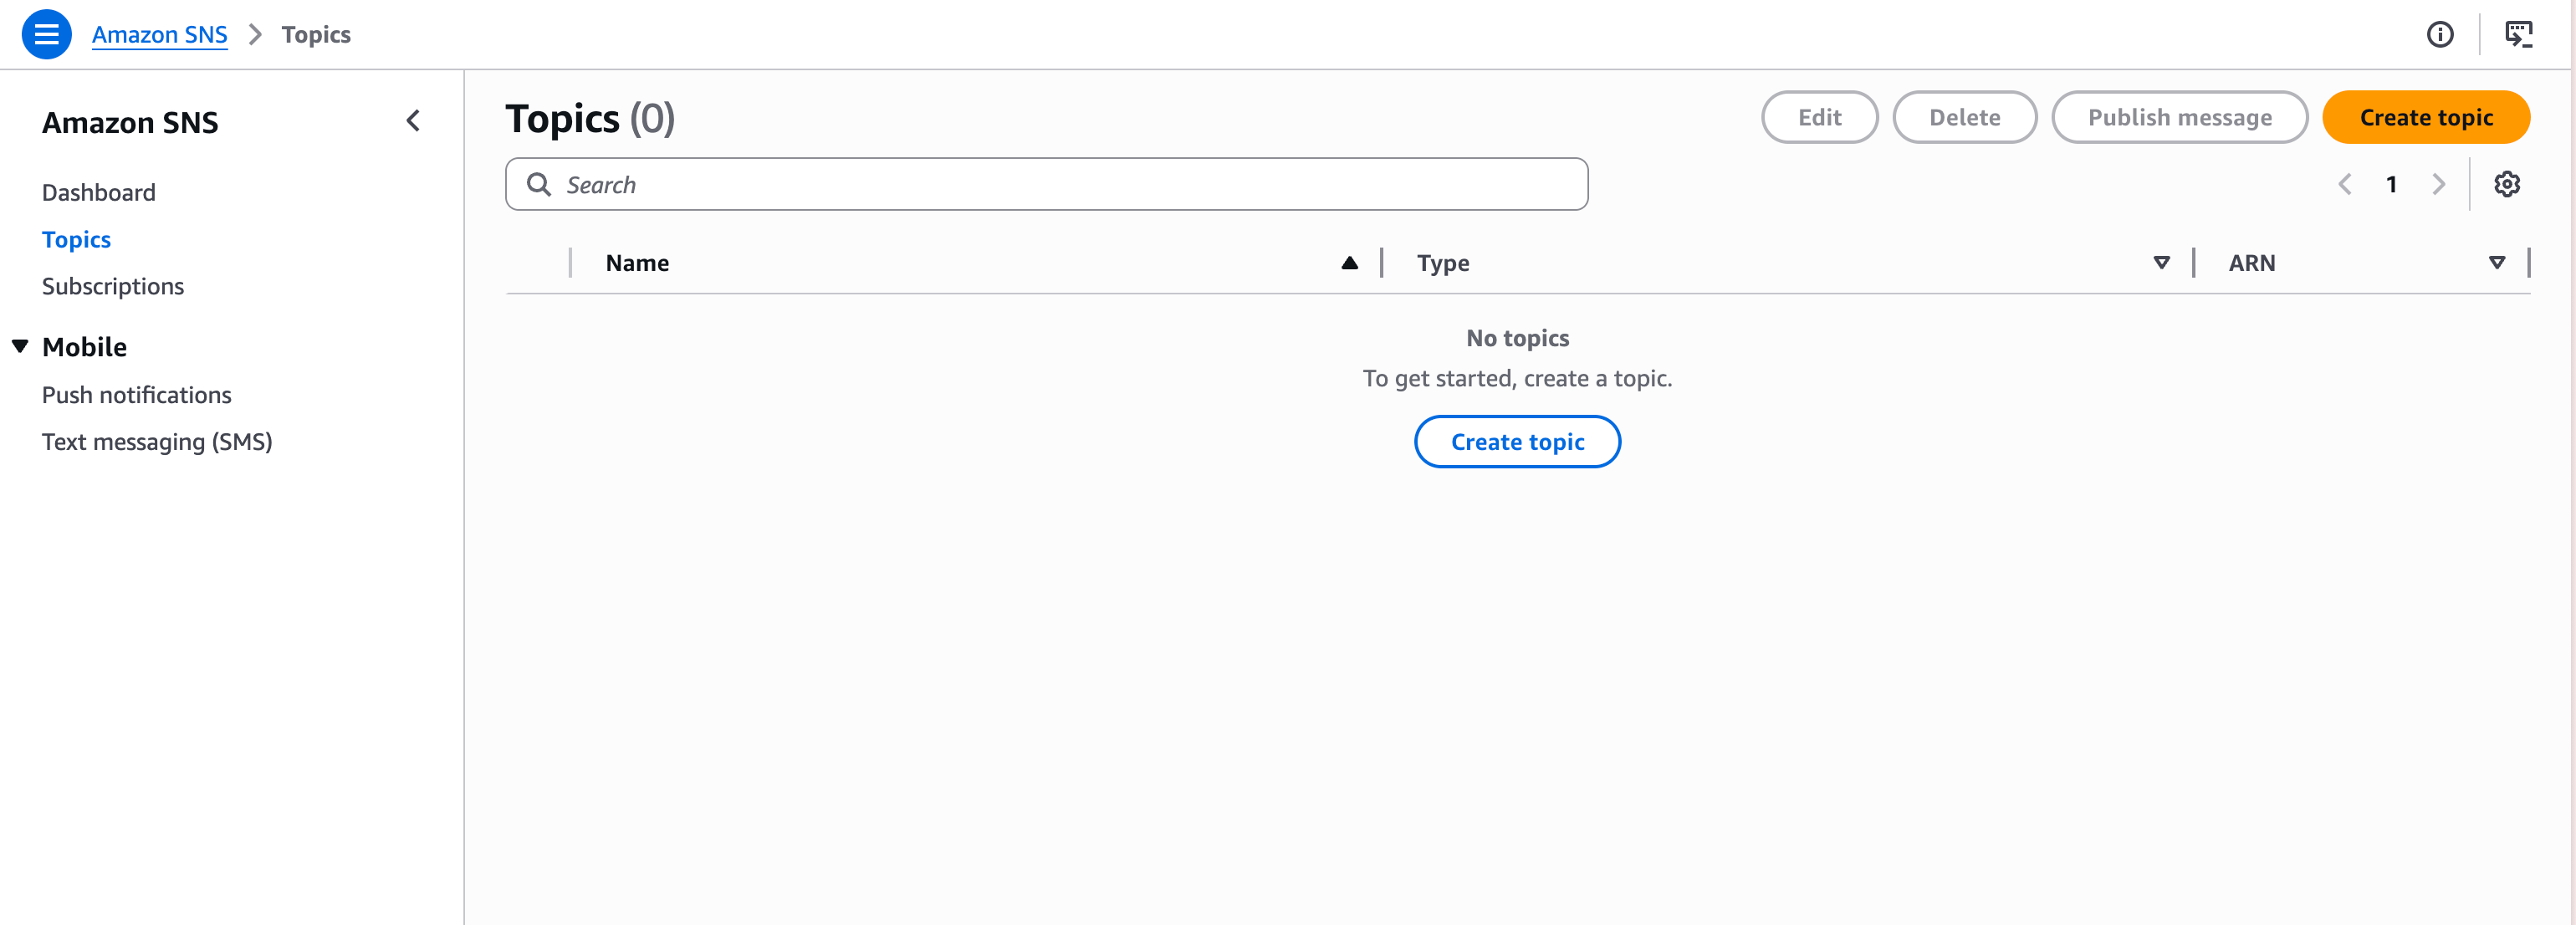
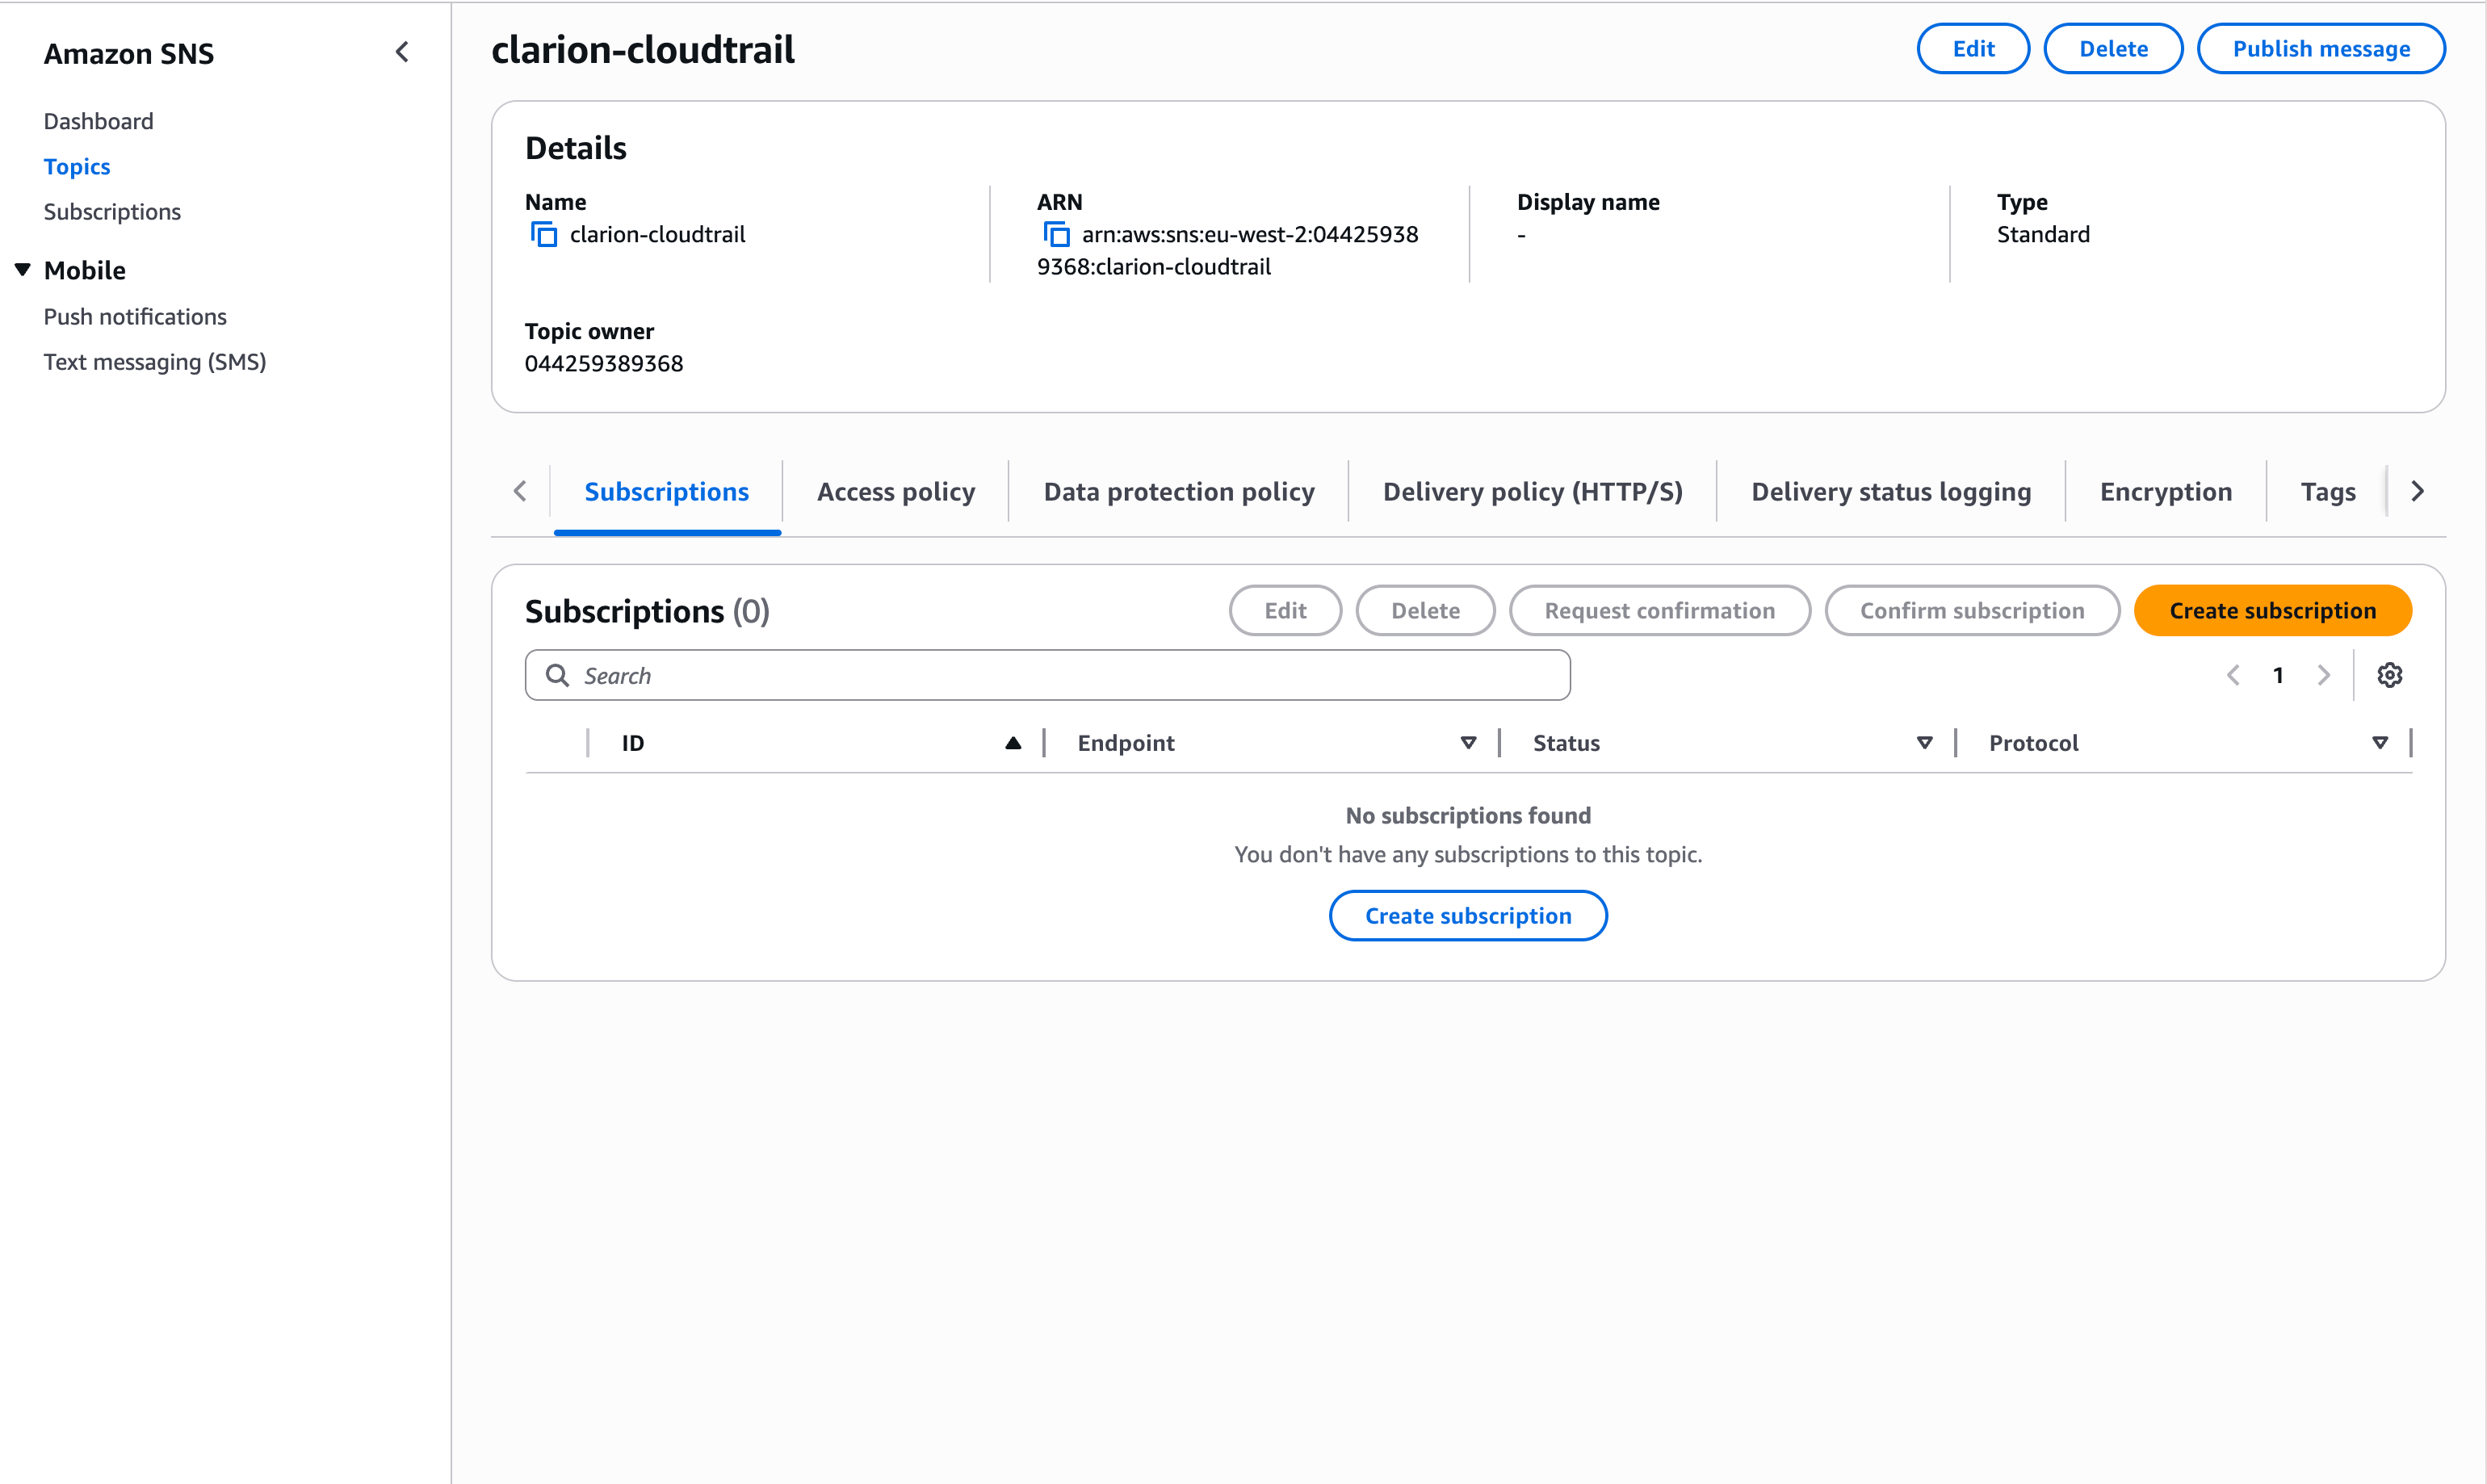
1.1 Create an SNS topic
- Open the Amazon SNS console and go to Topics.
- Create a new Standard topic (e.g.
clarion-cloudtrail).
- Copy the topic ARN, paste it into Clarion’s SNS topic ARN field for the CloudTrail monitor, and save the monitor.
Currently encryption of the topic is not supported, but Amazon SNS provides in-transit encryption by default.
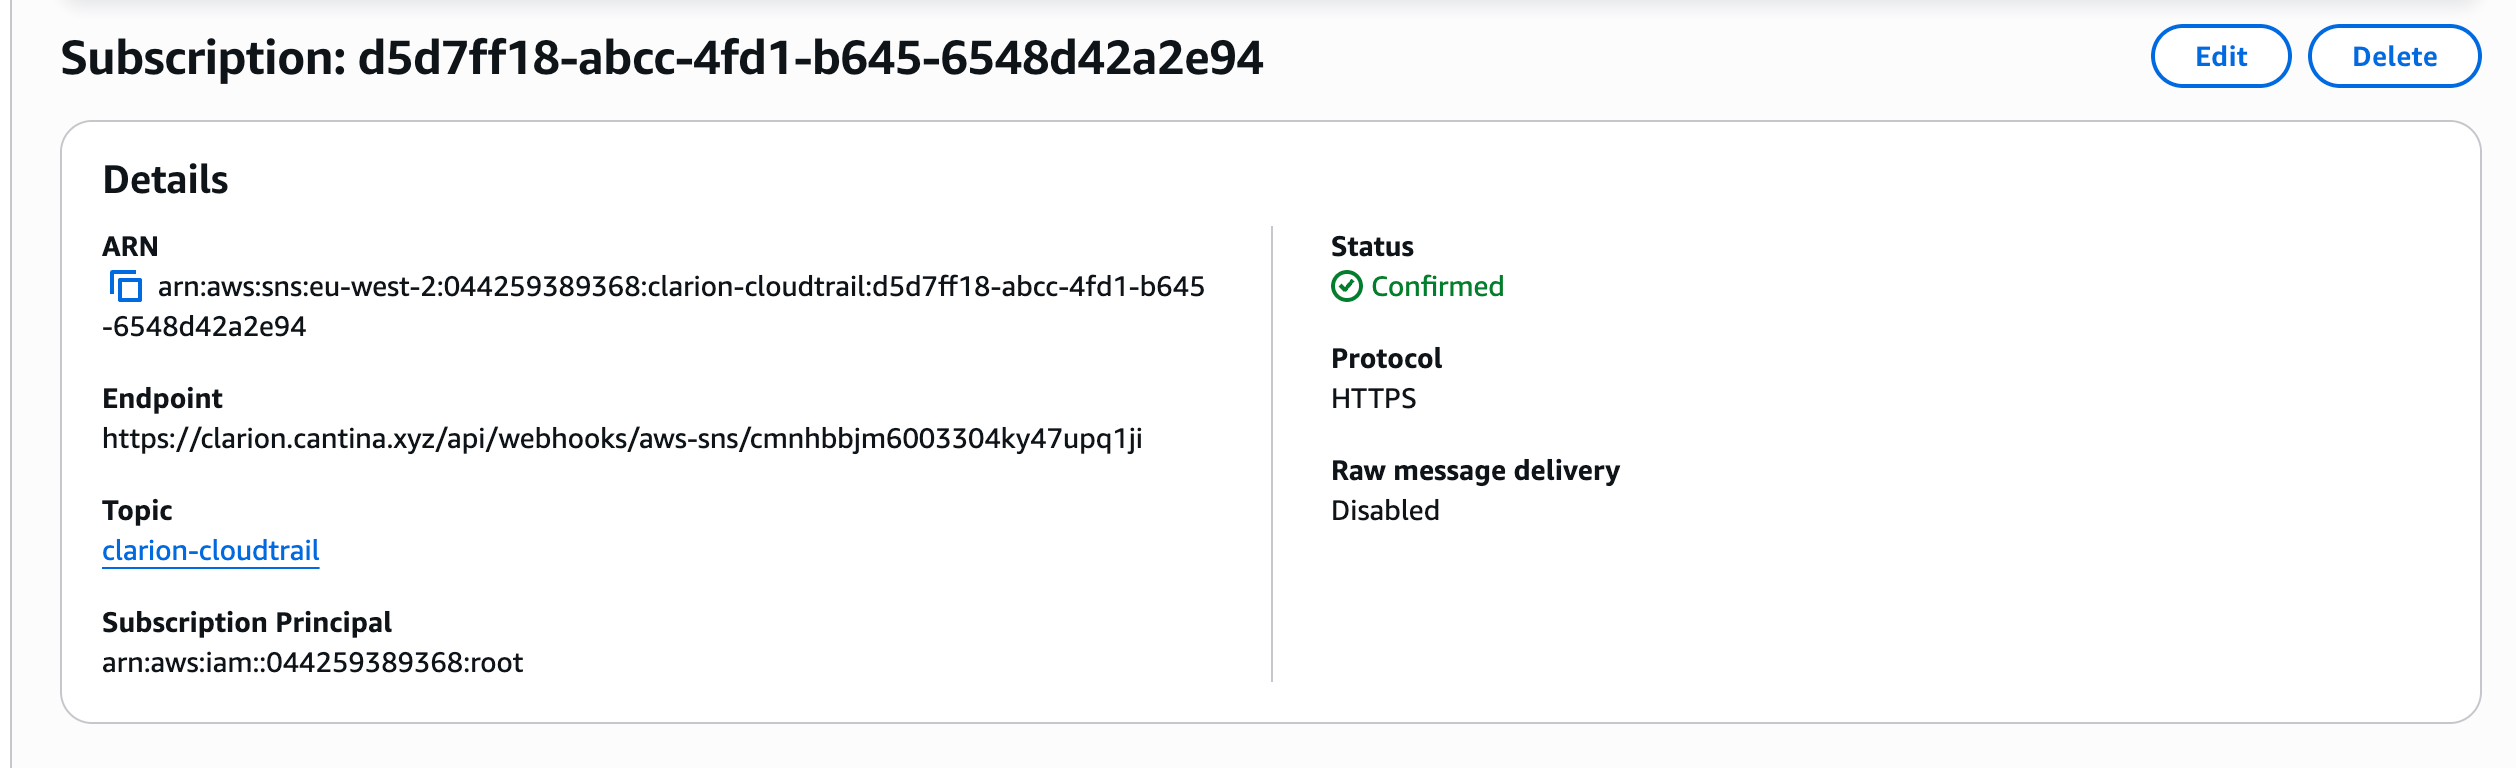
1.2 Subscribe Clarion to the topic
- On the topic you just registered in Clarion, click Create subscription.
- Set the protocol to HTTPS and paste the webhook URL from Clarion.
- SNS will send a confirmation request — Clarion auto-confirms it.
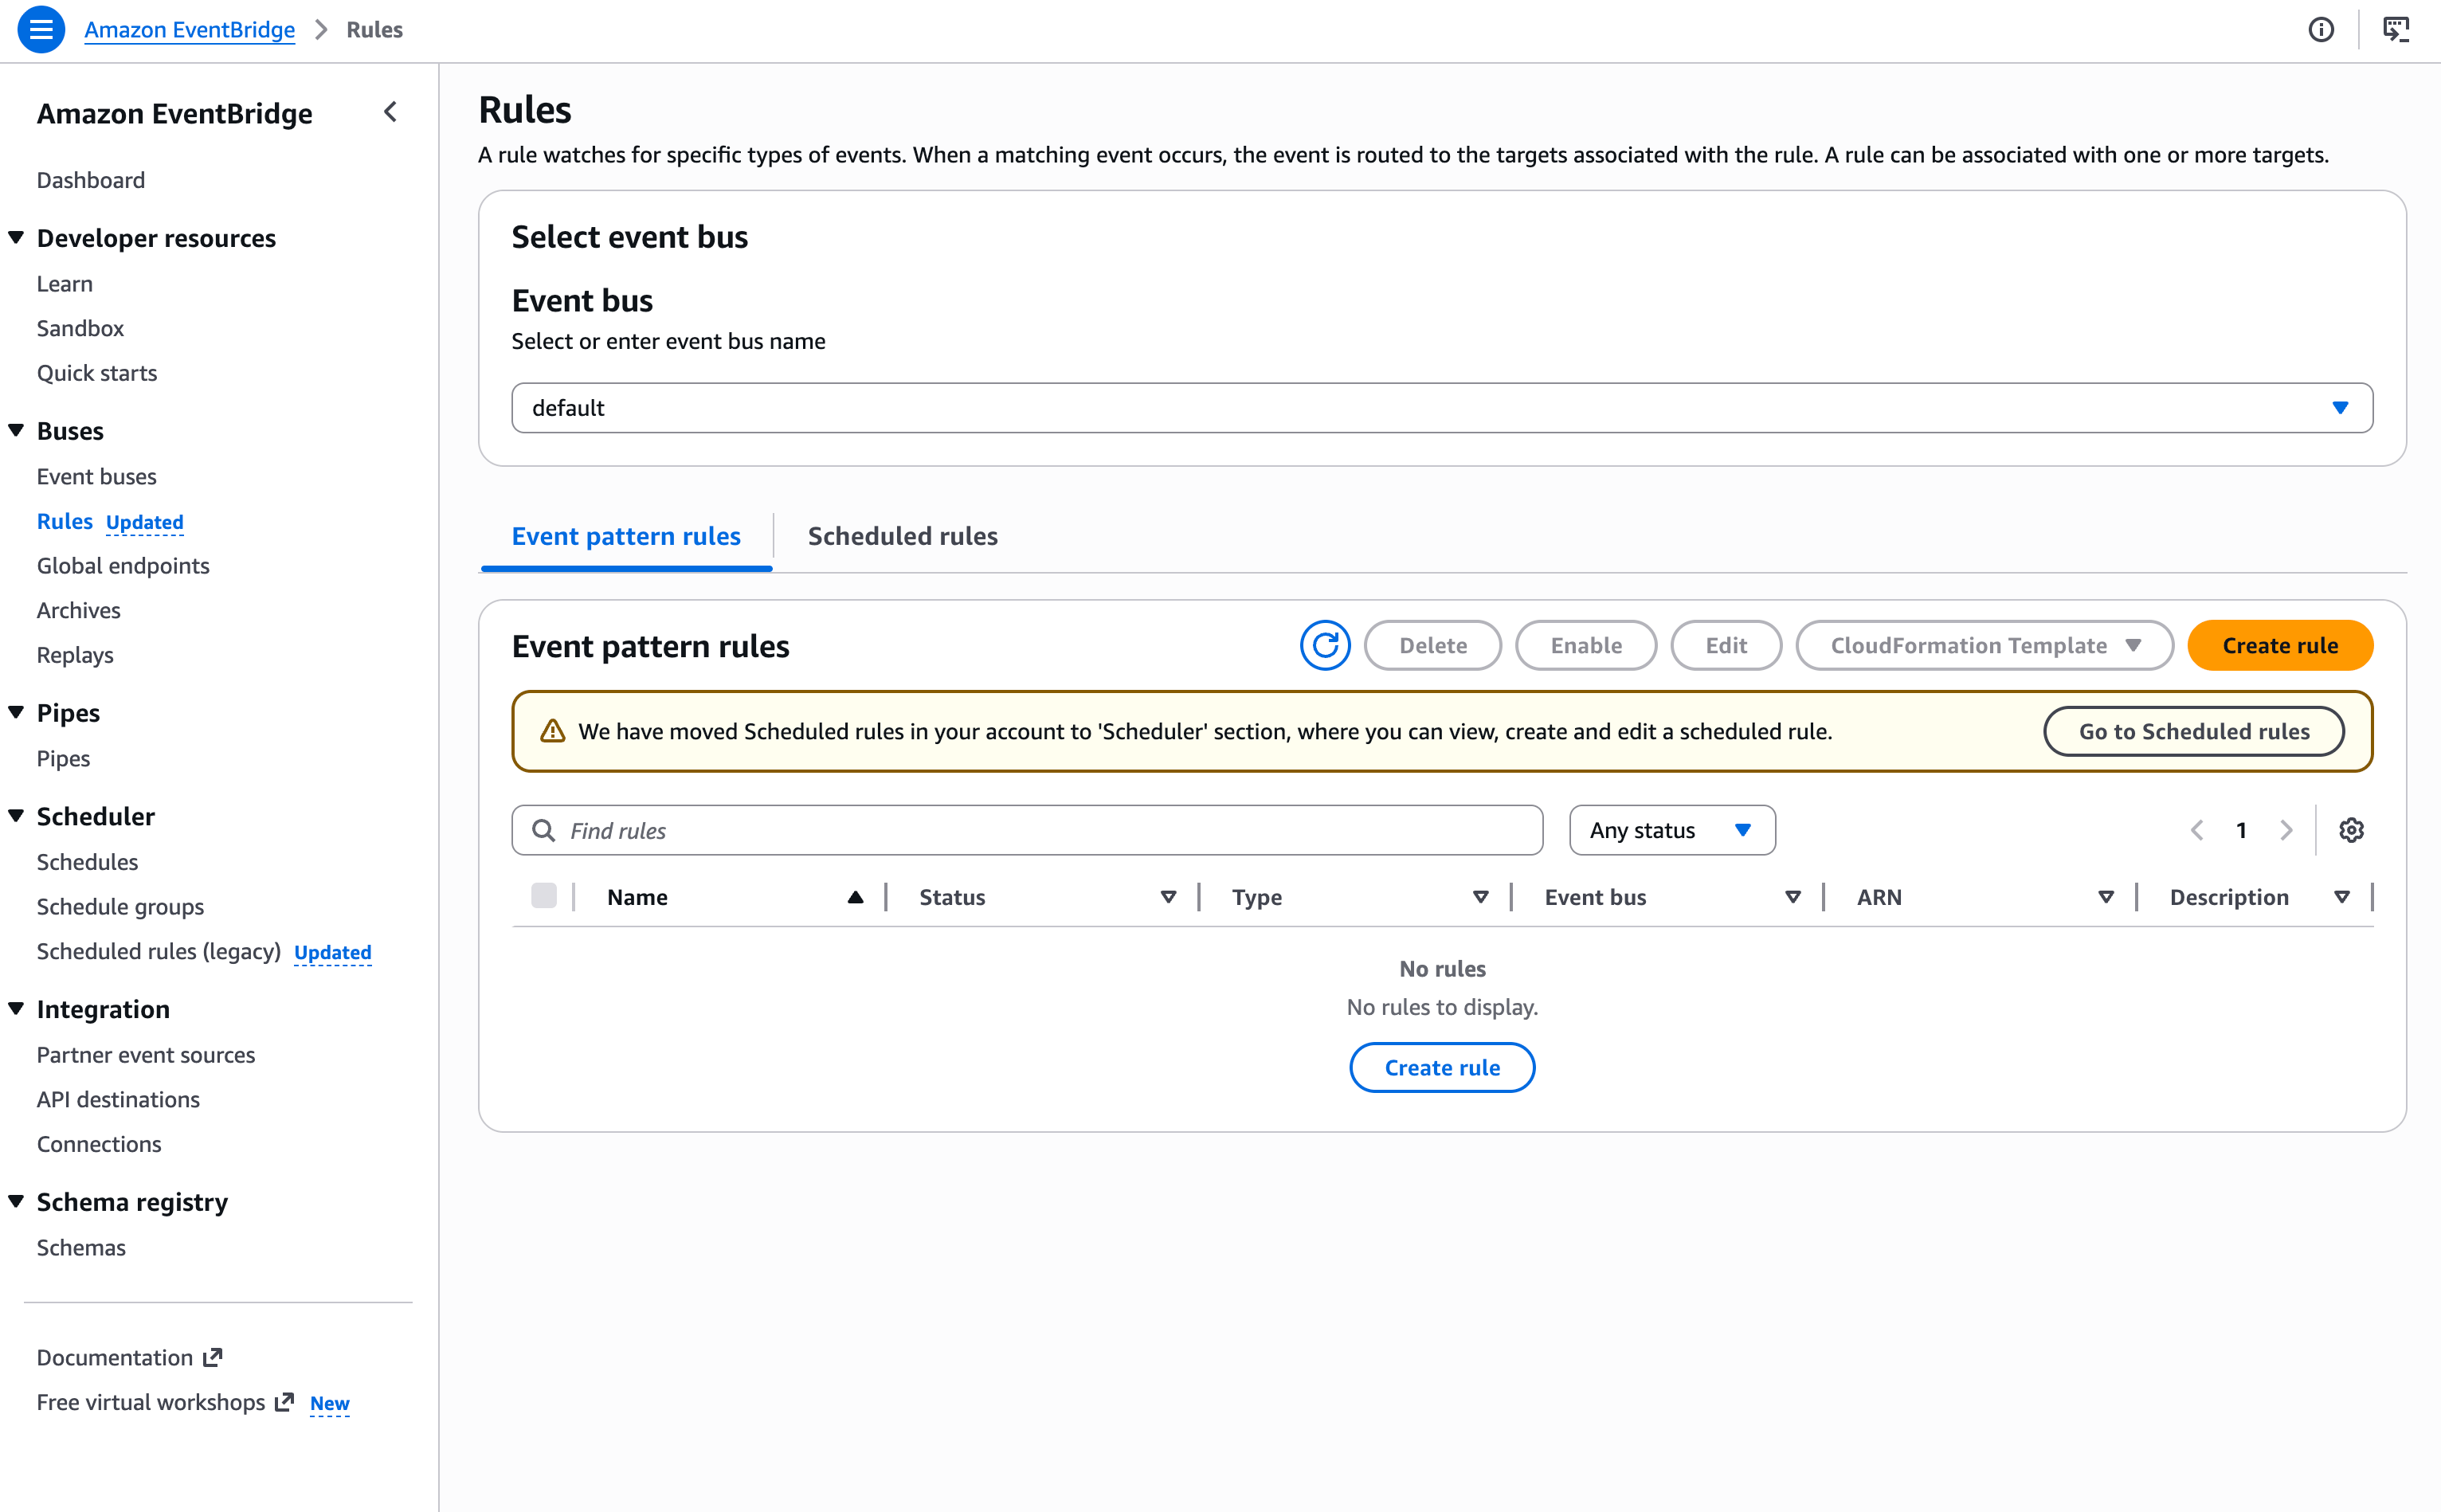
1.3 Create an EventBridge rule
- Open the Amazon EventBridge console and create a new rule.
- Use the following event pattern to forward all CloudTrail events to Clarion:
{
  "detail-type": [
    "AWS API Call via CloudTrail",
    "AWS Console Sign In via CloudTrail",
    "AWS Console Signin via CloudTrail",
    "AWS Service Event via CloudTrail"
  ]
}
EventBridge detail-type matching is case-sensitive. The pattern above
includes both known casing variants of the console sign-in detail-type
(Sign In and Signin) to ensure events are captured regardless of
the variant your account emits. Do not add a source filter — the
source field varies by originating AWS service (e.g. aws.iam,
aws.ec2, aws.signin) and filtering on it would silently drop events.
| Detail type | What it captures | Examples |
|---|
AWS API Call via CloudTrail | All management and data API calls | DeleteUser, PutBucketPolicy, RunInstances |
AWS Console Sign In via CloudTrail | Console login and logout events | ConsoleLogin (success, failure, MFA) |
AWS Service Event via CloudTrail | Non-API events triggered by AWS services | Log file delivery, automated key rotation, service-linked role actions |
AWS Insight via CloudTrail, exists for
CloudTrail Insights
anomaly detection events. Add it to the pattern if you have Insights enabled
on your trail.
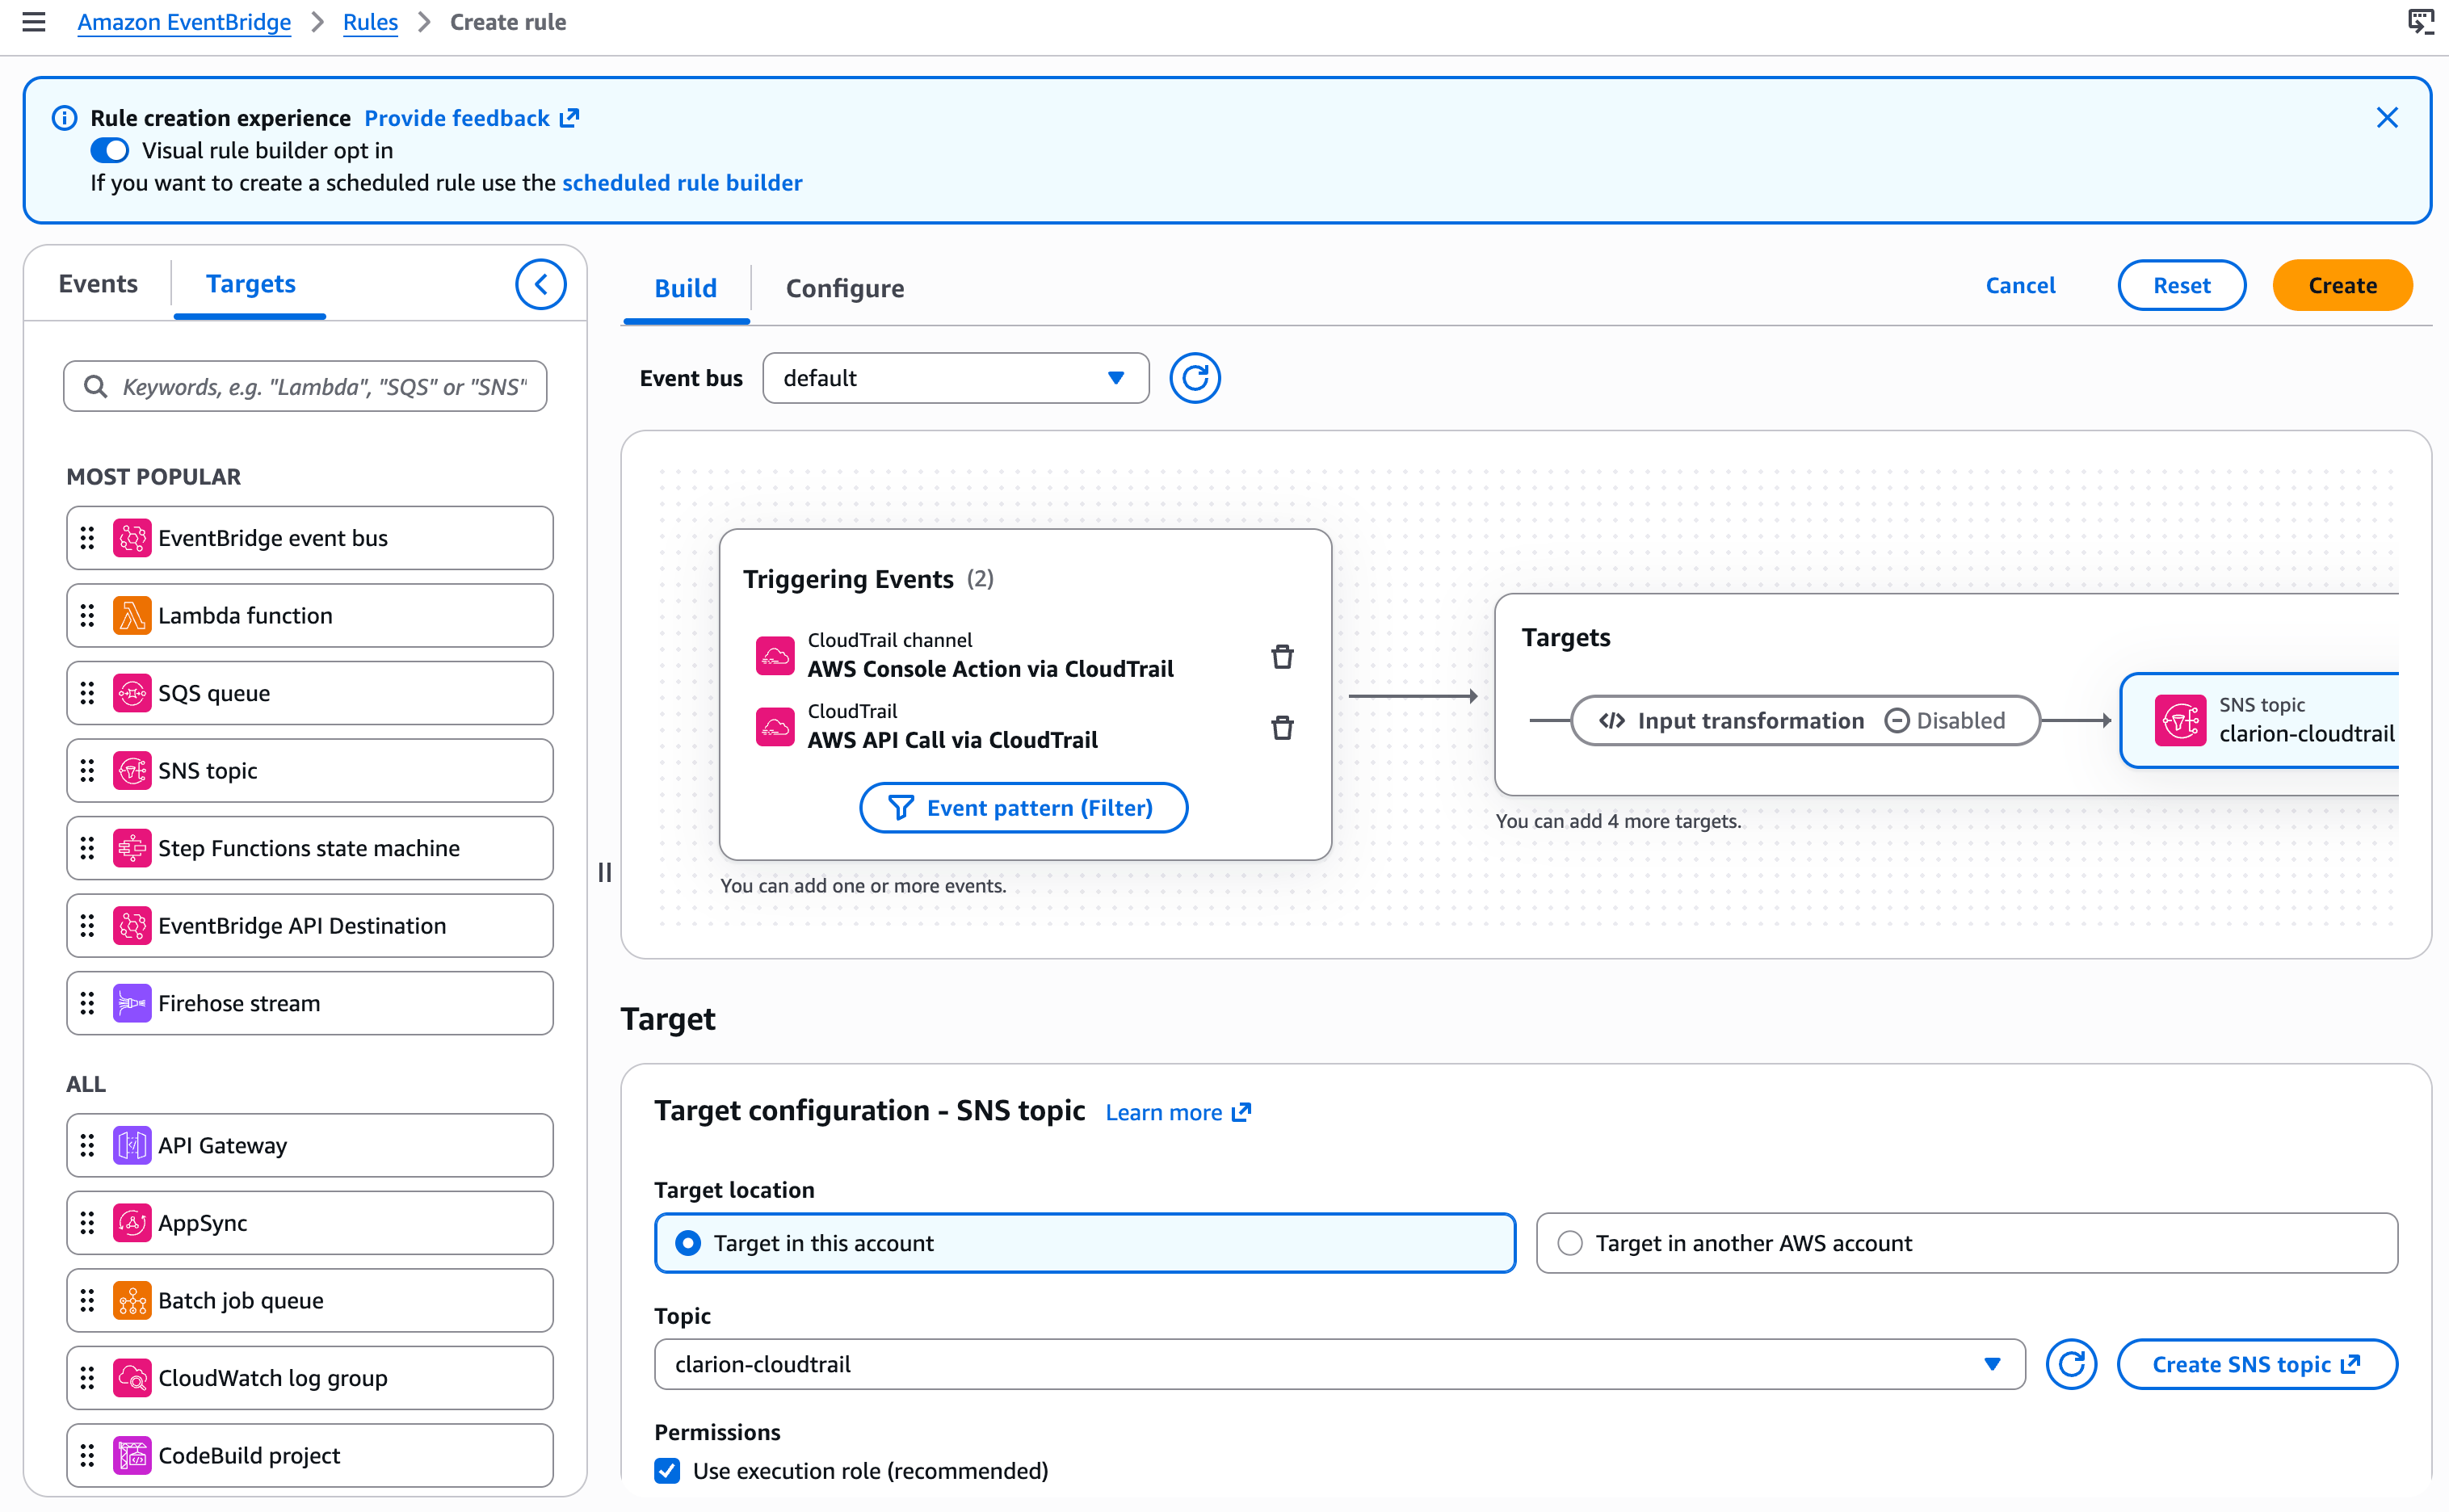
- Set the target of the rule to the SNS topic you created (
clarion-cloudtrail).
Step 2 — CloudWatch Alarms
Send CloudWatch alarm state changes to Clarion by publishing to an SNS topic subscribed to your webhook URL.
- Create a new SNS Standard topic for CloudWatch alarms (e.g.
clarion-cloudwatch), or reuse a topic you have already registered in Clarion.
- Copy the topic ARN, paste it into Clarion’s SNS topic ARN field for the CloudWatch monitor, and save the monitor.
- Add an HTTPS subscription using the webhook URL from Clarion. Wait for Clarion to auto-confirm.
- In the CloudWatch console, open the alarm(s) you want Clarion to monitor.
- Edit the alarm’s notification actions and set it to publish to the SNS topic you created.
You can point multiple alarms at the same SNS topic — no need to create one per alarm.
Step 3 — GuardDuty Findings
Route GuardDuty findings to Clarion through EventBridge and SNS.
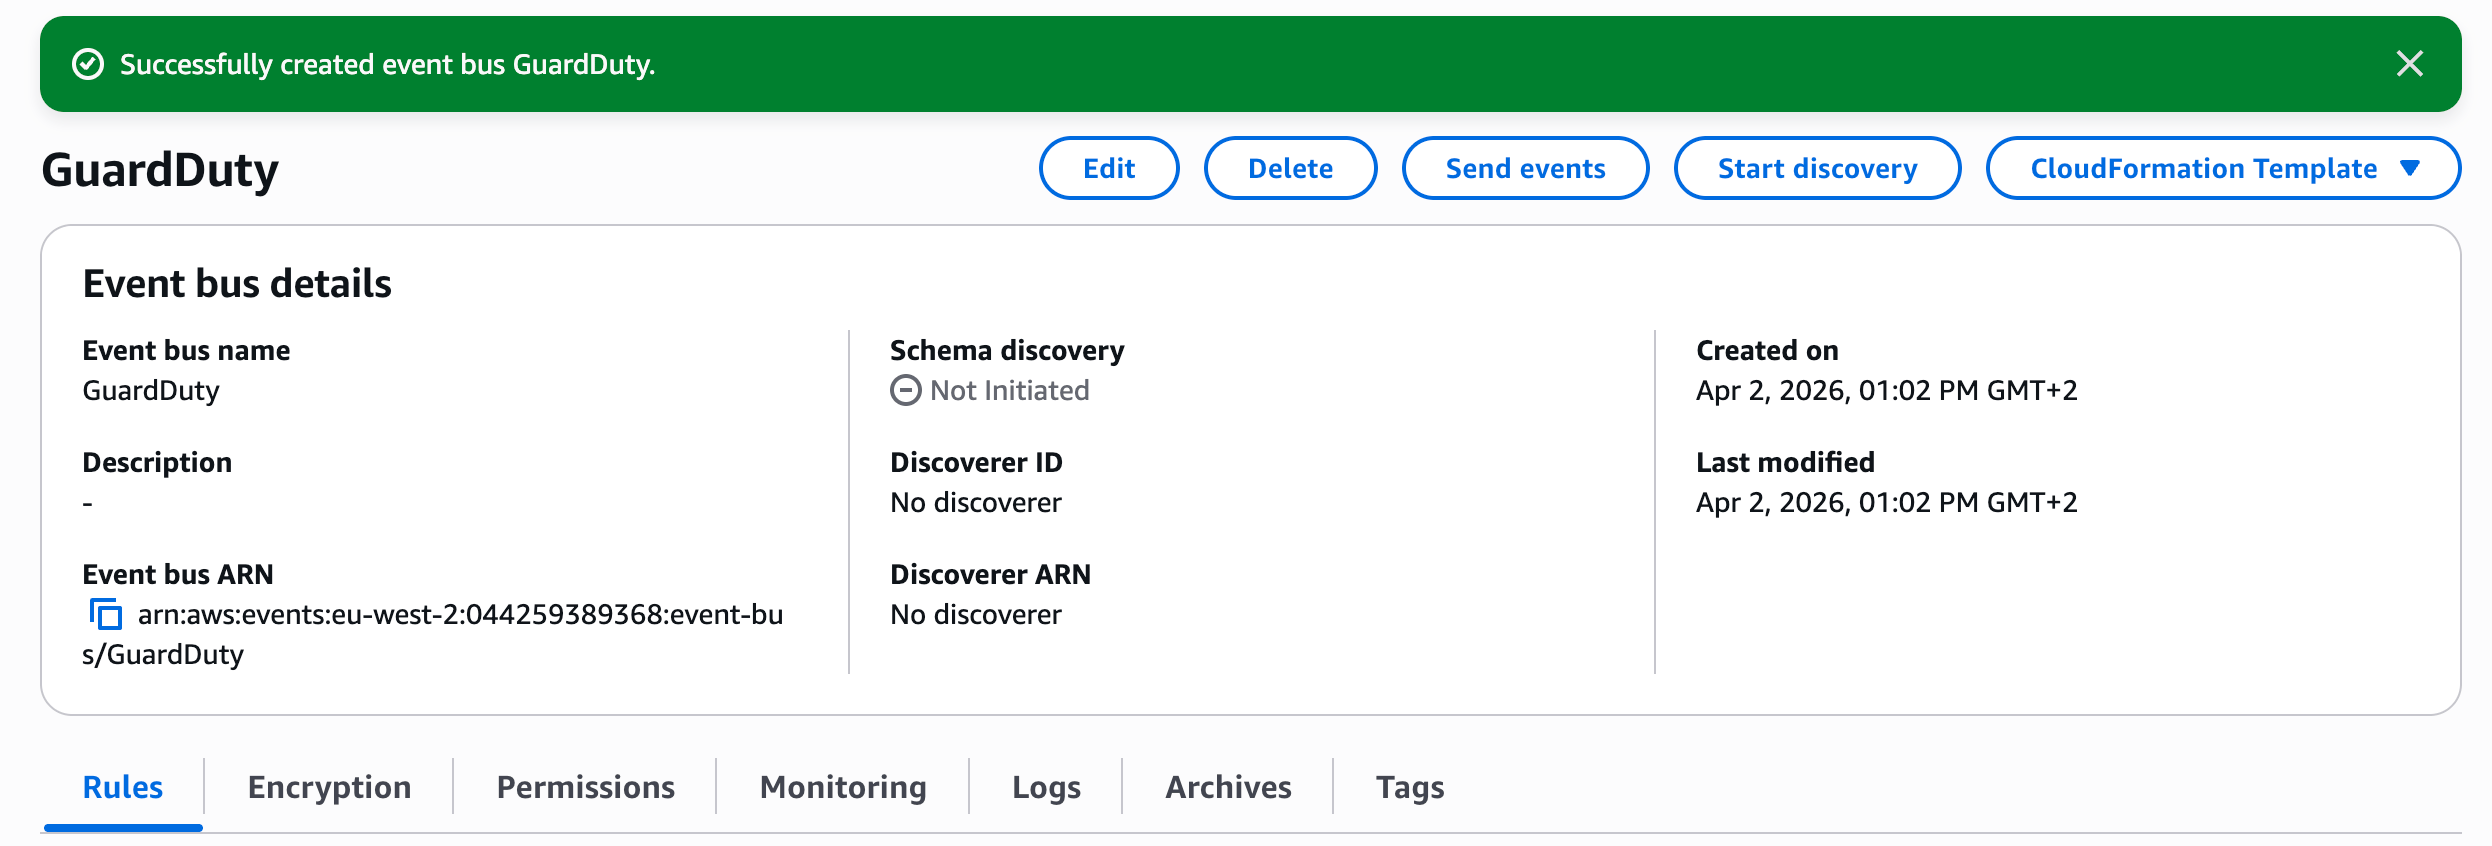
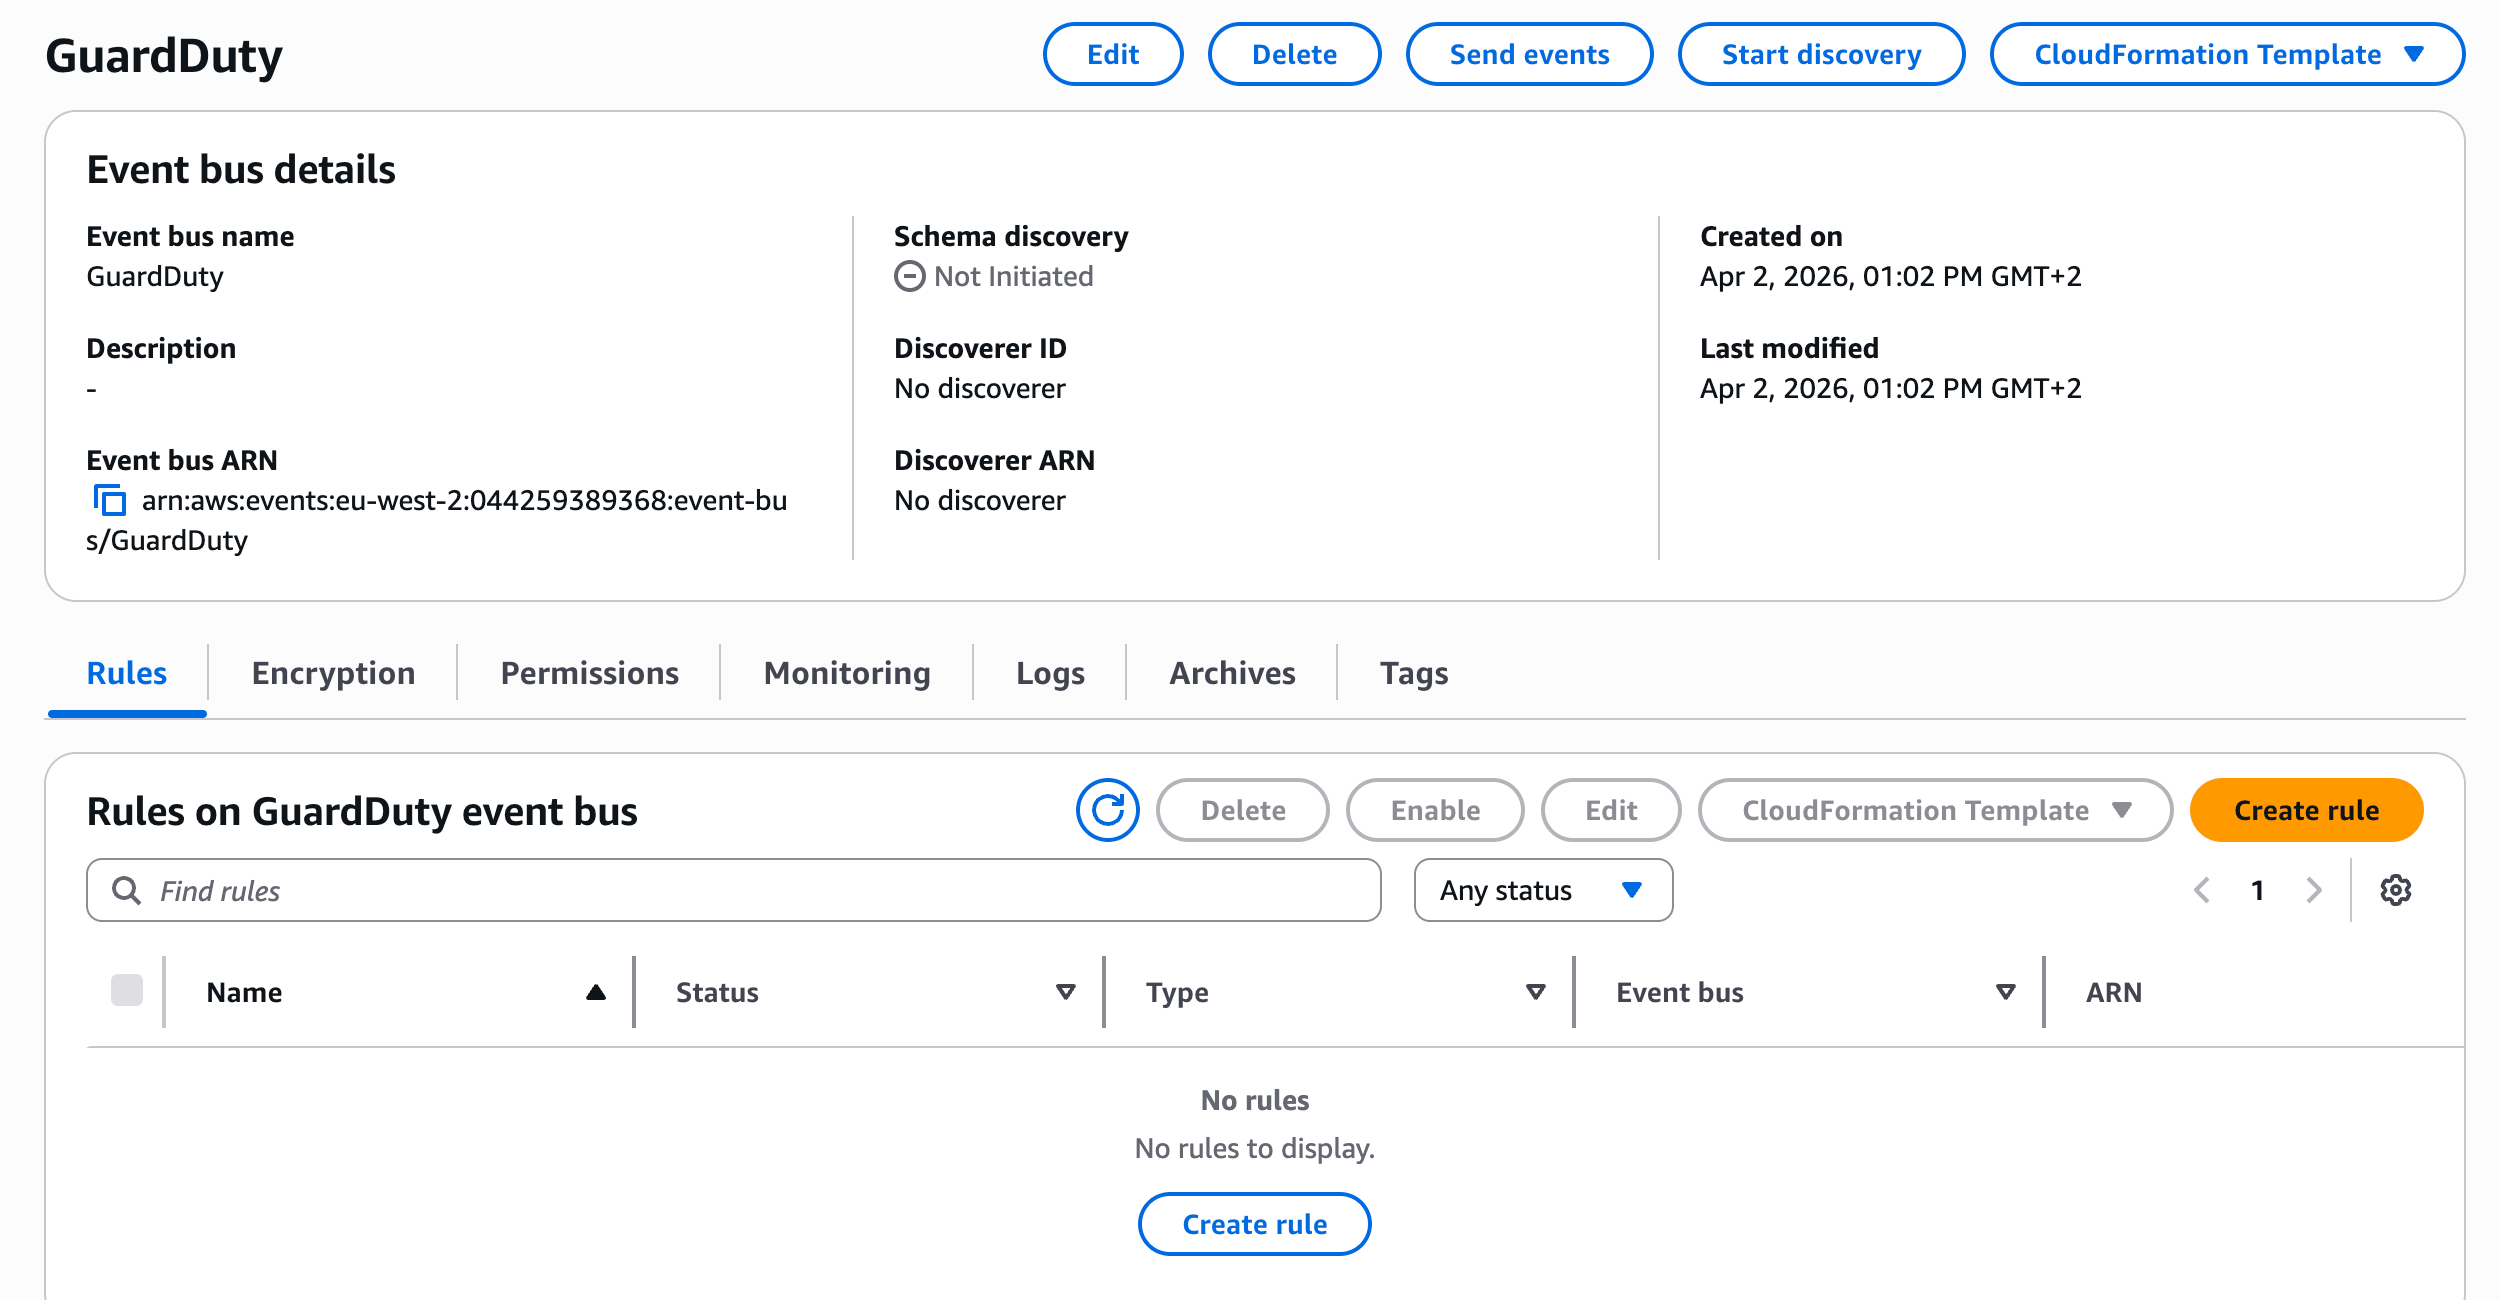
3.1 Create an event bus
- Open the Amazon EventBridge console.
- You can use the default event bus, or create a new custom event bus if you want to isolate GuardDuty events (e.g.
clarion-guardduty-bus).
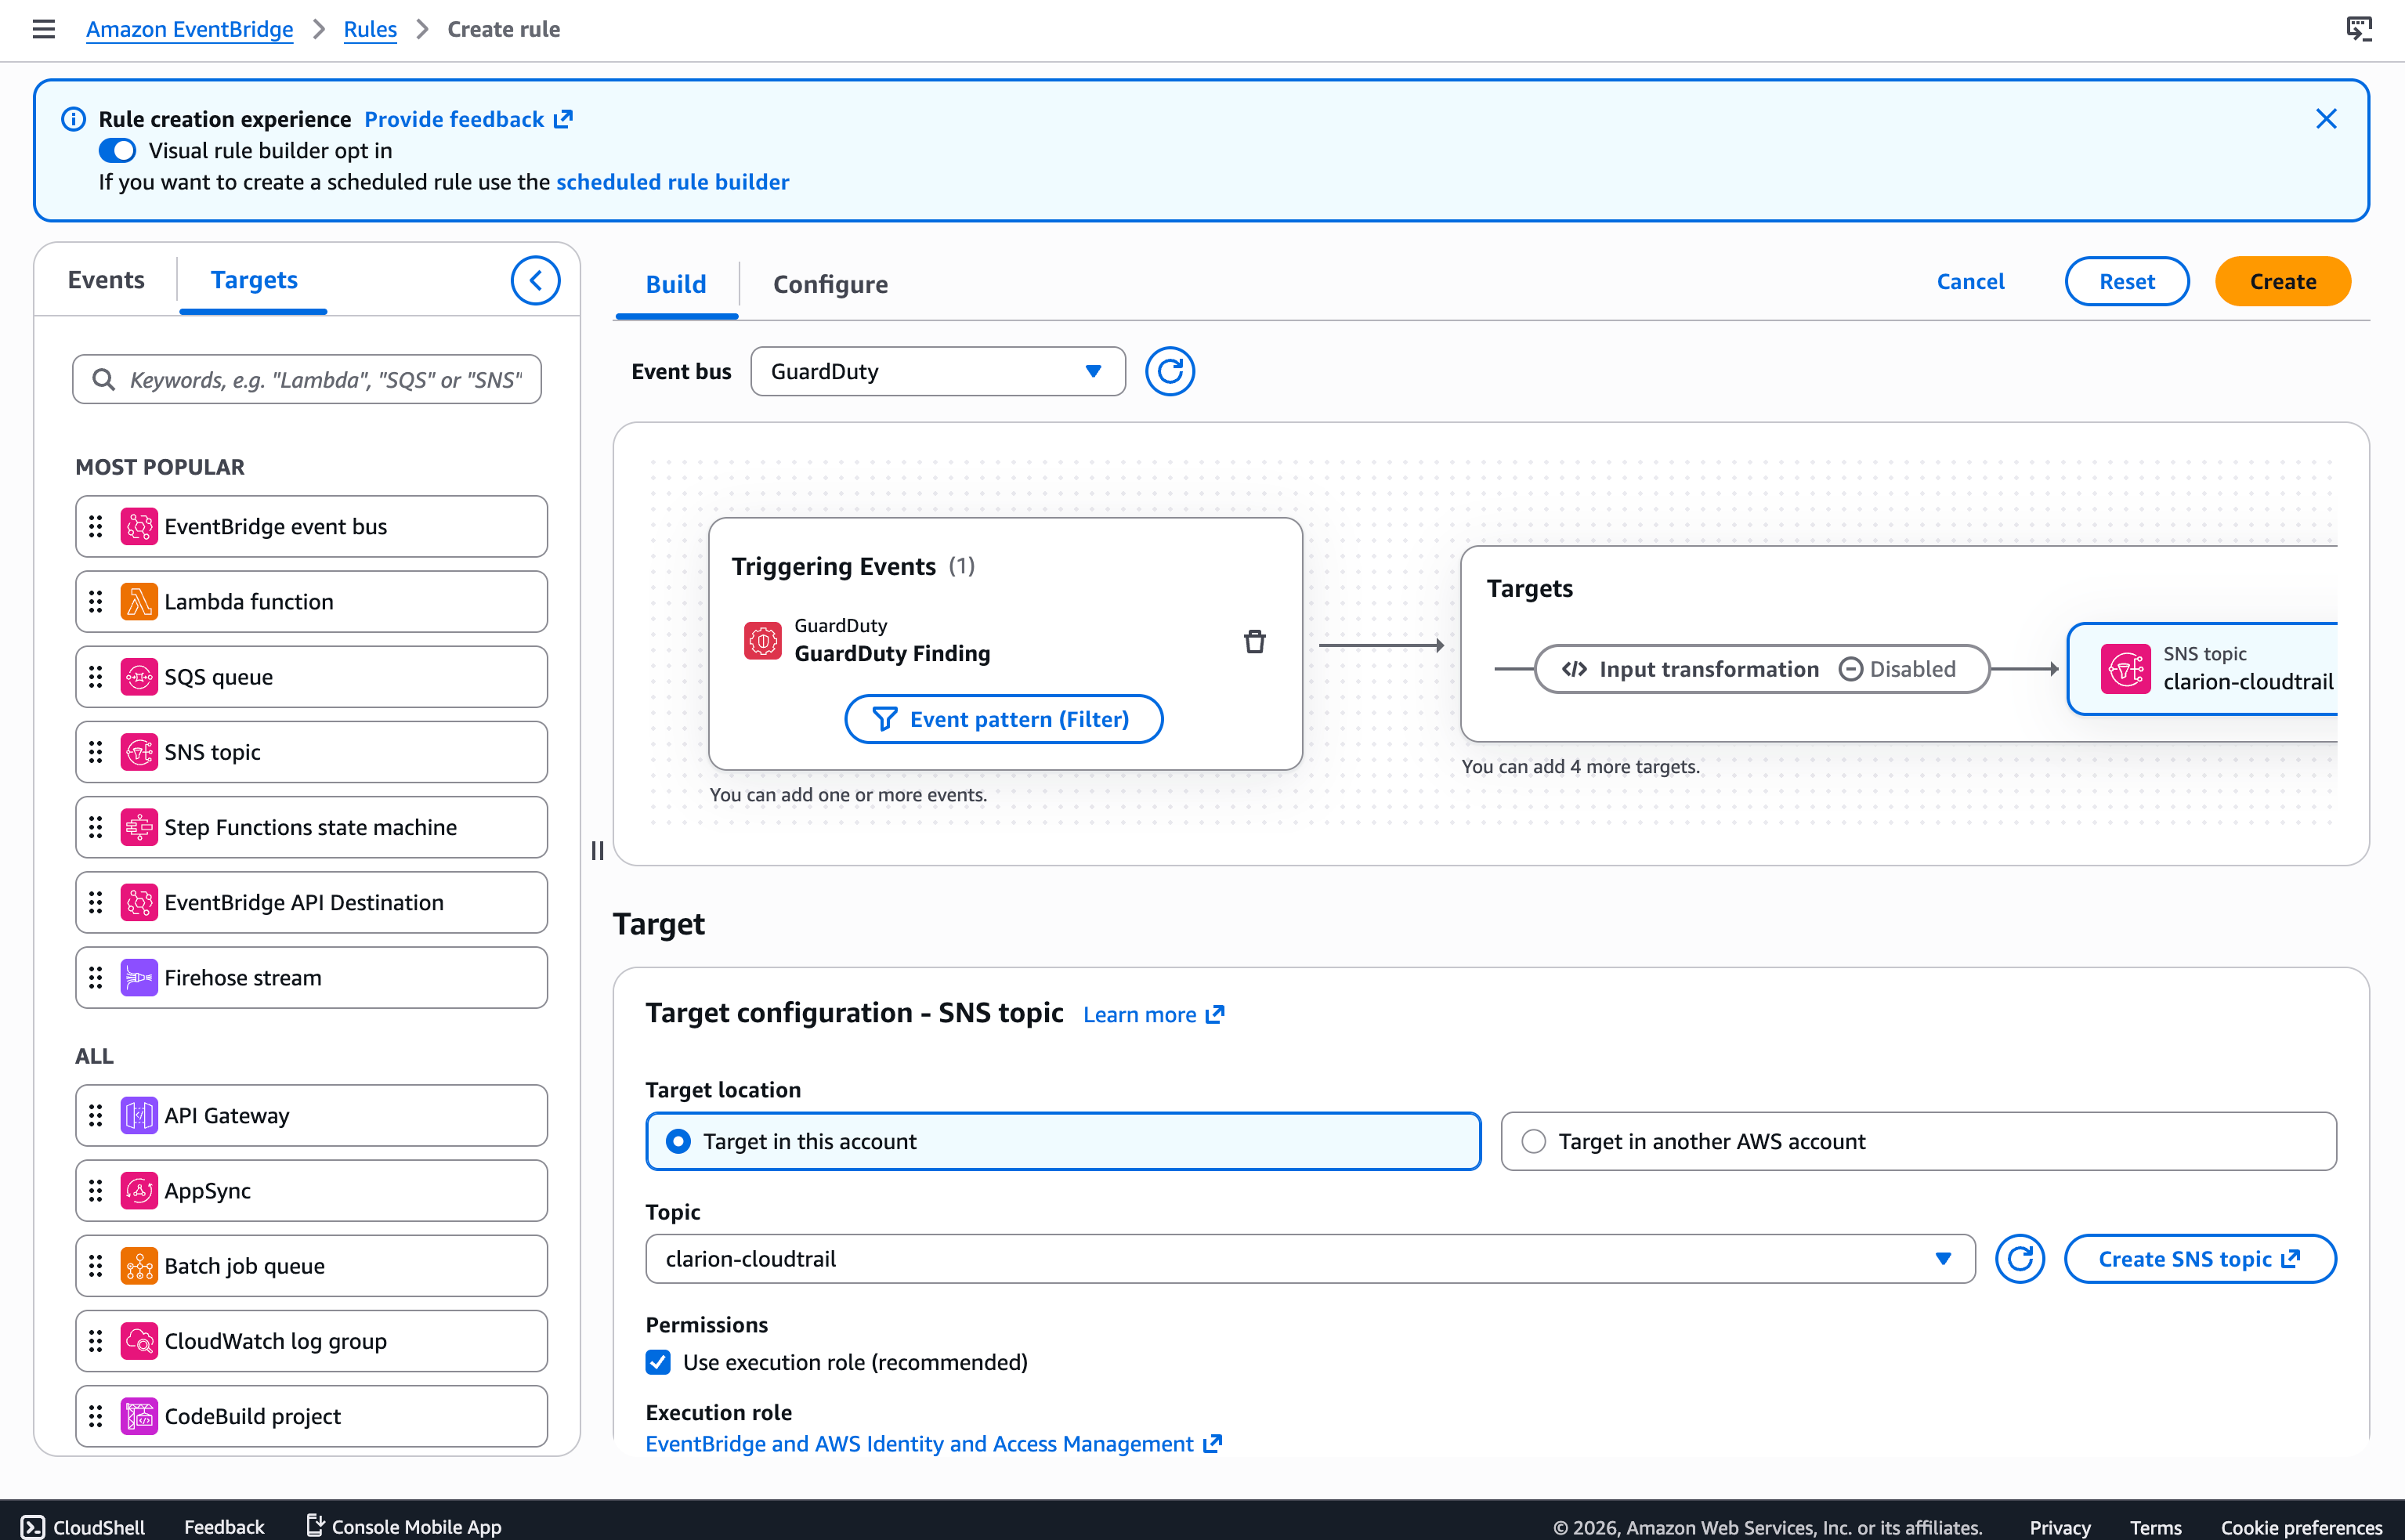
3.2 Create an EventBridge rule for GuardDuty
- Within the event bus, create a new rule.
- Set the event source to GuardDuty findings.
- Make sure you’re using the following event pattern:
{
  "source": ["aws.guardduty"],
  "detail-type": ["GuardDuty Finding"]
}
- Set the target to the SNS topic you created for Clarion. If you create a dedicated
clarion-guardduty topic, copy that topic ARN into Clarion’s SNS topic ARN field for the GuardDuty monitor and save before creating the HTTPS subscription.
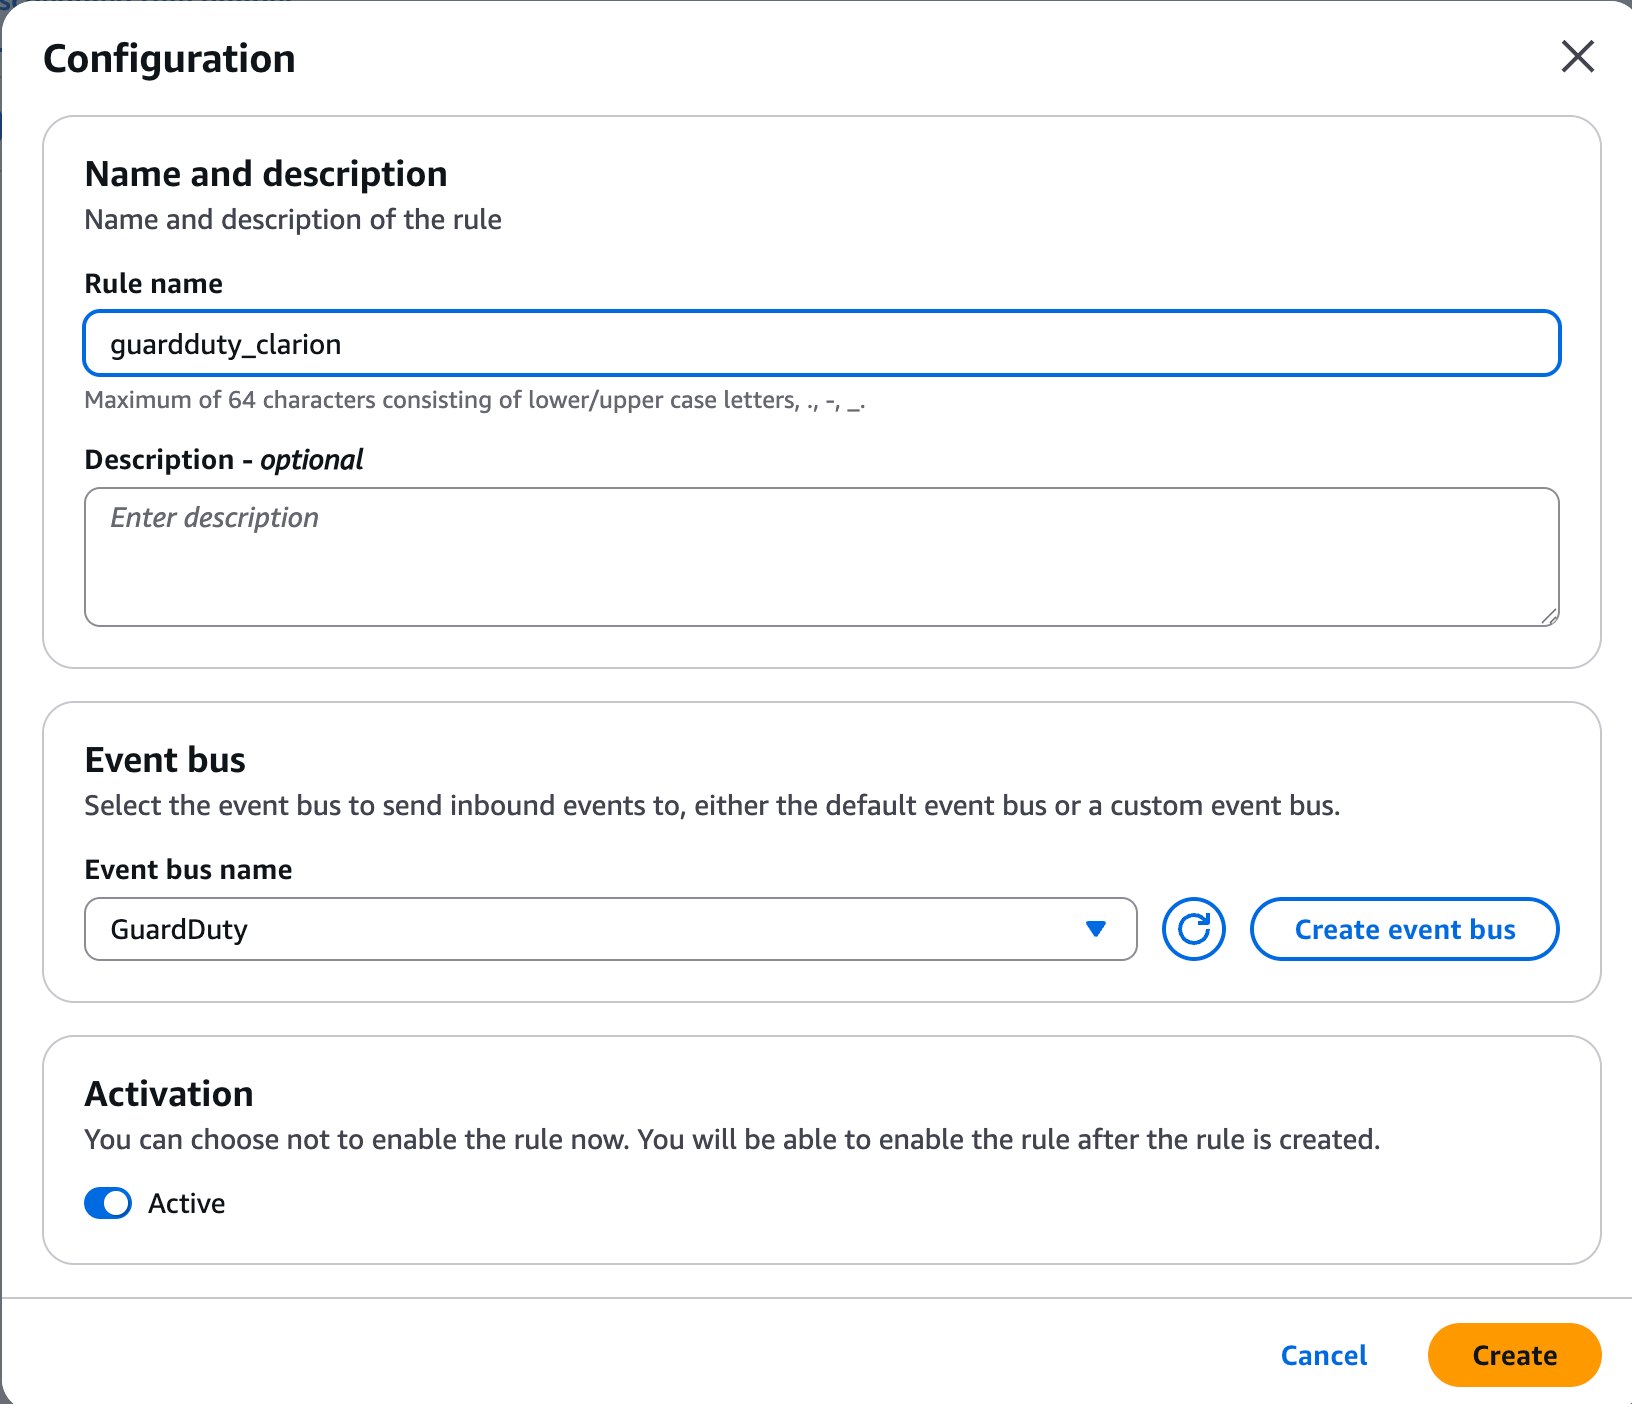
- Give the rule a descriptive name (e.g.
clarion-guardduty-findings), review, and save.
Make sure GuardDuty is enabled in your AWS account. If it’s not yet active, enable it in the GuardDuty console first.
Clarion needs an IAM role to run agent tools (CloudTrail lookup, Route 53, CloudWatch queries). You can set this up via the AWS Console or the AWS CLI.
Option A — AWS Console
1. Check for an existing role
 Go to IAM console > Roles and search for
 ClarionIntegrationRole. If it exists, skip to step 3 to update the trust policy.
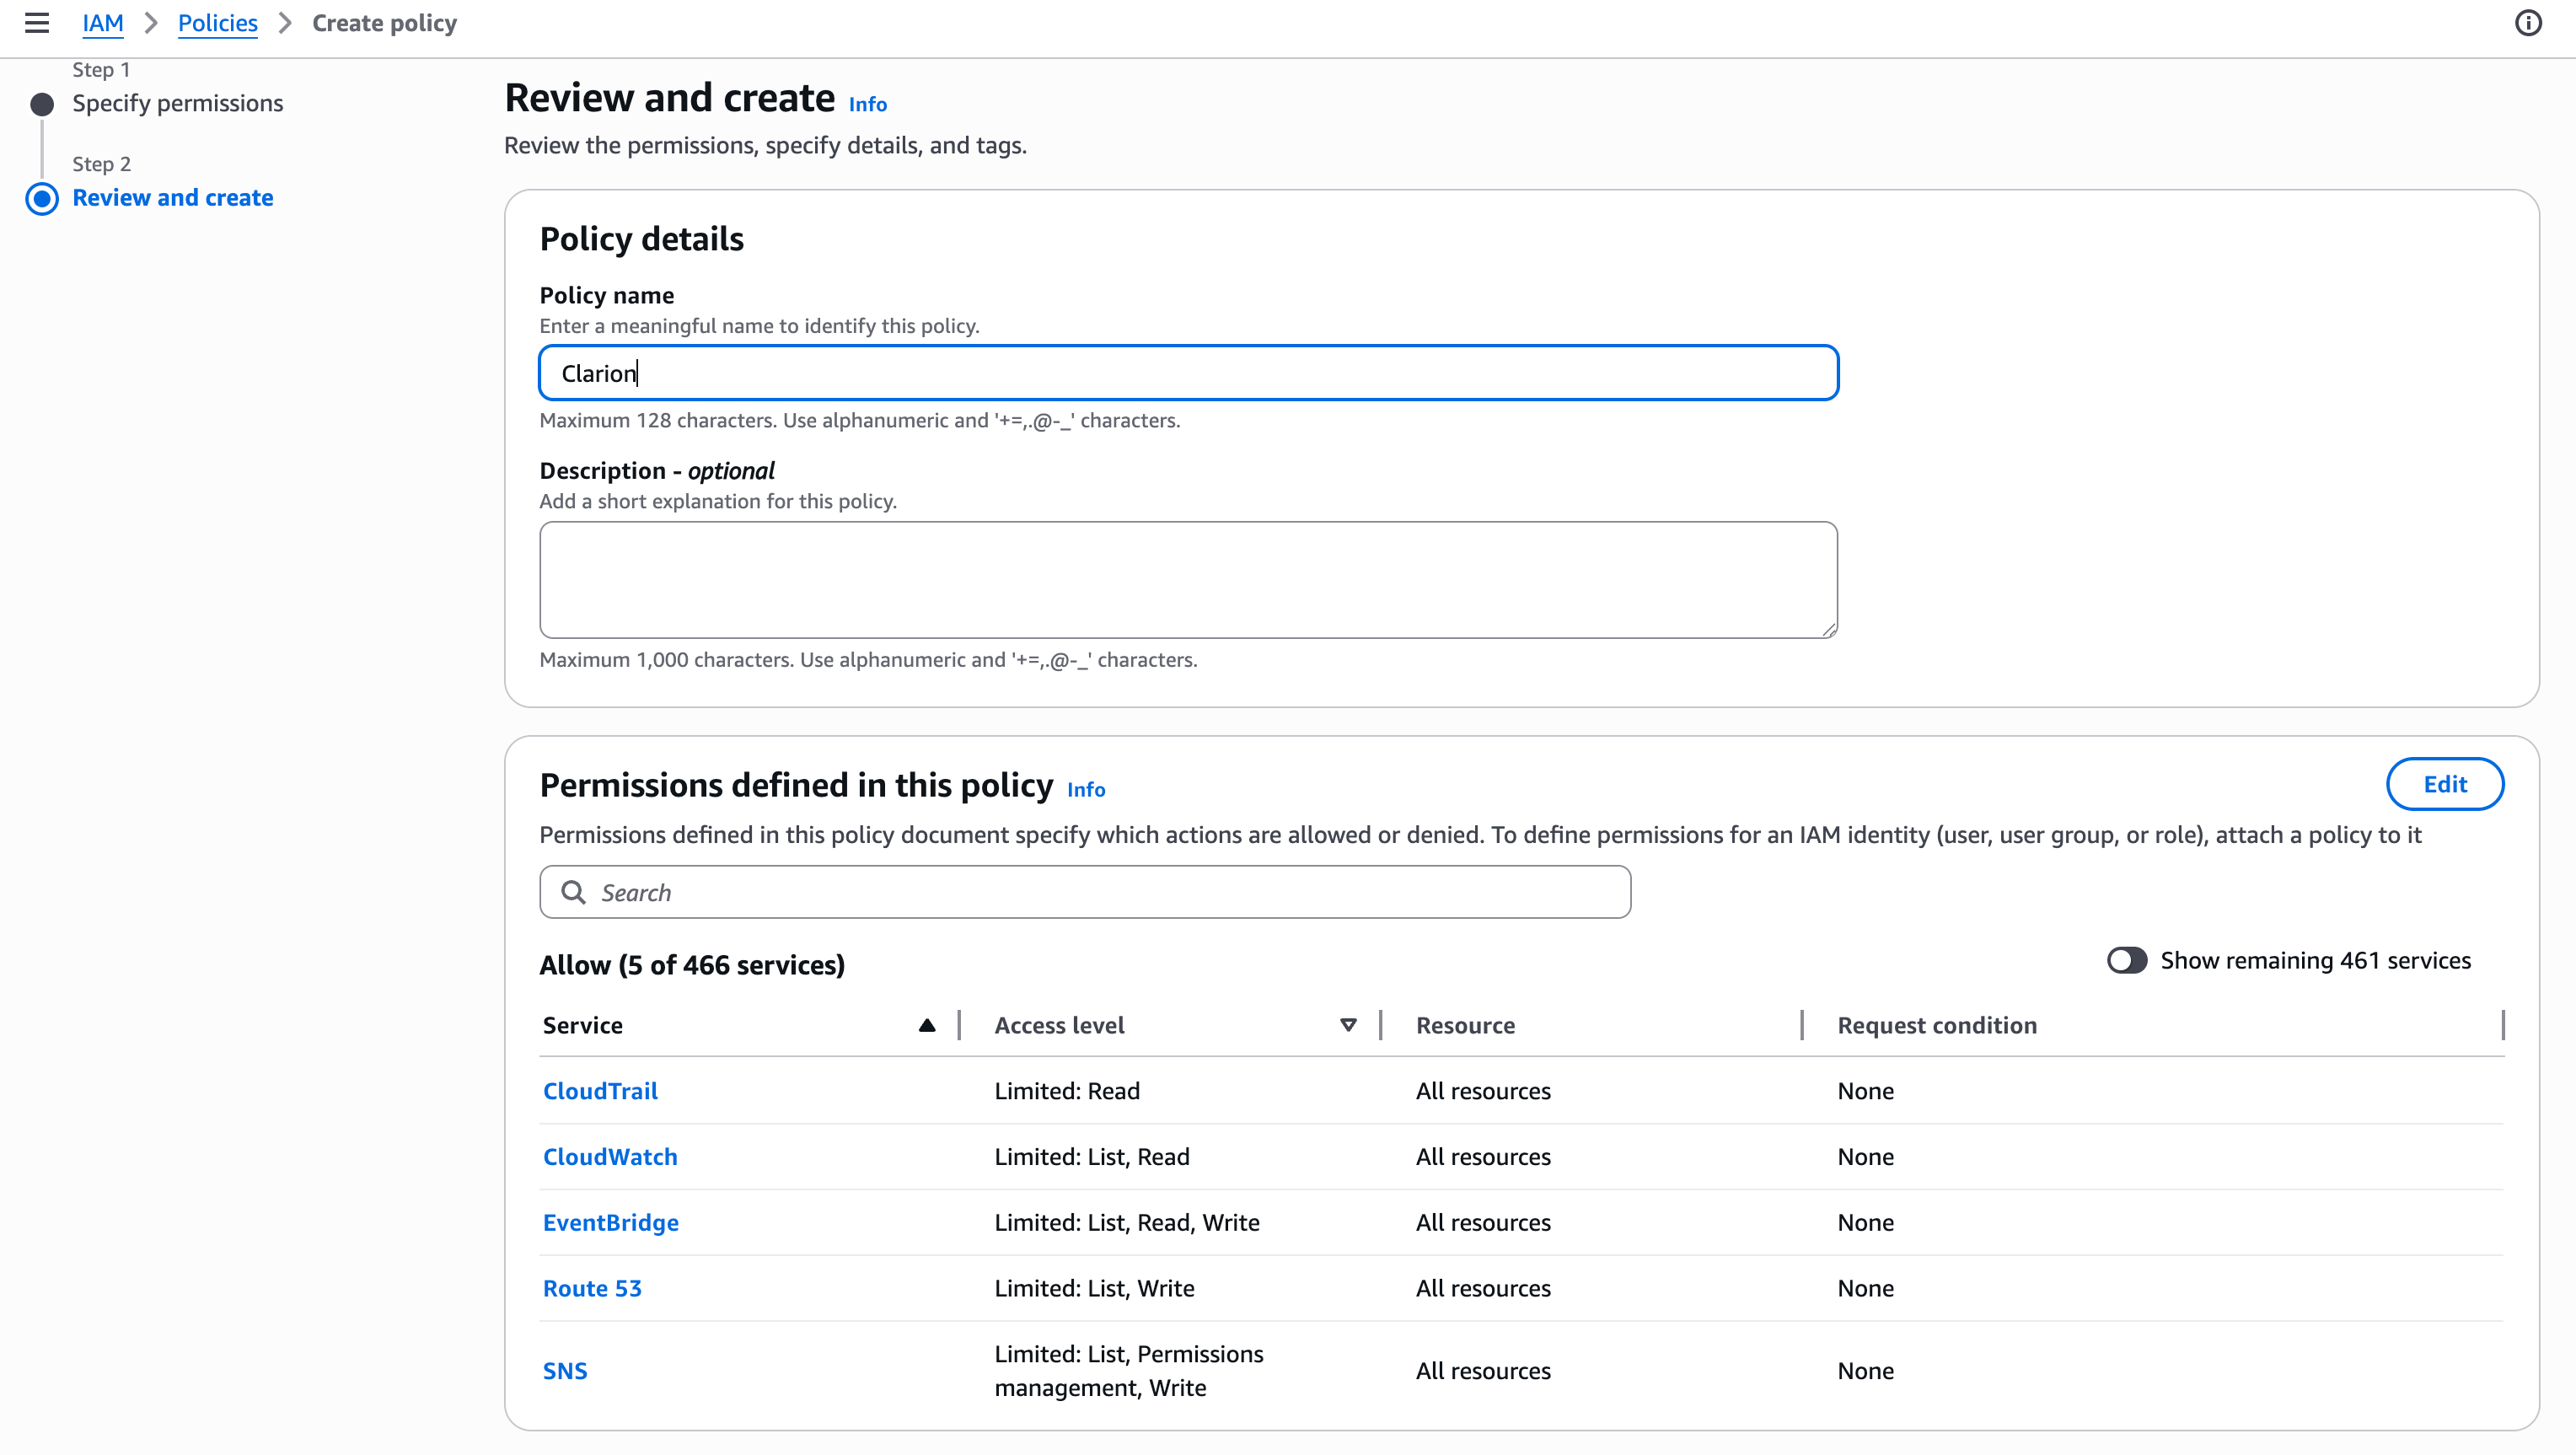
2. Create the policy and role
- Go to IAM console > Policies and create a new policy with the JSON below.
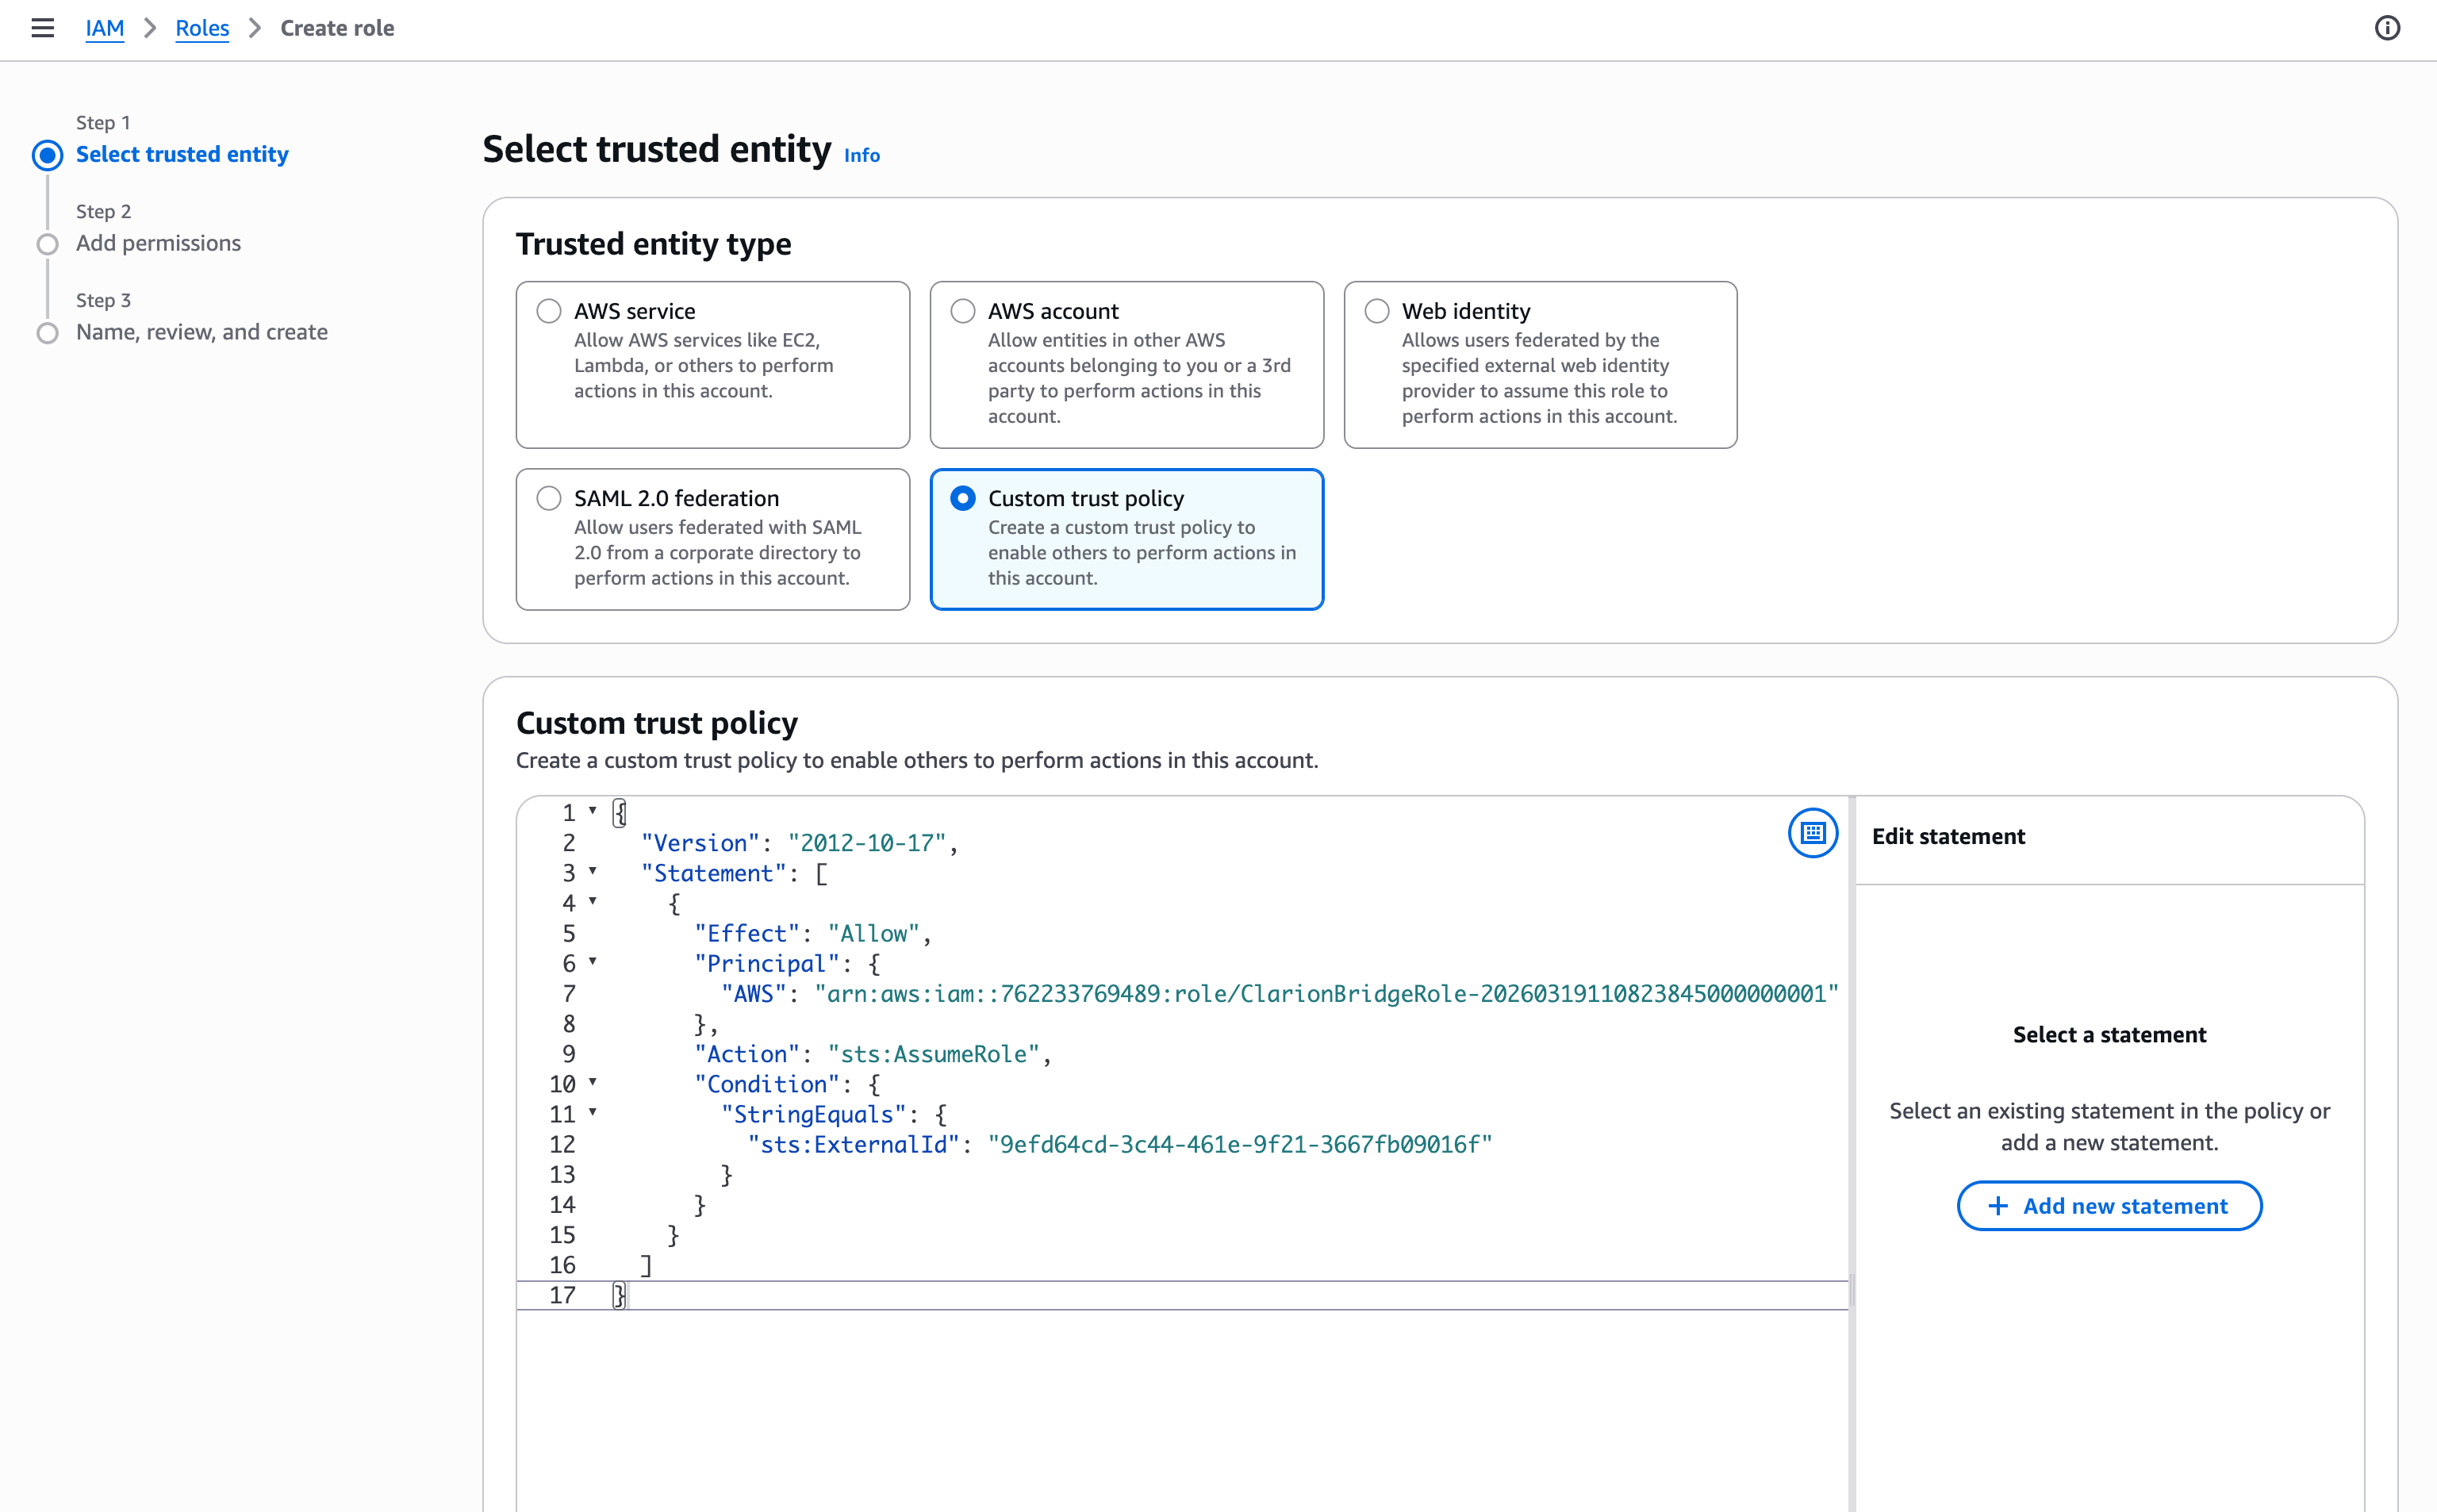
- Then go to IAM console > Roles and create a new role.
- Select Custom trust policy and paste the trust policy JSON below.
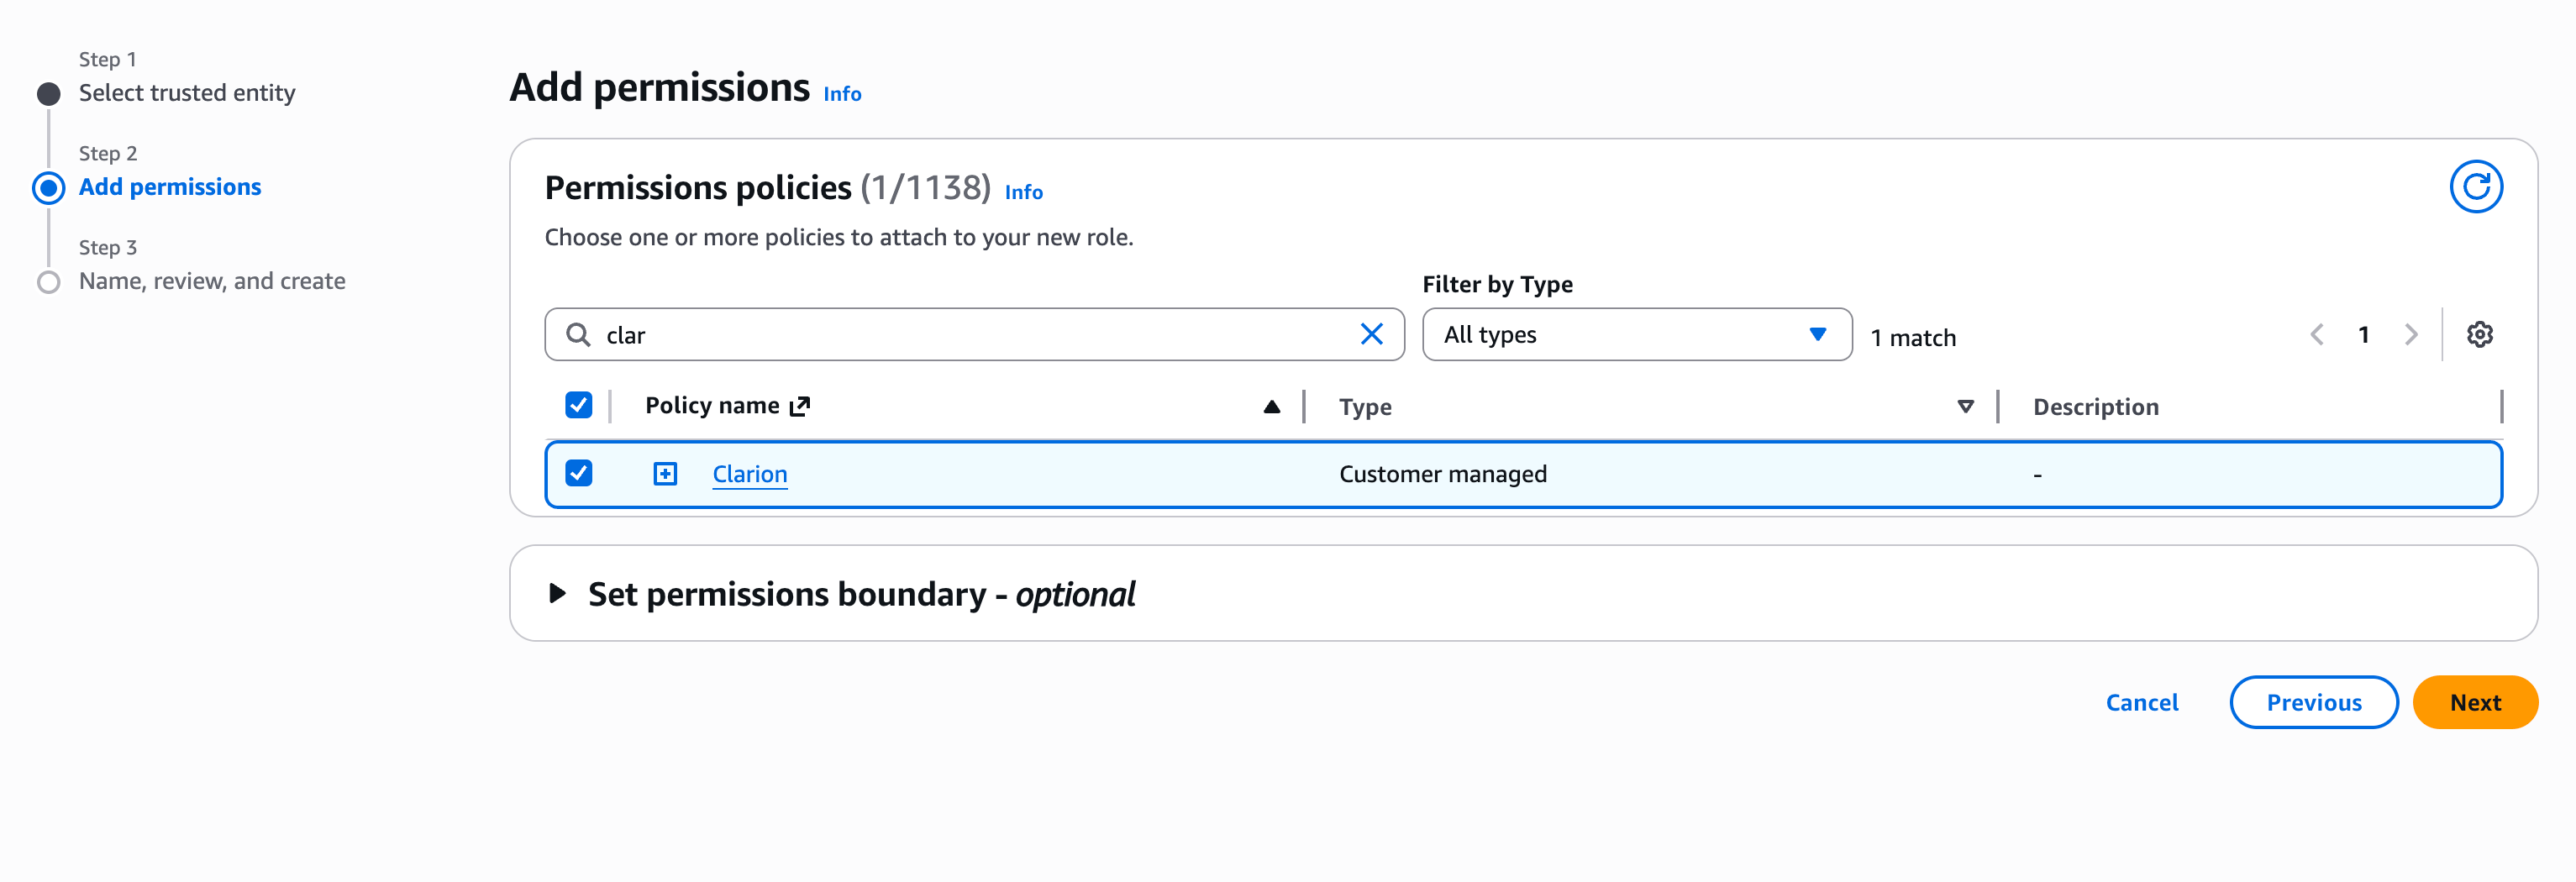
- Attach the policy you just created.
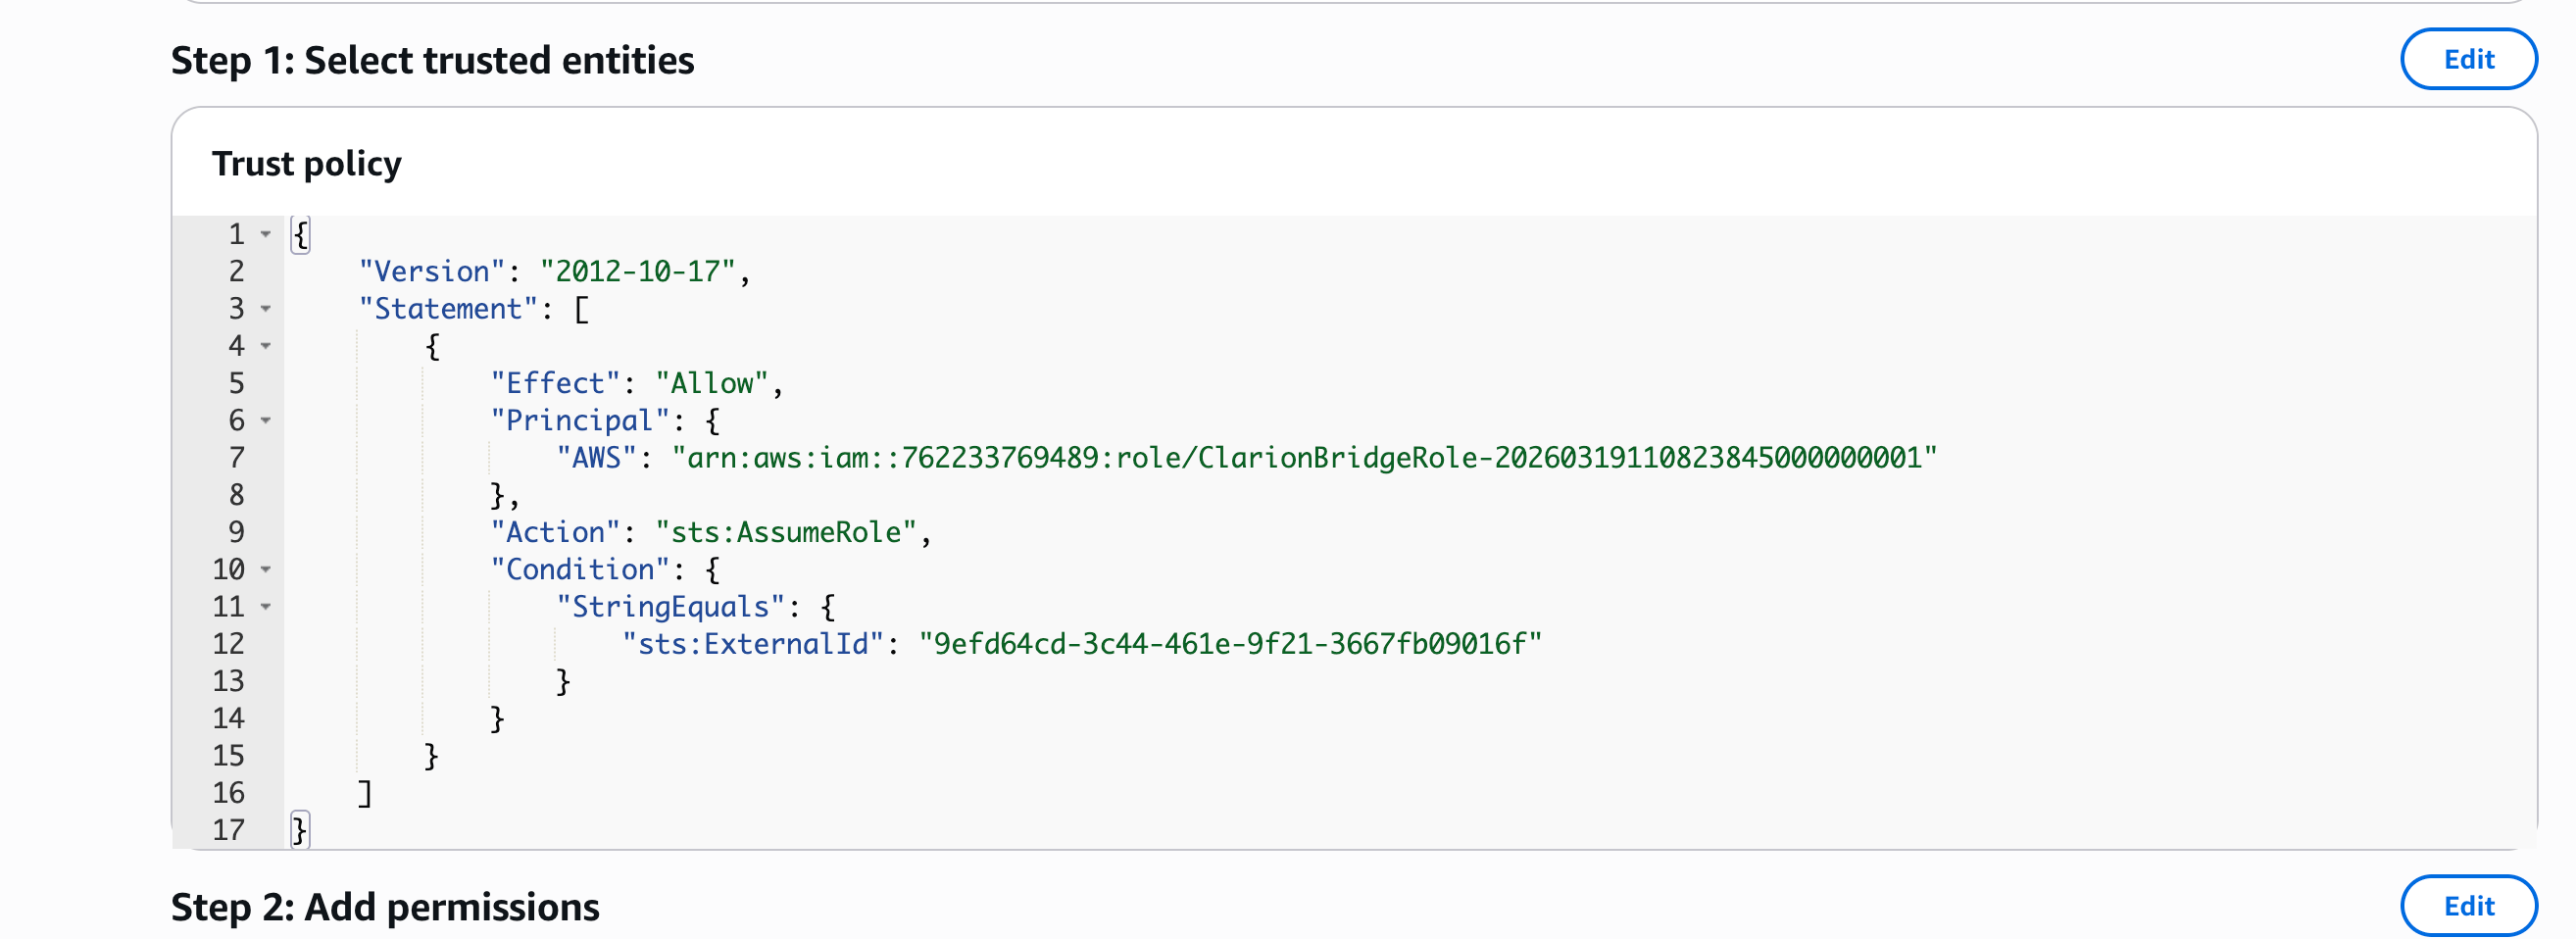
3. Verify or update the trust policy
- Open the role’s Trust relationships tab.
- Verify (or update) the trust policy to match:
Trust Policy
{
  "Version": "2012-10-17",
  "Statement": [
    {
      "Effect": "Allow",
      "Principal": {
        "AWS": "arn:aws:iam::762233769489:role/ClarionBridgeRole-20260319110823845000000001"
      },
      "Action": "sts:AssumeRole",
      "Condition": {
        "StringEquals": {
          "sts:ExternalId": "<your workspace external ID from Clarion>"
        }
      }
    }
  ]
}
4. Copy the Role ARN
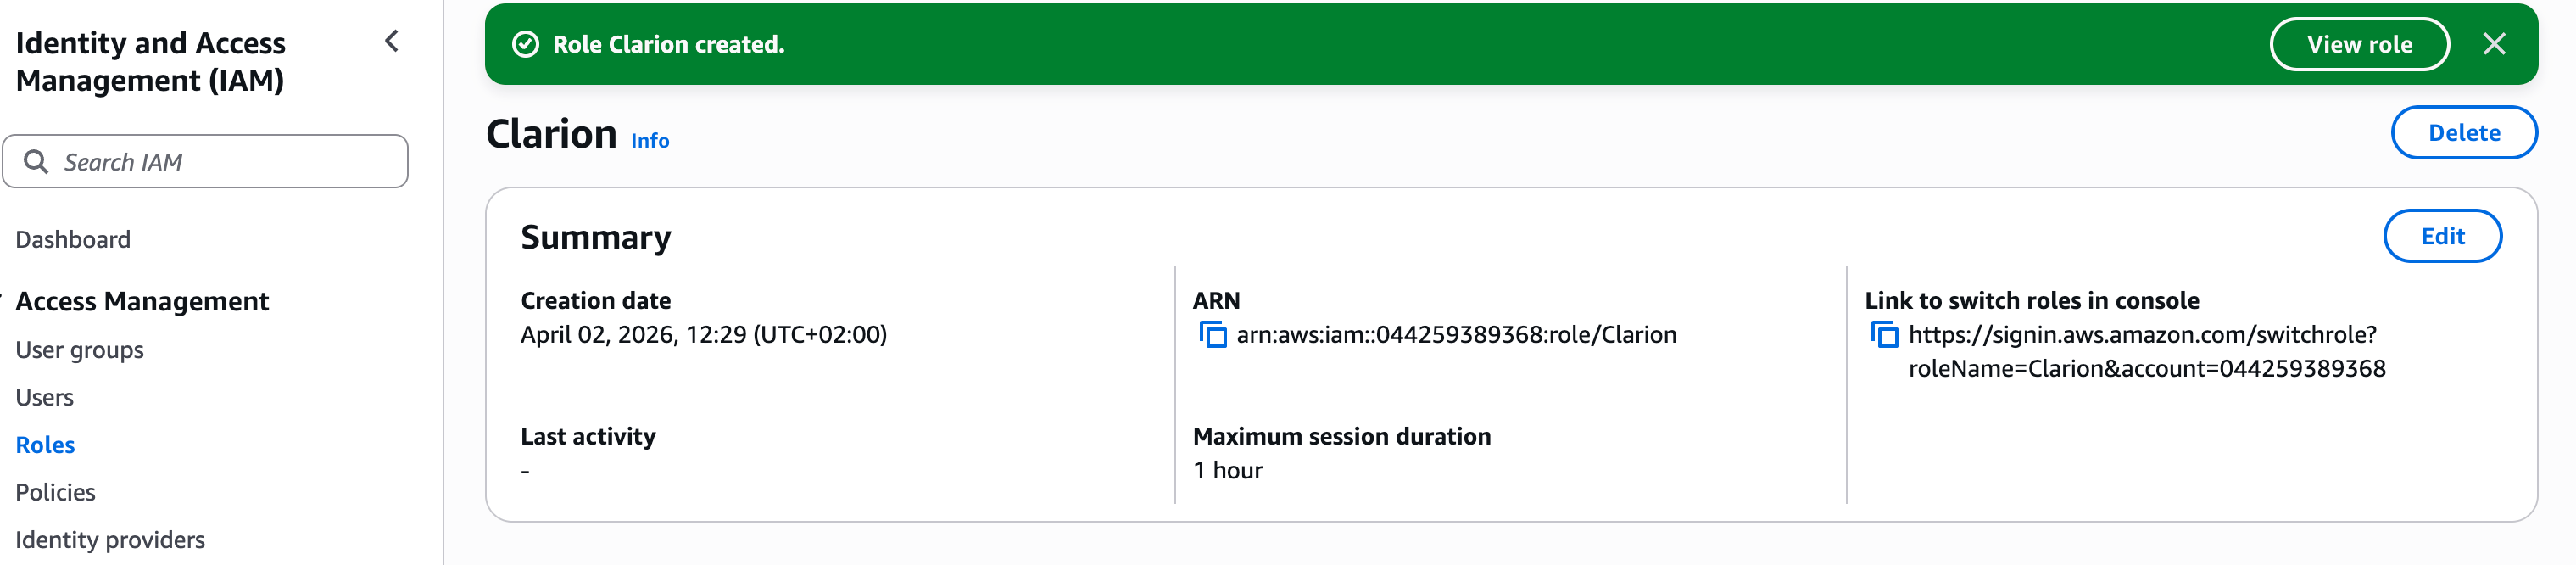 Verify the permission policy is attached, then copy the Role ARN and paste it into Clarion.
Option B — AWS CLI
IAM Permission Policy
{
  "Version": "2012-10-17",
  "Statement": [
    {
      "Sid": "ClarionRoute53",
      "Effect": "Allow",
      "Action": [
        "route53:ListHostedZones",
        "route53:GetHostedZone",
        "route53:ListResourceRecordSets",
        "route53:ChangeResourceRecordSets"
      ],
      "Resource": "*"
    },
    {
      "Sid": "ClarionCloudWatch",
      "Effect": "Allow",
      "Action": [
        "cloudwatch:ListMetrics",
        "cloudwatch:DescribeAlarms",
        "cloudwatch:GetMetricData"
      ],
      "Resource": "*"
    },
    {
      "Sid": "ClarionCloudTrail",
      "Effect": "Allow",
      "Action": [
        "cloudtrail:LookupEvents",
        "cloudtrail:DescribeTrails",
        "cloudtrail:GetTrailStatus"
      ],
      "Resource": "*"
    },
    {
      "Sid": "ClarionSNS",
      "Effect": "Allow",
      "Action": [
        "sns:CreateTopic",
        "sns:DeleteTopic",
        "sns:Subscribe",
        "sns:Unsubscribe",
        "sns:SetTopicAttributes",
        "sns:ListTopics"
      ],
      "Resource": "*"
    },
    {
      "Sid": "ClarionEventBridge",
      "Effect": "Allow",
      "Action": [
        "events:PutRule",
        "events:DeleteRule",
        "events:PutTargets",
        "events:RemoveTargets",
        "events:ListRules",
        "events:DescribeRule"
      ],
      "Resource": "*"
    }
  ]
}
 Run these commands in your terminal. Replace the Principal ARN and External ID with the values shown in your Clarion integration wizard.
1. Check if the role already exists
aws iam get-role \
  --role-name ClarionIntegrationRole \
  --query 'Role.Arn' --output text 2>/dev/null
2. Create the IAM policy
aws iam create-policy \
  --policy-name ClarionIntegrationPolicy \
  --policy-document '{
  "Version": "2012-10-17",
  "Statement": [
    {
      "Sid": "ClarionRoute53",
      "Effect": "Allow",
      "Action": [
        "route53:ListHostedZones",
        "route53:GetHostedZone",
        "route53:ListResourceRecordSets",
        "route53:ChangeResourceRecordSets"
      ],
      "Resource": "*"
    },
    {
      "Sid": "ClarionCloudWatch",
      "Effect": "Allow",
      "Action": [
        "cloudwatch:ListMetrics",
        "cloudwatch:DescribeAlarms",
        "cloudwatch:GetMetricData"
      ],
      "Resource": "*"
    },
    {
      "Sid": "ClarionCloudTrail",
      "Effect": "Allow",
      "Action": [
        "cloudtrail:LookupEvents",
        "cloudtrail:DescribeTrails",
        "cloudtrail:GetTrailStatus"
      ],
      "Resource": "*"
    },
    {
      "Sid": "ClarionSNS",
      "Effect": "Allow",
      "Action": [
        "sns:CreateTopic",
        "sns:DeleteTopic",
        "sns:Subscribe",
        "sns:Unsubscribe",
        "sns:SetTopicAttributes",
        "sns:ListTopics"
      ],
      "Resource": "*"
    },
    {
      "Sid": "ClarionEventBridge",
      "Effect": "Allow",
      "Action": [
        "events:PutRule",
        "events:DeleteRule",
        "events:PutTargets",
        "events:RemoveTargets",
        "events:ListRules",
        "events:DescribeRule"
      ],
      "Resource": "*"
    }
  ]
}'
3. Create the IAM role with trust policy
aws iam create-role \
  --role-name ClarionIntegrationRole \
  --assume-role-policy-document '{
  "Version": "2012-10-17",
  "Statement": [
    {
      "Effect": "Allow",
      "Principal": {
        "AWS": "<ClarionBridgeRole ARN from Clarion>"
      },
      "Action": "sts:AssumeRole",
      "Condition": {
        "StringEquals": {
          "sts:ExternalId": "<your workspace external ID from Clarion>"
        }
      }
    }
  ]
}'
4. Update the trust policy (existing role only)
Run this instead of step 3 if the role already existed:
aws iam update-assume-role-policy \
  --role-name ClarionIntegrationRole \
  --policy-document '{
  "Version": "2012-10-17",
  "Statement": [
    {
      "Effect": "Allow",
      "Principal": {
        "AWS": "<ClarionBridgeRole ARN from Clarion>"
      },
      "Action": "sts:AssumeRole",
      "Condition": {
        "StringEquals": {
          "sts:ExternalId": "<your workspace external ID from Clarion>"
        }
      }
    }
  ]
}'
5. Attach the policy to the role
aws iam attach-role-policy \
  --role-name ClarionIntegrationRole \
  --policy-arn "arn:aws:iam::$(aws sts get-caller-identity --query Account --output text):policy/ClarionIntegrationPolicy"
Step 5 — Activate Monitors in Clarion
- Go back to Clarion and add the CloudTrail monitor.
- Enable all the rules, then confirm.
- Review the listed event types and click to enable all relevant ones.
- If you set up GuardDuty or CloudWatch, add the GuardDuty and CloudWatch monitors as well. These monitors receive alerts directly, so you don’t have to configure additional rules.
You’re done! Clarion is now receiving CloudTrail events, CloudWatch alarms, and GuardDuty findings from your AWS account.